SAMM User Manual
84
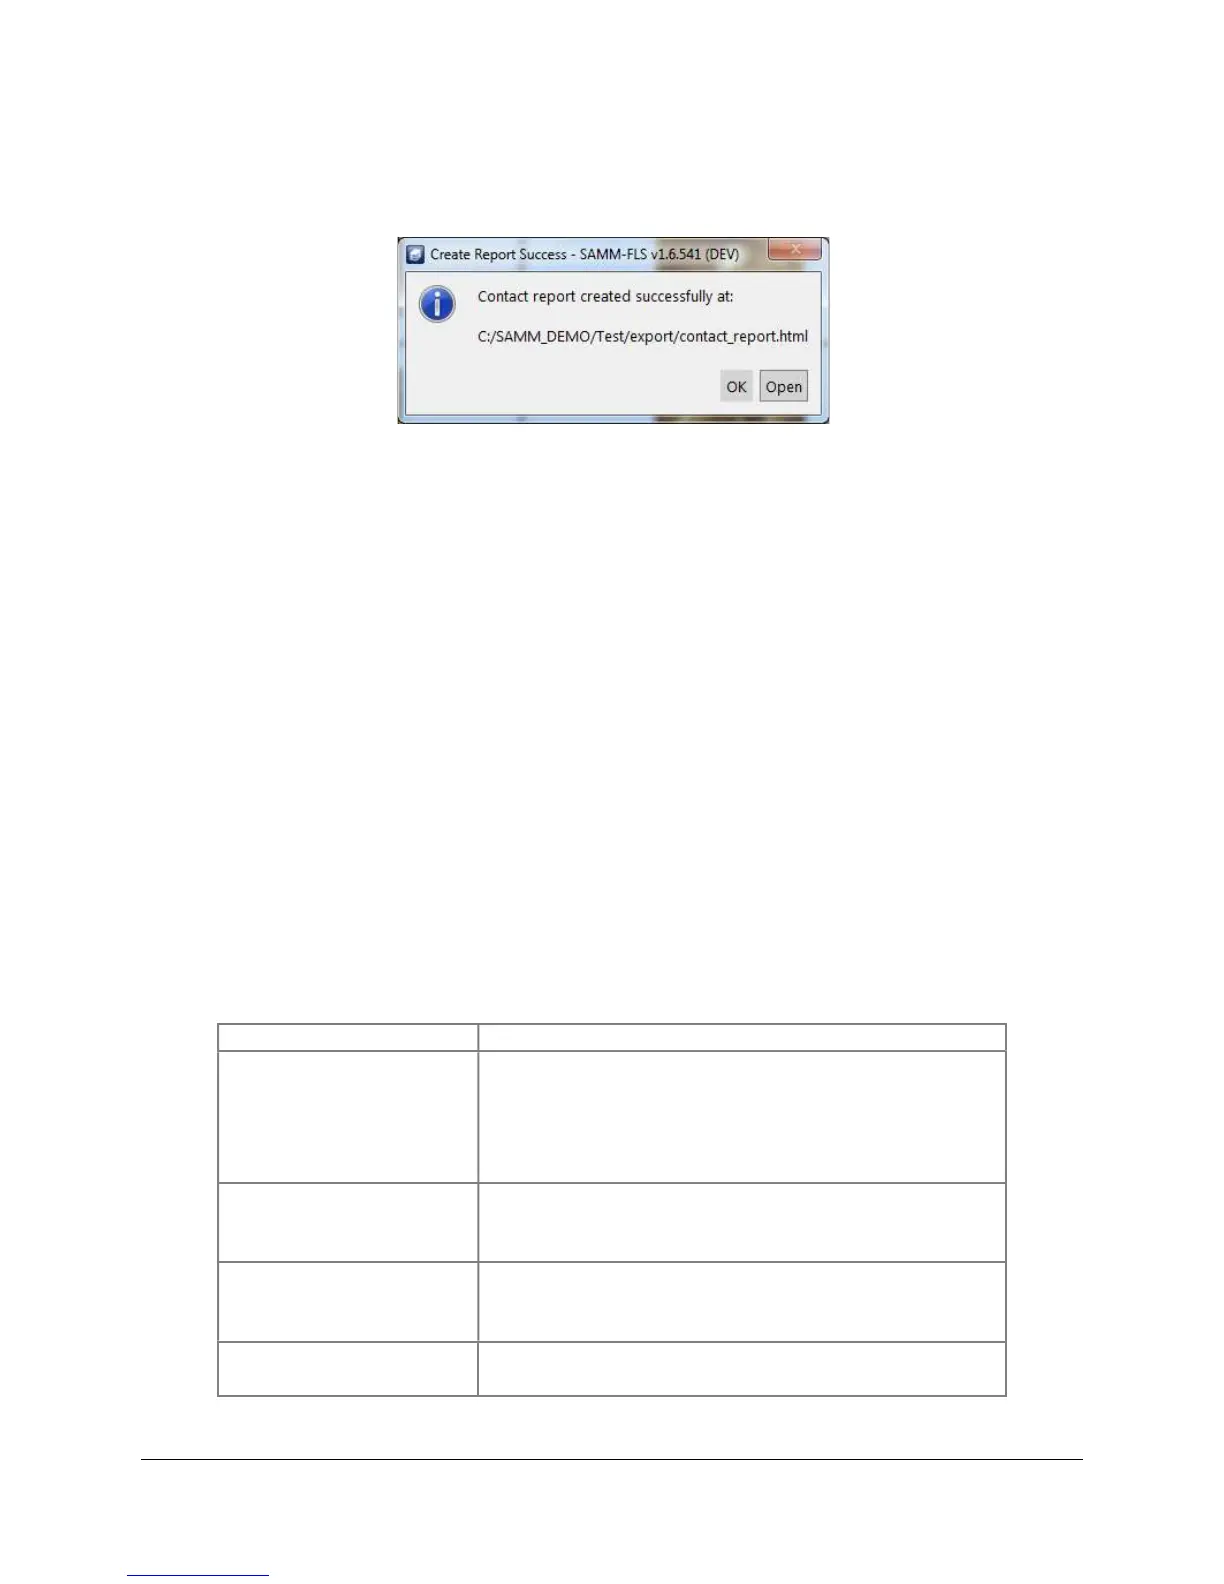
When you click Save, a popup window greets you with a successful report notification (Figure
69). Accept the message by clicking OK or view the report in a browser by clicking Open.
Figure 69. Create Report Success Window
The report export function creates a folder and three files in the project folder: one *.html file,
one *.xml file of the same name, one targetexport.css file and one folder of the same name with
"_images" appended to the name. This folder contains the *.png tiles of each contact. The *.html
file contains each contact tile with its attributes displayed on the right in report form. At this time,
the report includes the Name, Time, Lon/Lat, Easting/Northing, Range, Heading, Sonar Altitude,
Sonar Depth, Image Resolution, Measured Width, Measured Length, Measured Shadow, Height
from Shadow, and Comment fields.
8.5.4 Delete Contacts
When reviewing the contacts, you may find contacts that are irrelevant to your purpose. If you
desire to delete the contacts, select the contact(s), right-click on the selected thumbnails/tiles
and click Delete contact(s) or press the delete key. Deletion is permanent. As an alternative to
deletion, you may choose to export these contacts before deleting them from the project so that
they are preserved in report form. A less efficient way of recovering deleted contacts is to
remark them in playback mode.
8.5.5 Contact Organization Commands
Table 9 lists the organization commands and the methods to execute them as a quick
reference. The multiple methods available to execute the commands are bulleted.
Table 9. Contact Organization Commands
Group contacts
In the thumbnail list, click and drag the thumbnail
over the group reference contact.
In the thumbnail list, select contacts to group,
then right-click on one of the thumbnails and click
Group contact(s).
Ungroup contacts
In the thumbnail list or contact display, right-click
on the thumbnail/contact and click Ungroup
contact(s).
Set group reference
In the contact display, right-click on the
thumbnail/contact and click Set as group
reference.
Search by name
In the thumbnail list, enter the search term in the
Search contacts field.