2. Press the [6] button and the following message appears. Press [2] or [8] until a
target option appears.
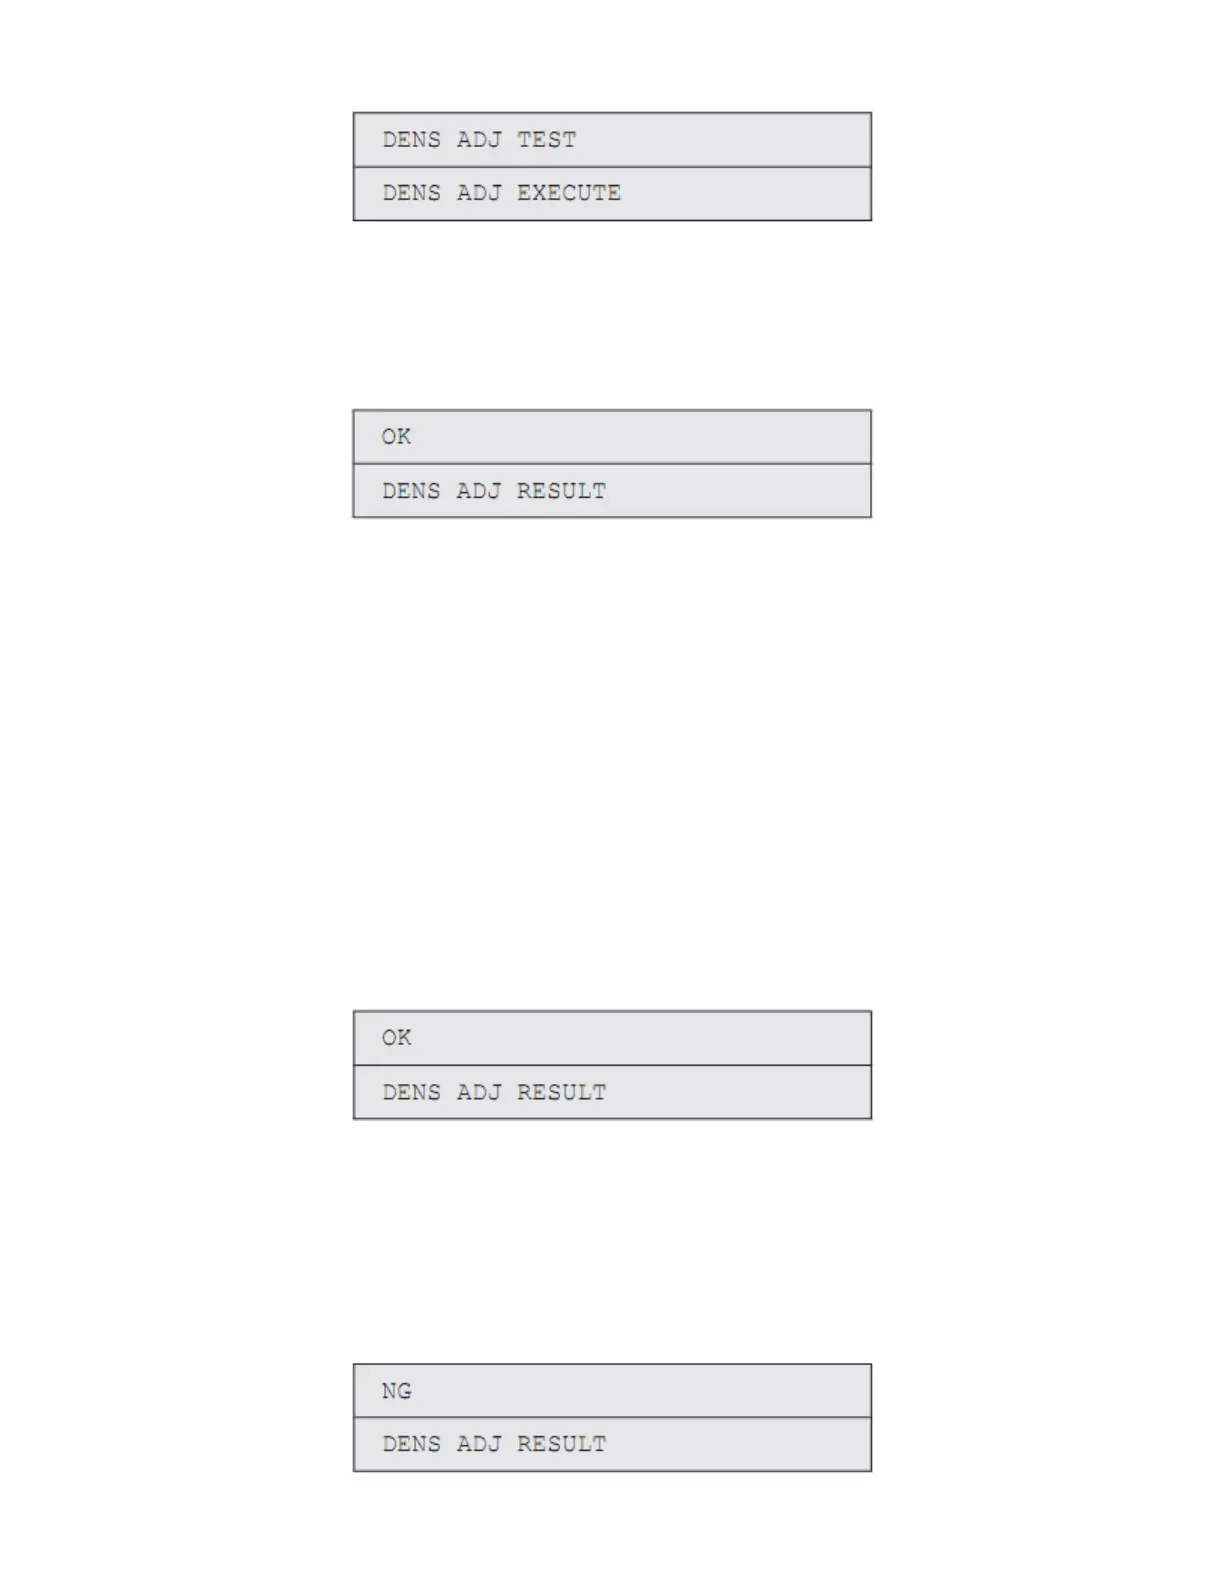
3. Press the [6] button, and the displayed test option is performed:
When DENS ADJ EXECUTE is executed:
a. A density adjustment test starts (the ONLINE lamp starts blinking).
b. When the test ends, the upper display shows the result of the test (OK or
an error name), the lower display shows ****RESULT.
Pressing [2] the next test result. Pressing [8] displays the preceding test result.
Pressing [4] restores the state for step 2.
c. Pressing the [#] button during the test cancels the test (turning on the
ONLINE lamp), restoring the state for step 2.
When DENS ADJ RESULT is executed:
Same button operation as (b) used when REG ADJ EXECUTE is executed.
When DENS ADJ PAR-SET is executed:
The setting for the density adjustment parameter is displayed.
When AUTO CALIBRATION is executed:
a. The density sensor sensitivity correction value is automatically set (the
ONLINE lamp starts blinking).
b. When the test ends, the upper display shows the result of the test (OK or
an error name), the lower display shows ****RESULT.
Pressing [2] displays the next test result. Pressing [8] displays the preceding test
result. Pressing [4] restores the state for step 2.
c. Pressing the [#] button during the test cancels the test (turning on the
ONLINE lamp), restoring the state for step 2.
Remark: While the printer is initialized or issues an alarm or the cover is open, it
displays the following message:
34