Oki Data CONFIDENTIAL
43627911TH Rev. 3
166 /
5.2.8 Setup of EEPROM after replacement of TBX PCB
When the TBX PCB is replaced, it is necessary for the new replacement PCB to take over the
user-settings that the user has been using to that point, as well as the font install information.
For this, copy the EEPROM by the Maintenance Utility, and set up the CU Serial No. However,
if SERVICE CALL 40 is issued and the old EEPROM cannot be used, use the new PCB,
and set the CU Serial No.(See Subsection 5.4.2.2) and check the setup of destination (See
Subsection 5.4.3).
Meanwhile, in the case of the PCB, the EEPROM can be swapped directly between a new
PCB and an old one. In this case, the CU Serial No. setup and destination setup are not
required.
Replacement of EEPROM after replacement of PCB
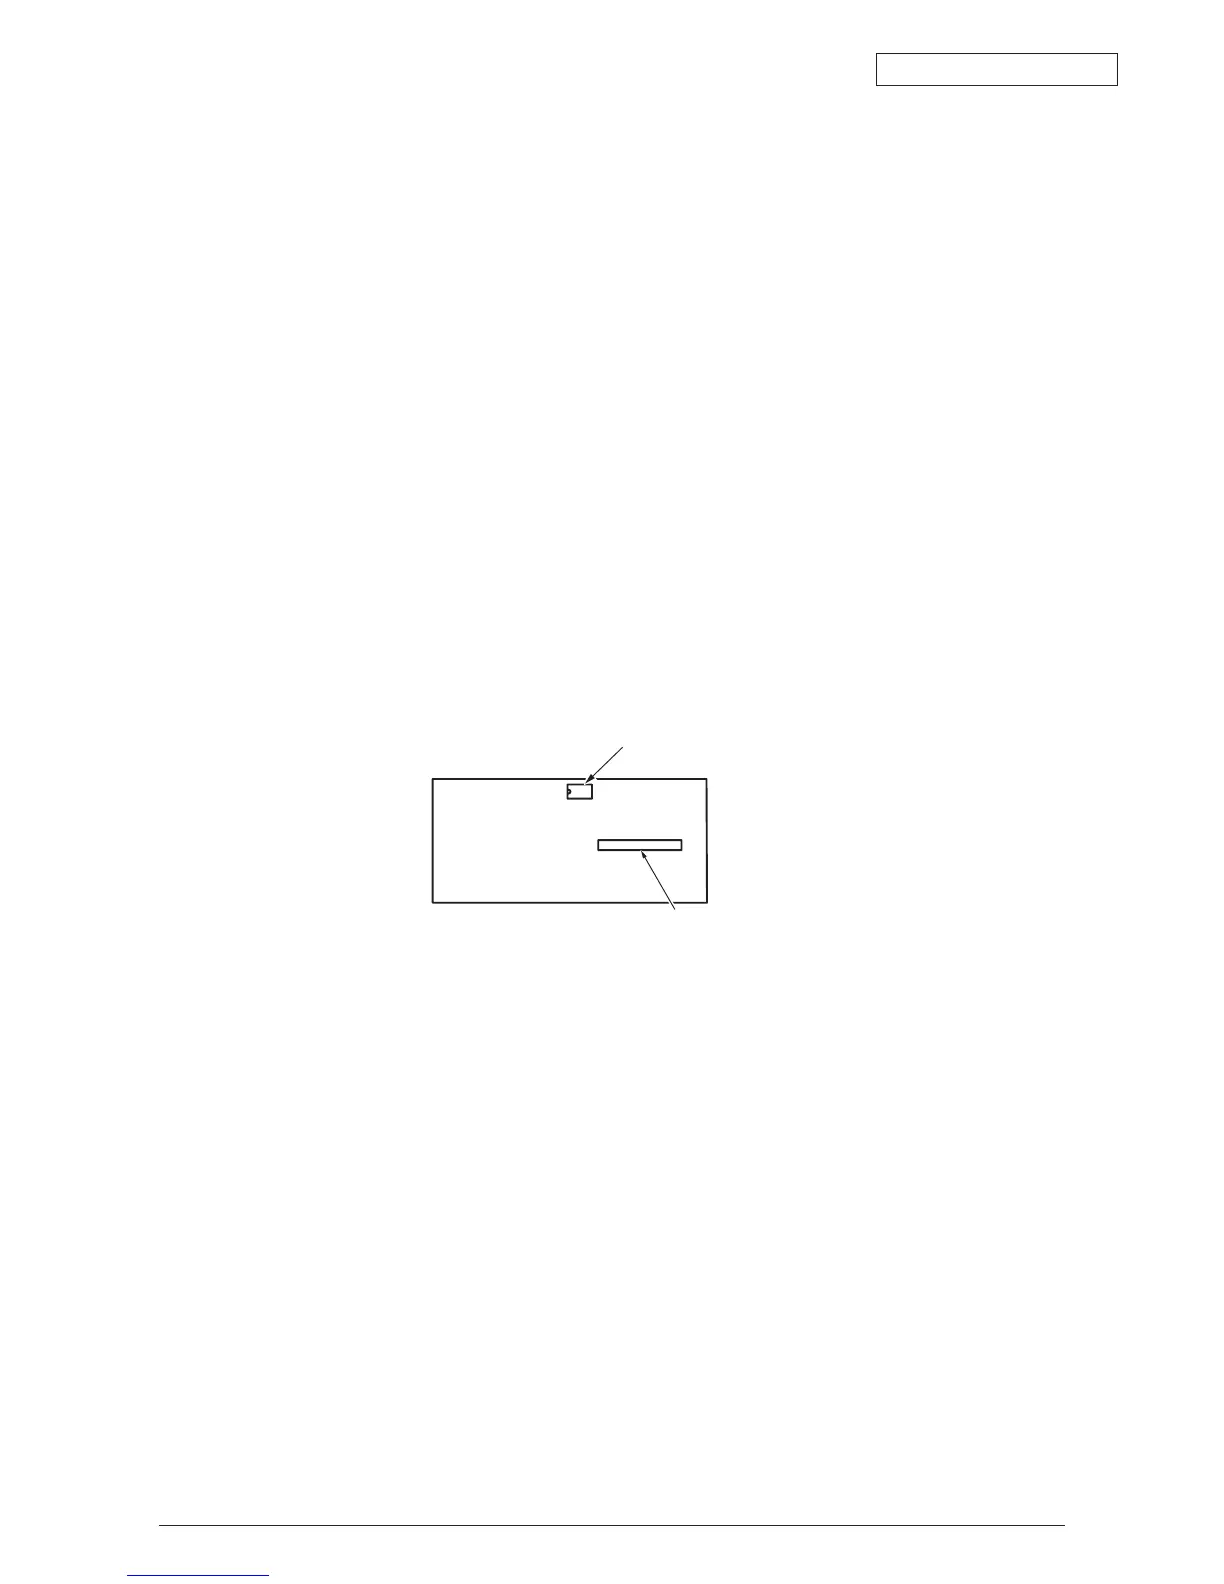
The EEPROM of the PCB is installed in the IC socket. Replace the EEPROM in the following
manner:
1. Remove the EEPROM and MAC address sticker label attached to the new PCB.
2. Insert a flat-tipped screwdriver in between the EEPROM of the old PCB and the IC
socket, and take out the EEPROM, seeing to it that the leads of the EEPROM are not
bent.
3. Install the EEPROM in the new PCB. In this operation, make sure that the silk print of the
EEPROM and that of the PCB match in the same direction.
4. Remove the MAC address sticker label of the old PCB, and paste it to the new PCB.