1
BEFORE STARTING CONSTRUCTION
Pack A Pack D Pack C
B
Pack
E
Pack
NOTE Throughout this manual all doubled up codes refer to 10x15 shed code first followed by the
10x19 shed code.
eg (B7/B9) B7= Short Side Base Rail for 10x15 shed
B9 = Short Side Base Rail for 10x19 shed.
Codes for sheds with 1.78m wall height may differ from codes with shed with a 2m wall height.
Shed codes for 1.78m wall height will be followed by shed codes for 2m wall height.
eg (K/K2) K = 1.78m wall sheet
K2 = 2m wall sheet
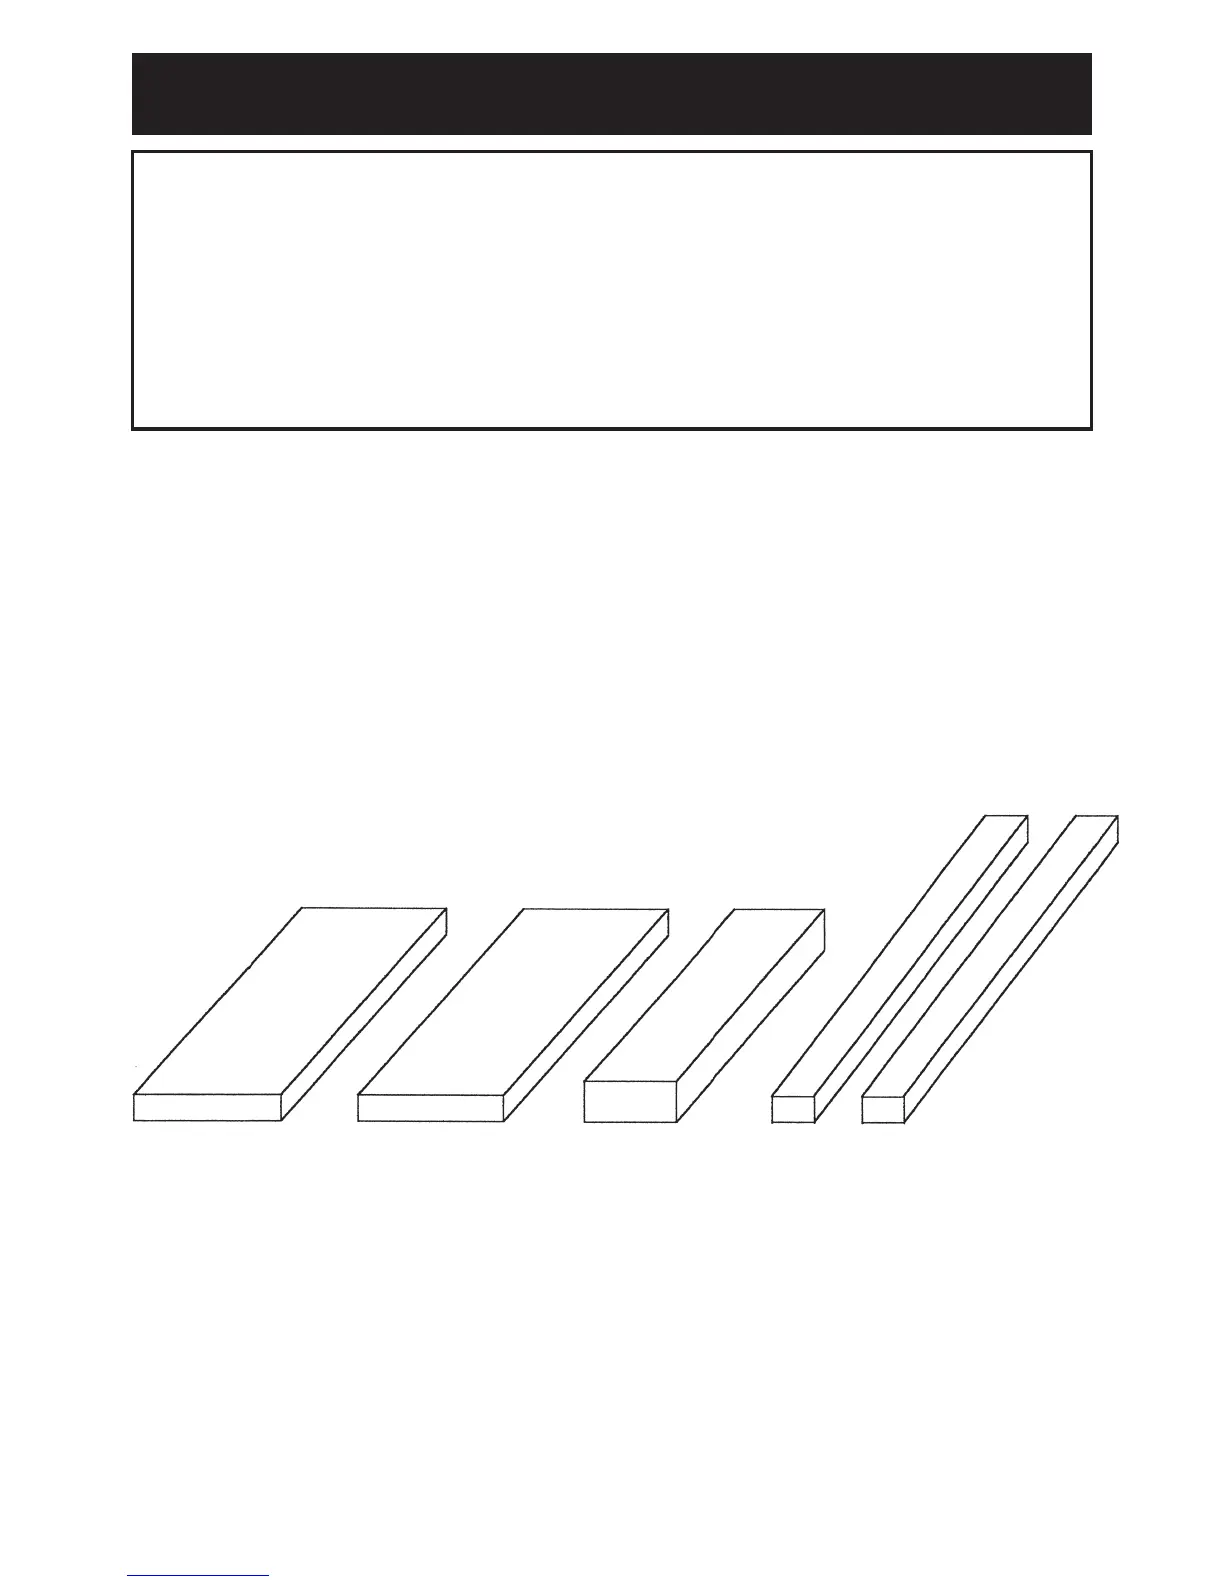
The 10x15 and 10x19 sheds consist of three frame packs and two flat packs.
1015E or 1019E is the LONG FRAME
1315192C or 131519C is the CENTRE ‘A’ FRAME ( Portal Frame )
1015B or 1019B is the SHORT FRAME
Please do not mix the contents of the frame packs up as they look very similar but change
in length. The easiest way not to mix them up is to place them on the foundation diagonally
in order as above then open them and identify the parts.
The large flat packs contain the sheeting etc for the shed. These can be opened up away
from the foundation to identify the parts.
BEFORE YOU START, IT IS IMPORTANT THAT YOU READ THE FOLLOWING INSTRUCTIONS.
• When selecting a site, choose an area that is firm and level yet allows drainage away from the site.
• Although this shed when installed according to instructions, is designed to withstand greater wind loads than other
conventional sheds, do not assemble it in areas subject to high winds or erect on a windy day. Any building left partially
constructed may be seriously damaged if left in this state. It is your responsibility to safely and securely anchor the shed,
having regard to the windiest conditions in the area. The shed could possibly blow away causing damage and possible injury
if not properly attached to the ground foundation.
• Do not backfill against the walls or base of the shed as this will cause corrosion and void the warranty.
• The prevention of condensation inside the shed will assist in keeping the contents dry as well as minimising any possible
corrosion of the shed itself, the following hints may prove useful.
There is always dampness in soil, and this may rise into the shed if there is no barrier. A heavy duty polythene sheet may be
placed under the concrete slab to prevent evaporation into the shed.
Seal the space between the bottom frame and the concrete slab with a silicone.
• You will need a few tools, as indicated in the section HOW TO READ THIS MANUAL. Most holes for screws are predrilled. A
power screw driver or cordless drill equipped with a magnetic Philips tip will hasten assembly. Take care not to over-tighten
self-tapping screws.
• Sort, separate and identify all parts and hardware before construction. Check against the illustrations shown.
Framing components are labelled.
NOTE The Optional Single Hinged Door (available in Australia only) is packed in the A
or D Packs if it is unassembled or it will be in a separate box if it is assembled. Not all
1015 / 1019 models are provided with the Optional Single Hinged Door. This item is an
extra if you require an Optional Single Hinged Door they are available from your local
Treco Agent. If your shed contains the Optional Single Hinged Door Please read the
installation instructions on page 27 BEFORE starting construction of the shed.
Not all holes are pre-punched for hinged door construction, use the self tapping
screws provided with a battery drill or pre-drill using a 2.8mm drill bit.