6.3 Insertion of the lamp
89
CLV-190 INSTRUCTION MANUAL
Ch.6
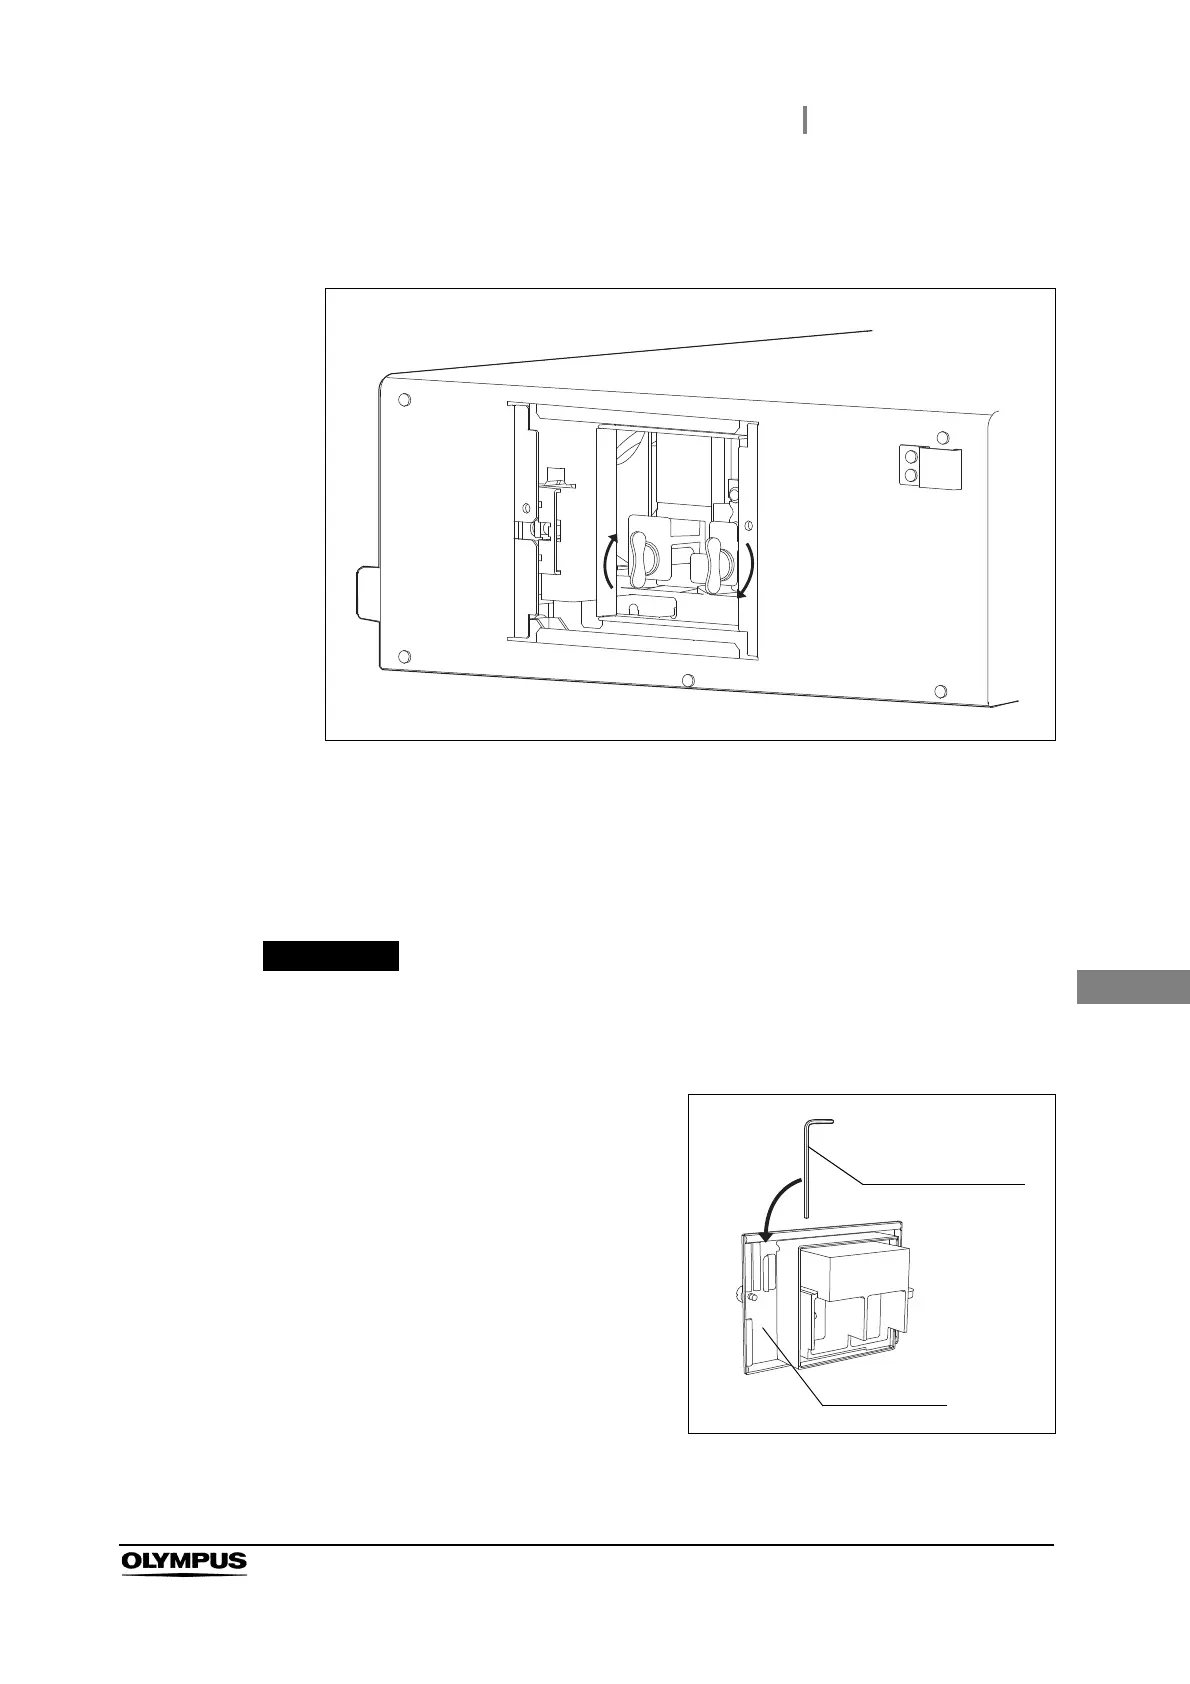
8 Turn the knob (B) clockwise by 90° from the horizontal position until it stops while
pushing the knob.
Figure 6.13
9 Turn the knob (A) clockwise by 90° from the horizontal position until it stops while
pushing the knob. (See Figure 6.13)
10 Confirm that the heat sinks are attached firmly by pulling the projection. (See
Figure 6.12)
If the heat sinks are not installed properly, their overheating may result in
equipment damage or drop in the examination light brightness.
11 Store the hexagon wrench back on the rear of
the lamp cover.
Figure 6.14