132
EN
Menu functions (Custom menus)
4
Setting the card to record to
MENU G Y [ Card Slot Settings]
When there are cards in both slots 1 and 2, you can select which card to record still
images and movies to.
1
Select [Card Slot Settings] in Custom Menu Y and press the Q button.
2
Use FG to select the item and press I.
• Use FG to select the setting and press the Q button.
K Save Settings Sets the recording method for still images. g “Setting the saving
method for shooting data (K Save Settings)” (P. 54)
K Save Slot Sets the card for recording still images. This is operative when [K
Save Settings] is set to [Standard] or [Auto Switch].
n Save Slot
Sets the destination for recording movies.
q Slot Selects the card for still image playback when [K Save Settings]
is set to [Dual Independent 1], [Dual Independent 3], [Dual
Same 1], or [Dual Same 3].
Assign Save Folder Sets the card save destination folder.
Assign Save Folder
1
Select [Assign Save Folder] and press I.
2
Select [Assign] and press I.
3
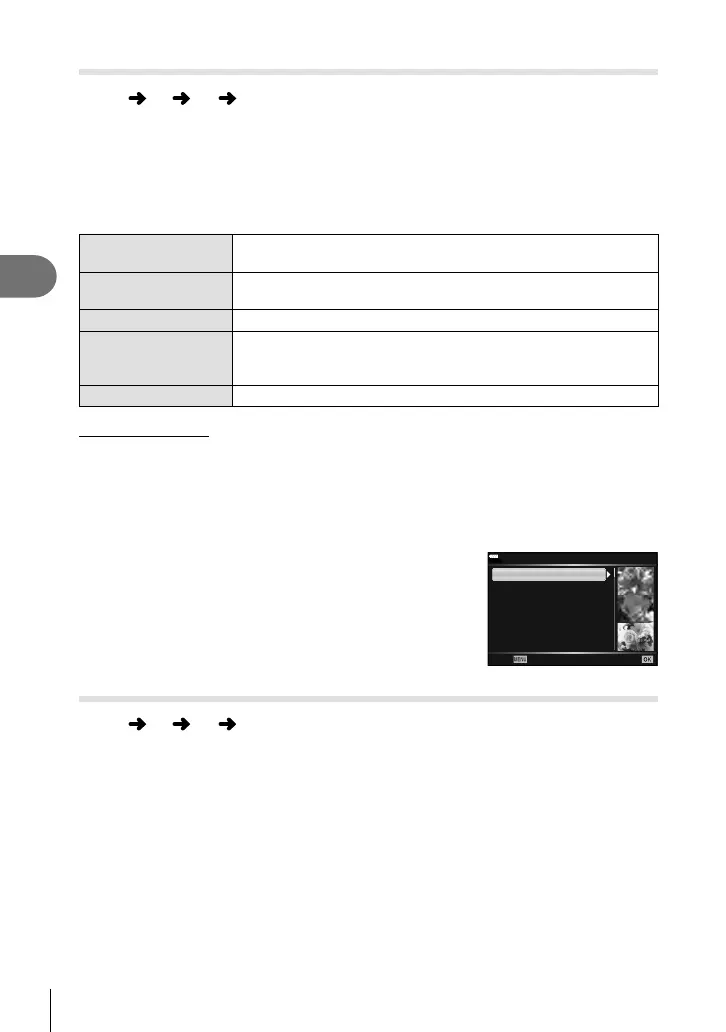
Select a folder and press the Q button.
• If you select [New Folder], specify the 3-digit folder number and press the Q button.
• If you select [Existing Folder], use FG to select the
existing folder and press the Q button.
The fi rst 2 frames and the last frame in the selected
folder are displayed.
100
%
Existing Folder
Back Set
100OLYMP
101OLYMP
200OLYMP
202OLYMP
305OLYMP
420OLYMP
500OLYMP
5671
30
49
125
3250
108
427
Saving lens info
MENU G Y [ Lens Info Settings]
Store lens info for up to 10 lenses that do not supply info automatically to the camera.
1
Select [Create Lens Information] for [Lens Info Settings] in Custom Menu Y.
2
Select [Lens Name] and enter a lens name. After entering a name, highlight
[END] and press the Q button.
3
Use FGHI to choose the [Focal Length].
4
Use FGHI to choose the [Aperture Value].
5
Select [Set] and press the Q button.
• The lens will be added to the lens info menu.
• When a lens that does not supply info automatically is attached, the info used is indicated
by . Highlight a lens with a icon and press the Q button.
 Loading...