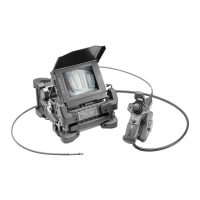
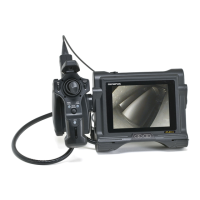
4-5 Observing the inspection object
1 Turn ON the illumination.
2 While looking at the display screen, insert the insertion tube into the inspection object.
Insert the insertion tube carefully while checking the insertion direction.
3 Use the [ANGLE/LOCK] joystick to perform angulation operations and observe the
applicable areas on the display screen.
Be careful not to apply the excessive pushing force, twisting or tension to the insertion tube.
4 Lock the angle and direction of the angulation section (angulation lock) and perform
observation.
When the angulation section is set to the desired angle and direction, press the [ANGLE/
LOCK] joystick.
The angulation angle can be adjusted finely even though the angulation is locked.
When the angulation is locked, the angle lock icon (
) appears in the upper right area of
the LCD monitor.
Adjust and record the image if necessary.
5 While looking at the display screen, pull out the insertion tube from the inspection
object slowly and carefully.
If the angulation is locked, press the [ANGLE/LOCK] joystick to unlock the angulation and
then, pull out the insertion tube.
NOTE
●
If the following message appears while inspecting, immediately stop observation,
carefully pull out the insertion tube, and perform the required action as instructed in
“Error messages” (page 91).
–
HIGH TEMPERATURE (DISTAL END). PLEASE IMMEDIATELY PULL OUT THE INSERTION
TUBE.
●
When operating the angulation section, do not bend the insertion tube to its minimum
bend radius or less (20 mm for 4 mm type, 30 mm for 6 mm type).
IPLEX G Lite
37
 Loading...


