47
STM7
2
Setting the DIC slider
3
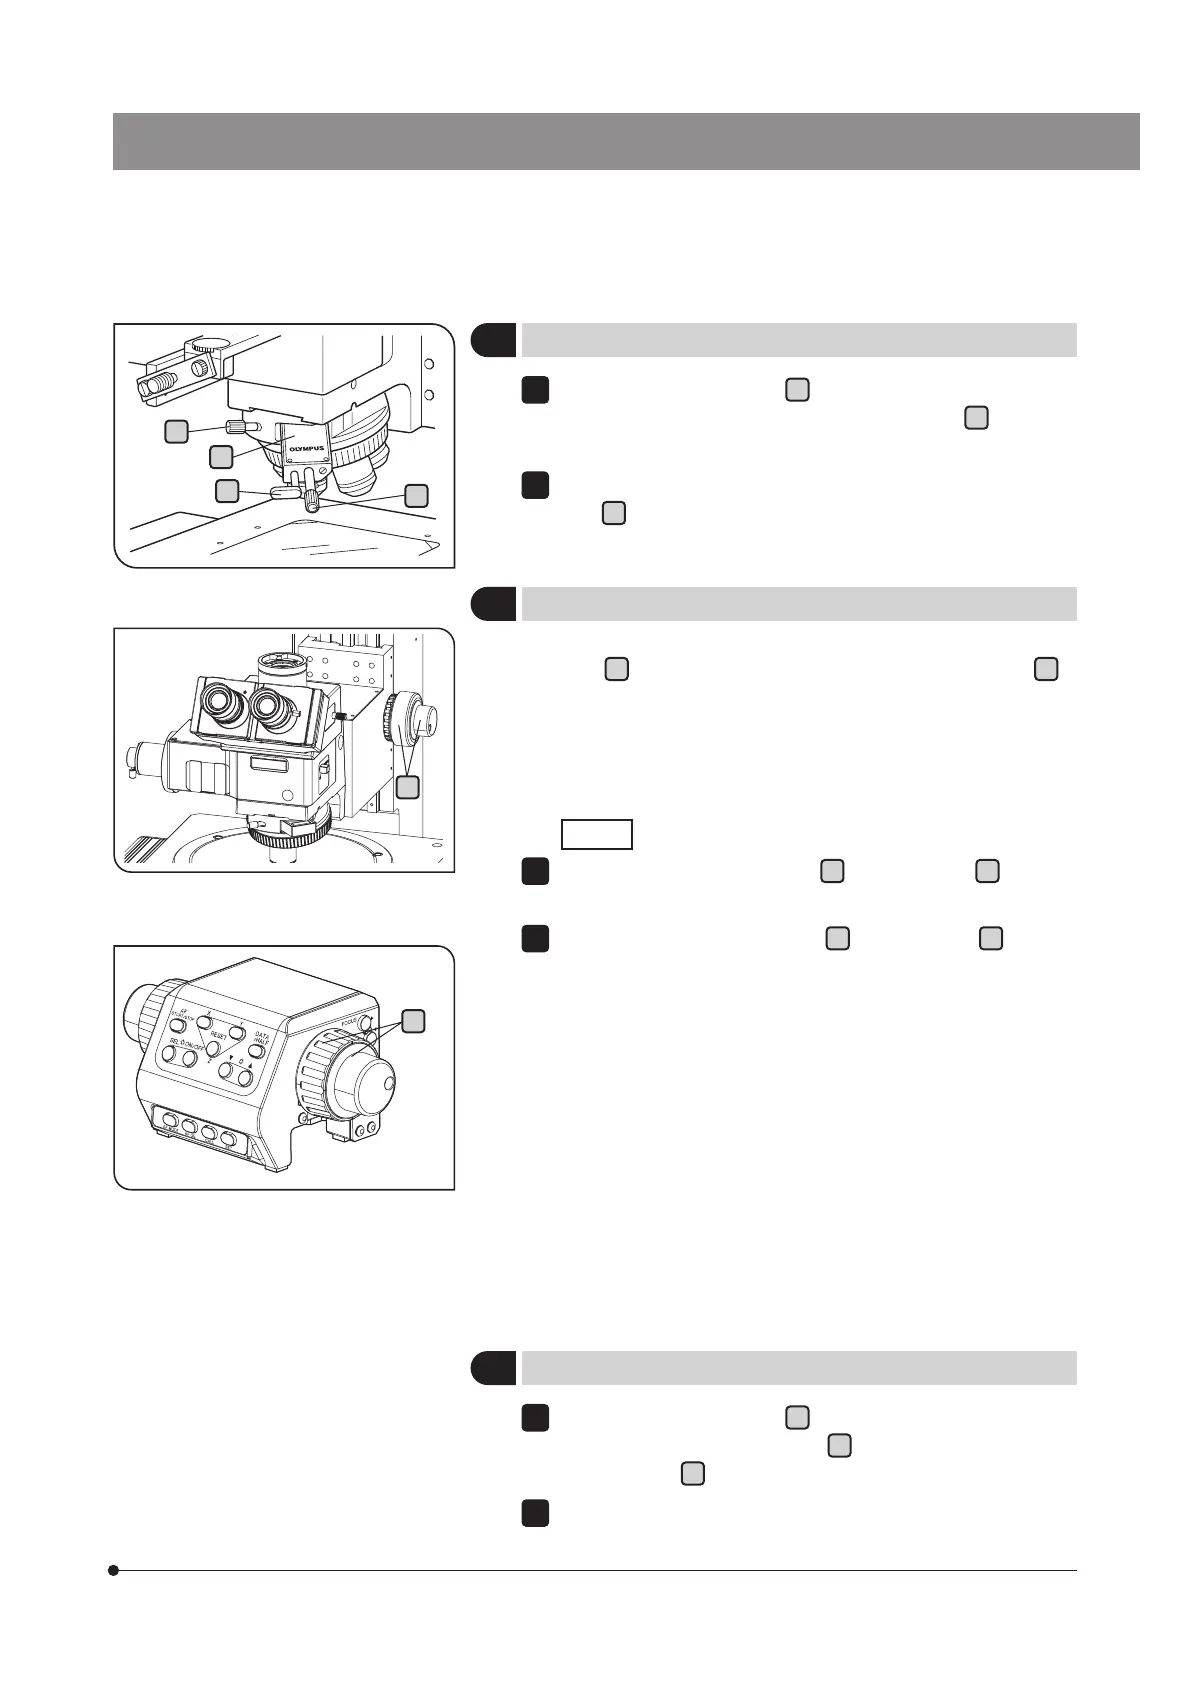
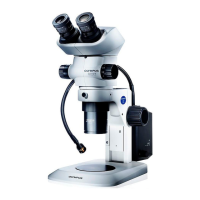
Observation procedure
Loosen the clamping knob
a
on the front of the DIC revolving
nosepiece, remove the dummy, insert the DIC slider
b
so that the
surface with indications faces upward, and tighten the clamping knob.
If MPLFLN/UMPlanFI series objectives are in use, push in the switch
lever
c
. If LMPLFLN/LMPLanFI series objectives are in use, pull out
the switch lever.
2
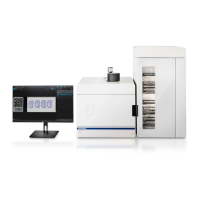
Place the specimen on the stage, and rotate the fine/coarse focusing
knob
e
of the focusing unit or the fine/coarse focusing knob
f
of
the focus controller STM7-MCZ to bring the specimen on the stage
into focus.
For details of the focus controller STM7-MCZ, see "3-4 Focus controller
(Motorized frame only)" (page 28).
U-DICR
Rotate the prism movement knob
d
of the DIC slider
b
within the
range from -100 to 600 nm to adjust the background color contrast.
Rotating the prism movement knob
d
on the DIC slider
b
varies the
background interference color continuously from gray sensitive color
to magenta sensitive color (–100 to 600 nm). Set the interference color
providing highest contrast for the specimen in use.
} When the background color is set to the gray color, observation with
excellent contrast and three-dimensionality can be performed due
to the highest-speed gray sensitive color.
} When the background color is set to the magenta sensitive color,
even very small change in phase can be observed as change in
color.
} When using the autofocus unit STM7-AF, the focusing may not be
available within the adjustment range (where the interference color
is near orange.) of certain DIC prisms.
1
2
a
b
c
d
4
Switching to brightfield observation
Loosen the clamping knob
a
on the front of the DIC revolving
nose, pull out gently the DIC slider
b
until it clicks, then tighten the
clamping knob
a
.
Slide out the analyzer U-AN360-3 and the polarizer to disengage them
from the light path.
2
f
e