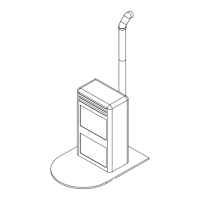
Q9 DUCTED INSTALLATION
The insert is provided on an iron sliding base, which allows it to be installed in a pre-existing chimney.
This sliding base allows to extract the insert easily both for loading the pellets inside the tank and for any maintenance or end of
season cleaning. If there is not an existing chimney, one can be built using the insert-holder pedestal (optional kit); in fact, the
latter xes the insert to the ground.
Moreover, n°.3 extension frames are provided with the insert (6 cm) to allow the hot air that forms inside to escape and allow
the chimney insert to be ventilated.
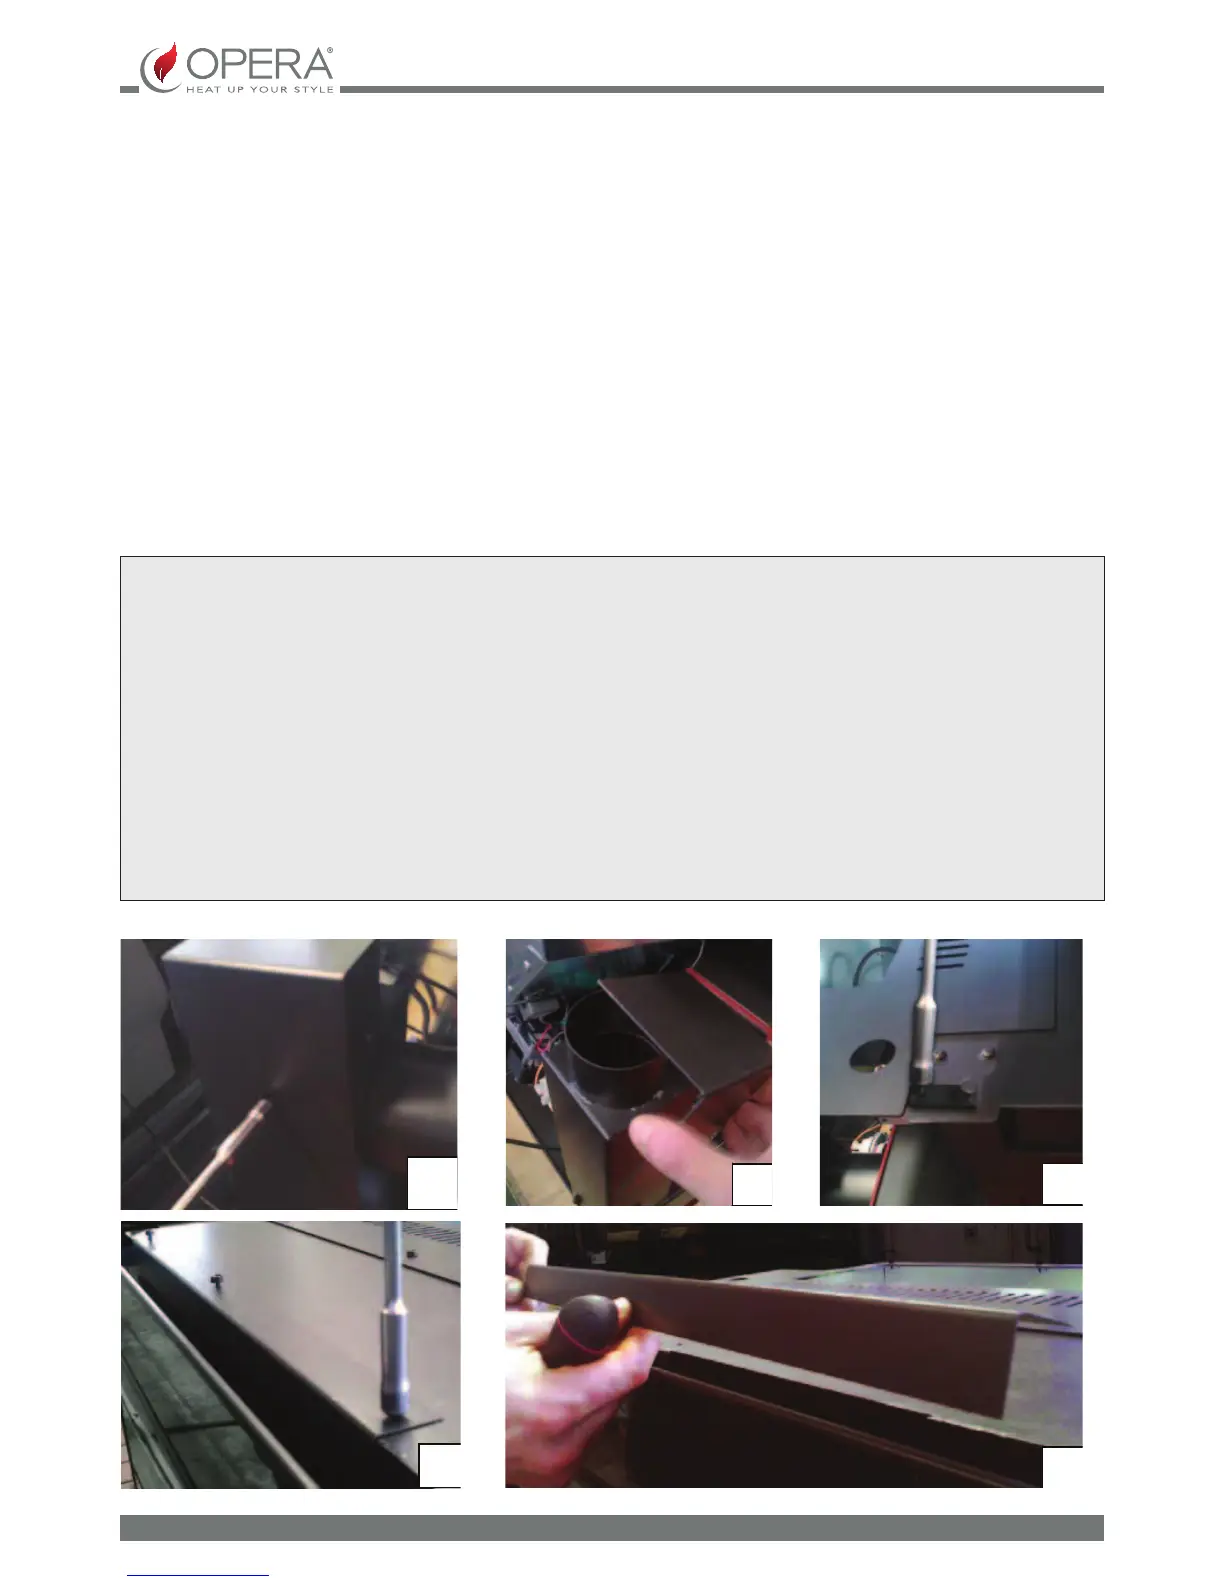
Description of components:
Sliding base
Track
Smoke exhaust duct
Primary air intake duct
Current socket plug
Frame
Ducted air duct
ATTENTION
BEFORE PROCEEDING WITH INSTALLATION, THE INSERT MUST BE CONFIGURED ON THE BASIS OF ENVISIONED
USE:
NON DUCTED (frontal hot air only)
DUCTED (possibility of diverting hot air into other rooms)
- If a ducted insert is used, remove the ducting pipe cap (see gure below: A,B) and the ducting block plate (see gure
below: C).
- If a non ducted insert is used, remove the front air guard (see gure below: D,E).
ACTIVATE THE LEVER FOR THE REAR AIR DUCTED ONLY IF THE RELATIVE TUBES HAVE BEEN INSTALLED BY
QUALIFIED STAFF FOR THE DUCTING IF HOT AIR.