32
Model 72 User Manual - OPEX Corporation
Adding a new job
The supervisor has the ability to create a new job.
1 On the Change Job List screen (Figure 33), select ADD, and press Enter.
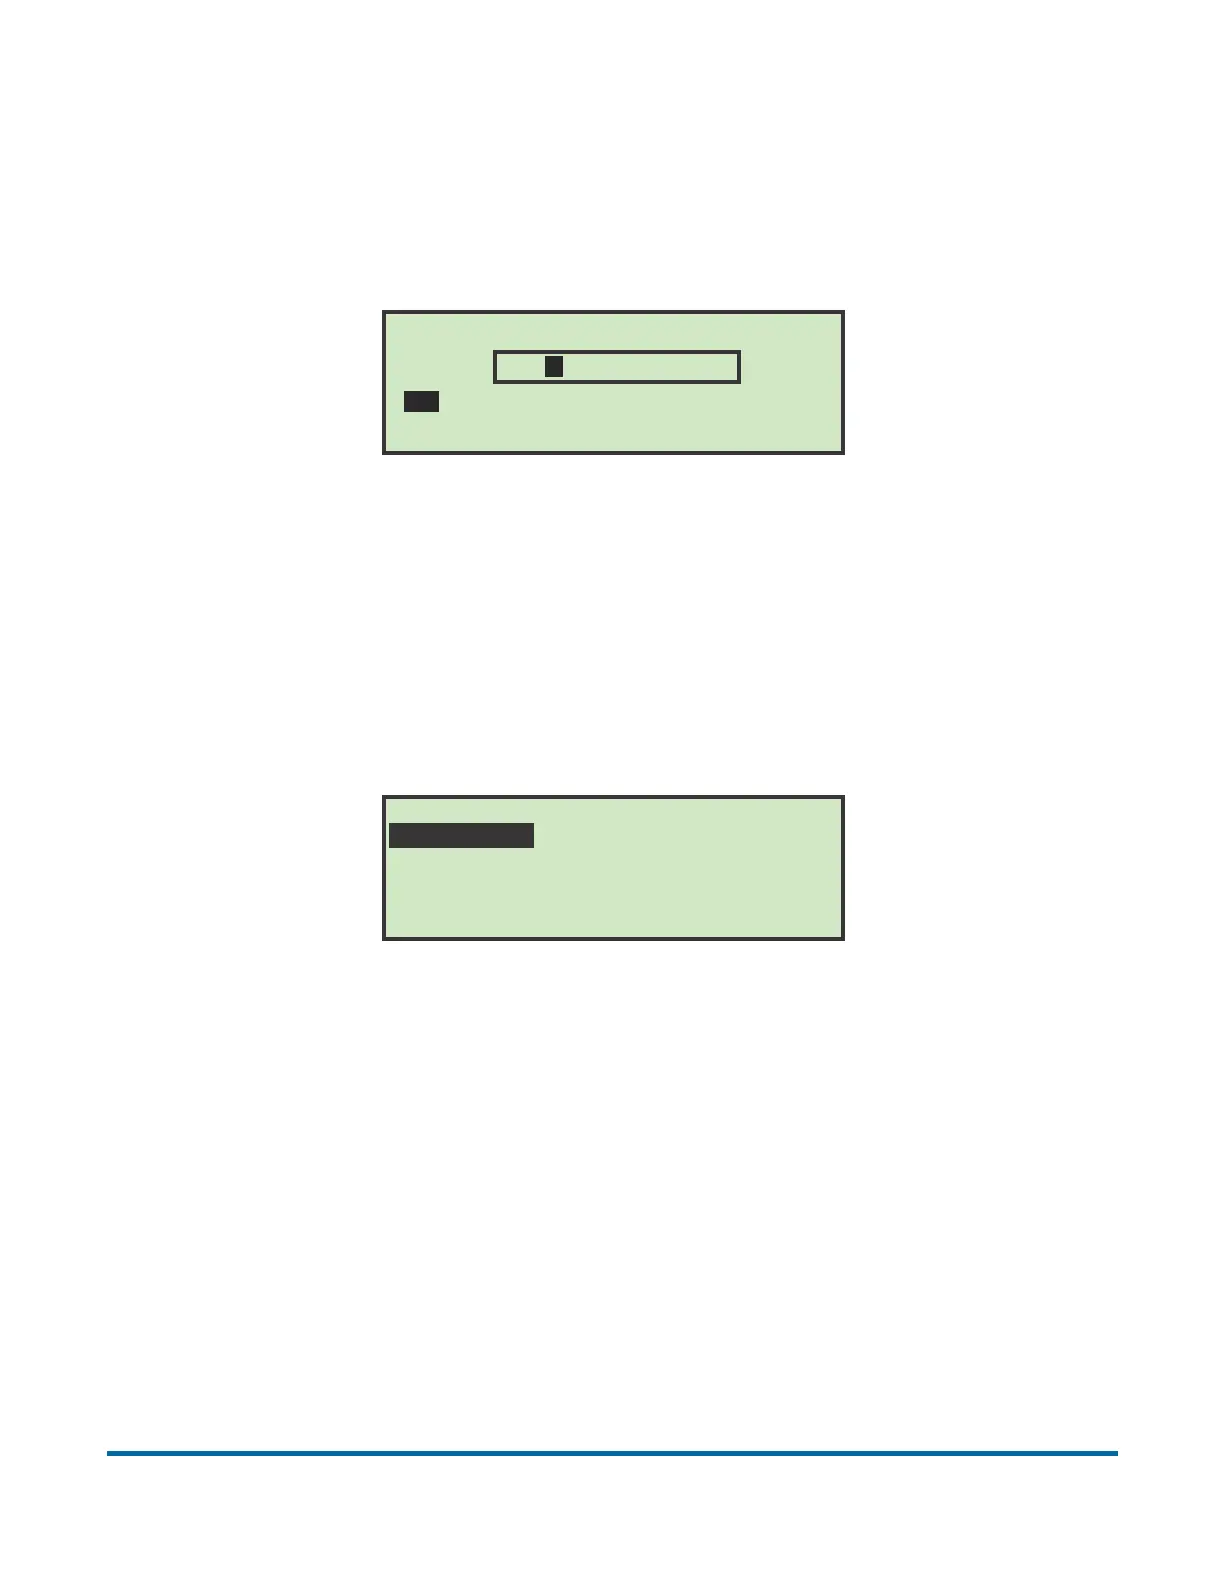
The RENAME JOB screen appears.
Figure 34: Rename Job screen
2 Enter the new job name using the Arrow buttons to navigate through the
onscreen keypad. Selecting SAV will create the new job. Pushing the
Cancel button on the keypad will end the job creation process.
Once you have named the job and selected SAV, the following screen
appears.
Figure 35: Place Cursor Over New Location (job) screen
Note: The job names that appear on your screen will most likely be different.
3 Place the cursor over an existing job and press Enter to place the job in the
list. The new job will be placed after the selected job, and the SELECT JOB
OPTION screen appears.
RENAME JOB
A B C D E F G H I J K L M
N O P Q R S T U V W X Y Z
0 1 2 3 4 5 6 7 8 9 ( SAV
NEW
PLACE CURSOR OVER NEW LOCATION
TEST JOB NEW