66
[Area Allocating] RLS-2020 series, RLS-3060SH or RLS-3060L (version 8.0.0 or later).
1. Click Setting button (the 3rd button).
2. Dialog box will appear. Click Masking Allocating button.
3 files, No.2 to No.4, are supported by RLS-2020S and RLS-3060.
Note: In default settings, all area is defined as A1. When an object is detected, A1 is reported by REDWALL
Event Code and/or relay output. File Name can be changed.
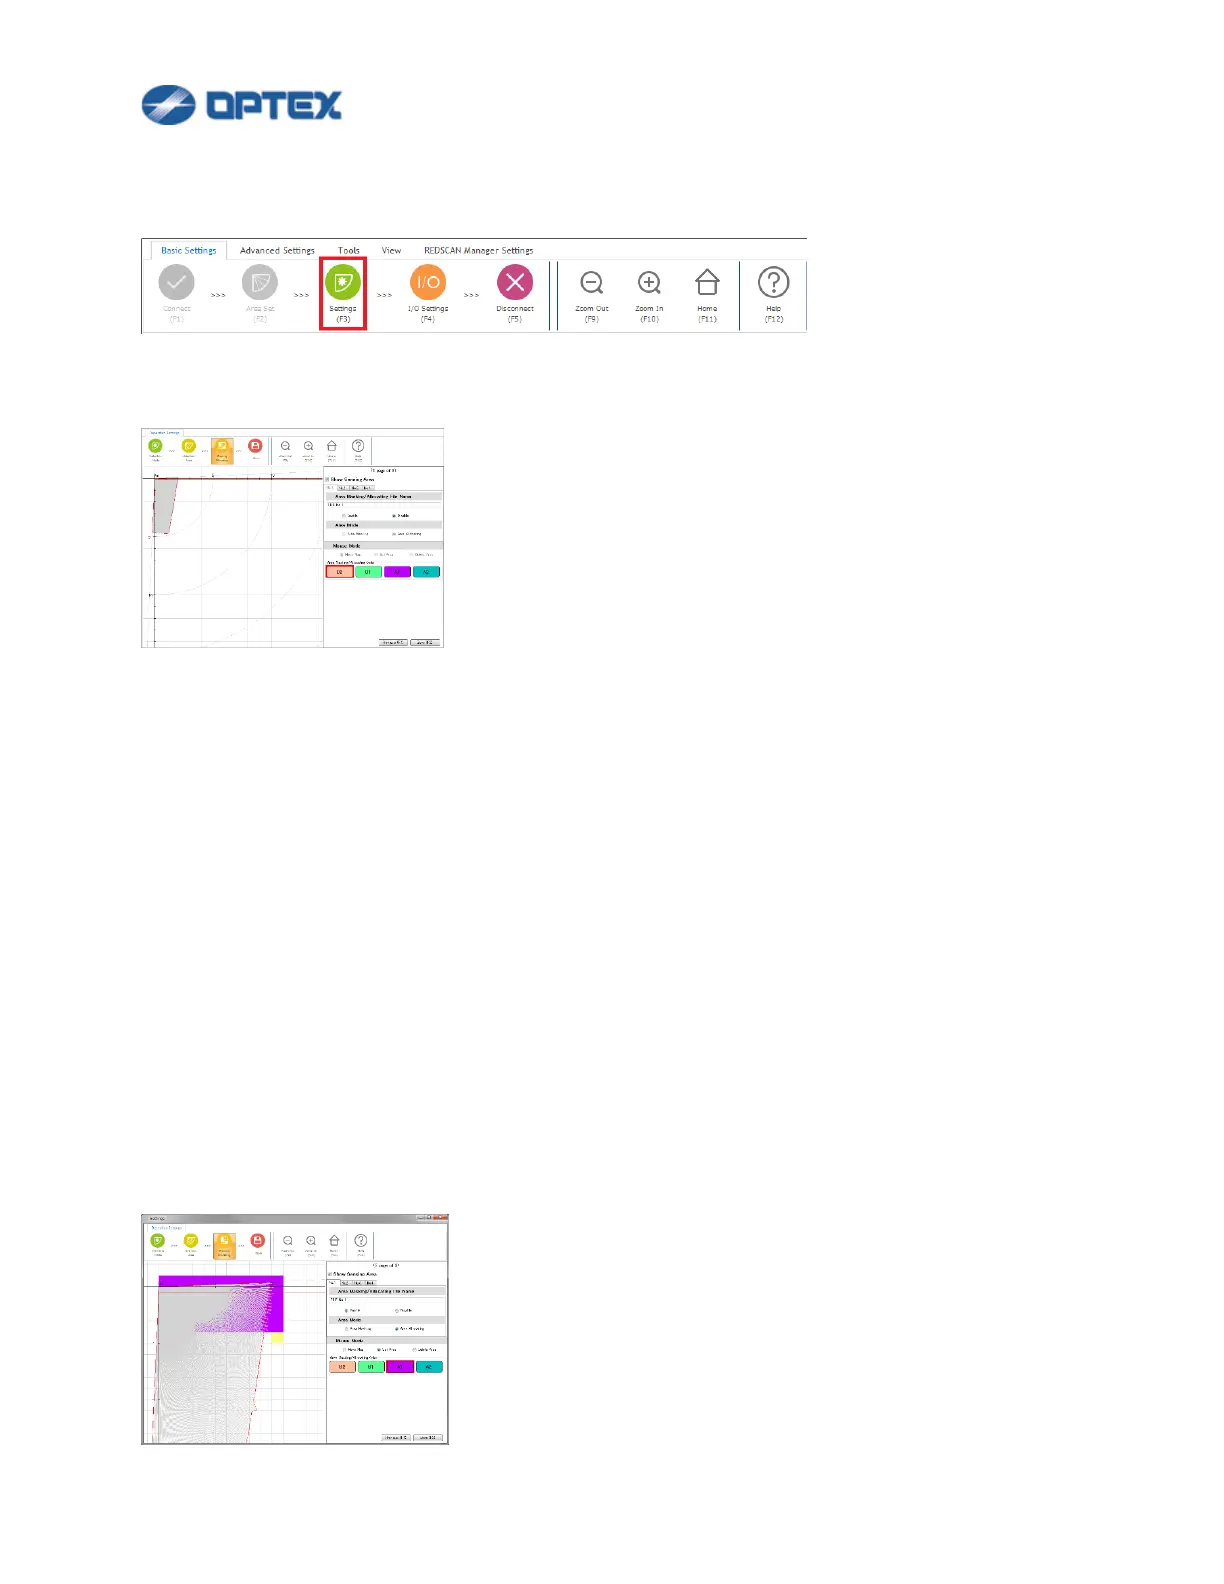
3. To Allocate Area
(1) Select File Number (RLS-2020S or RLS-3060SH). The file contains masking/allocating settings.
Applied file can be switched by Relay Input.
(2) Select Enable.
(3) Select Area Allocating.
(4) Select Set Area. Select A1, A2, B1 or B2.
(5) Click preferable area on the map. The purple box means A1 area. When objects are detected in the
purple area, A1 is reported by REDWALL Event Code and/or relay output.
⚫ To cancel the area, select Delete Area and click the area.
⚫ To move the map by mouse, select Move Map.
⚫ To erase sensing area, uncheck Show Sensing Area.

 Loading...