152
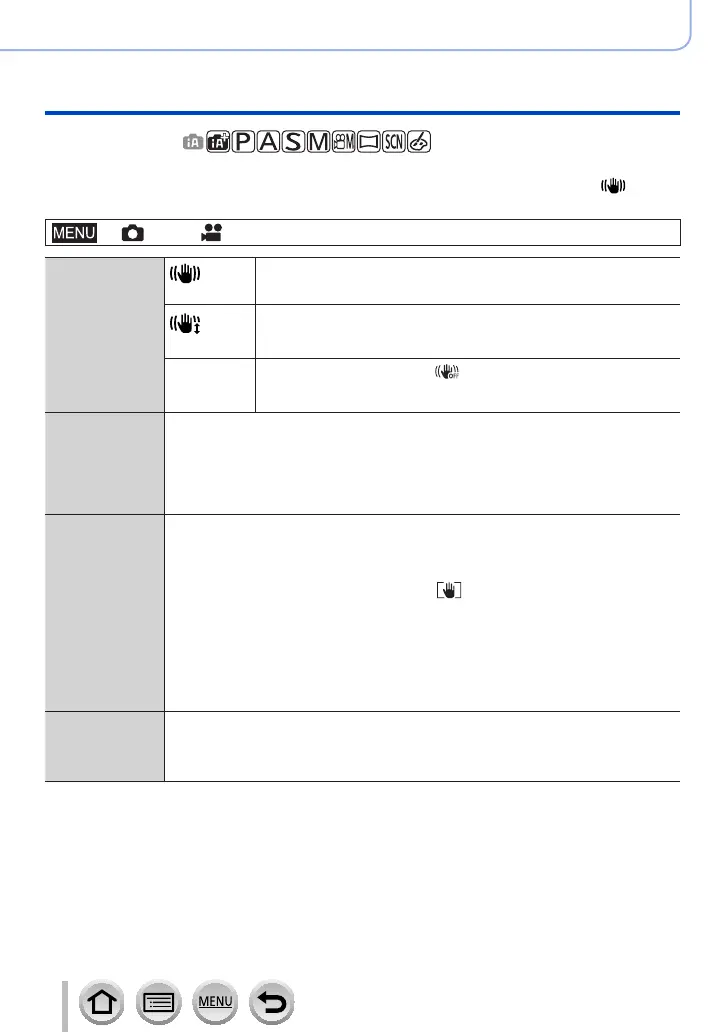
Stabiliser, Zoom and Flash
Correcting jitter
Recording mode:
• When using an interchangeable lens with [O.I.S.] switch (such as H-FS14140),
stabiliser function is activated if the [O.I.S.] switch of the lens is set to [ON] ([ ] is set
at the time of purchase.)
→ [Rec] / [Motion Picture] → [Stabilizer]
[Operation
Mode]
(Normal)
Corrects vertical, horizontal and rotational jitter.
(Panning)
Corrects vertical jitter. This setting is ideal for panning (technique
of recording a subject by matching the camera movement with the
movement of a subject going in a specific direction).
[OFF]
[Stabilizer] does not work. ([
])
• When using a lens with an [O.I.S.] switch, set the switch to
[OFF].
[E-Stabilization
(Video)]
Jitter during motion picture recording is corrected along the vertical, horizontal,
roll, pitch, and yaw axes by making use of the In-Lens Image Stabiliser, In-Body
Image Stabiliser, and Electronic Image Stabiliser. (5-Axis Hybrid Image Stabiliser)
[ON] / [OFF]
• When [ON] is selected, the angle of view of recorded motion pictures may
become narrower.
[I.S. Lock
(Video)]
Allows you to enhance the image stabilization effect during motion picture
recording. This effect can keep the motion blur in the composition minimal when
you want to perform recording from a fixed perspective.
[ON] / [OFF]
• This effect works only during recording. [
] is displayed on the recording
screen.
• To change the composition during recording, set the effect to [OFF] first,
and then move the camera. Use the appropriate function button to change
the setting to [OFF] during recording. (→60)
• In situations where the focal length becomes greater, such as when a telephoto
lens is attached, the stabilization effect will be weaker.
• The stabilization effect may be weak depending on the lens used.
[Focal Length
Set]
If the focal length is not set automatically, you can set it manually.
• When a manually selected focal length is set, a confirmation screen asking you
to change the focal length setting is displayed after you turn on the camera.
Selecting [Yes ] allows you to set [Focal Length Set] in [Stabilizer].

 Loading...