41
Preparations
Setting the clock
7
When [The clock setting has been completed.] is displayed,
press [MENU/SET]
8
When [Please set the home area] is displayed, press
[MENU/SET]
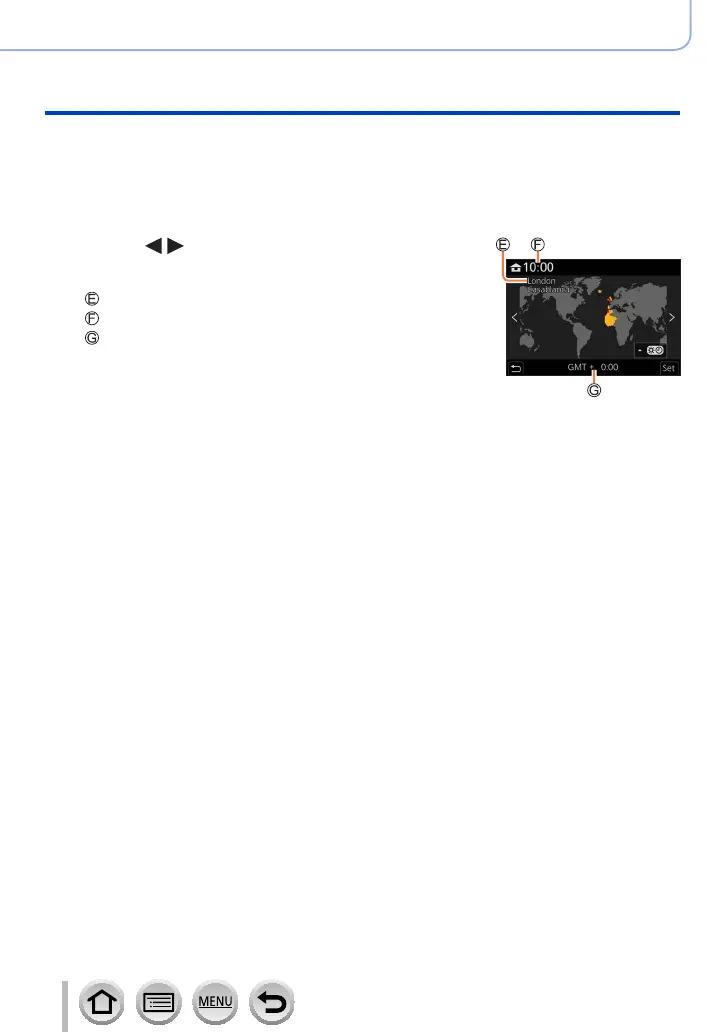
9
Press to set your home area and
press [MENU/SET]
City or area name
Current time
Difference from GMT (Greenwich Mean Time)
• When an interchangeable lens (H-FS12032/
H-FS35100) is used and the lens barrel is retracted,
recording is not possible (a message will be
displayed). Rotate the zoom ring to extend the lens.
(→43)
■
Changing time settings
Perform steps
5
and
6
by selecting [Setup] menu → [Clock Set].
• For details about how to set the menu (→56)

 Loading...