25
ENGLISH
Setting the projection method
The projection method can be set in accordance with the way the projector has been installed. If the projected
picture is upside-down or back-to-front, change the projection method while referring to illustrations A to D below.
Set the projection method by displaying on-screen displays using the control buttons on the remote control unit or
the projector operating panel.
Setting procedure
Press the MENU button. ... The MENU screen will be displayed.
Press the UP( ) and DOWN ( )arrow buttons to select OPTION.
• The text colour of a selected item will change.
Press the ENTER button. ... The OPTION screen will be displayed.
Press the UP( ) and DOWN ( ) arrow buttons to select SETTING.
Press the LEFT ( ) and RIGHT ( ) arrow buttons to select the projection method.
• The display and the projection method will change as shown below each time the
LEFT ( ) or RIGHT ( ) arrow button is pressed.
Press the MENU button twice.
• The on-screen display will disappear and the screen will return to the normal
state.
MENU
AUTO SETUP
LENS
PICTURE
POSITION
OPTION
SIGNAL LIST
TEST PATTERN
MENU :
SUBMENU : ENTER
EXIT : MENU
FRONT-F REAR-C REAR-F FRONT-C
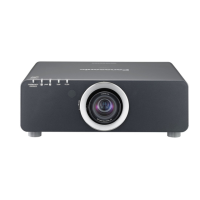
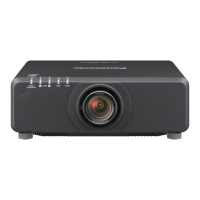
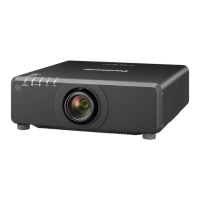
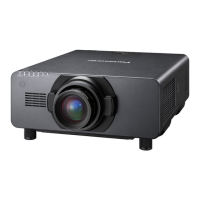
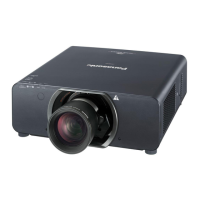
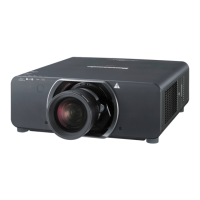
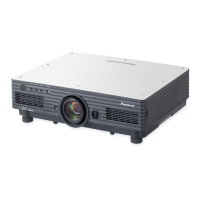
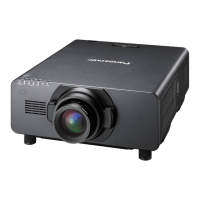
A : Front-floor projection (FRONT-F) B : Rear-ceiling projection (REAR-C)
C : Rear-floor projection (REAR-F) D : Front-ceiling projection (FRONT-C)
 Loading...
