67
ENGLISH
Adjusting the edge blending
Adjustment procedure
Press the MENU button. ... The MENU screen will be displayed.
Press the UP ( ) and DOWN ( ) arrow buttons to select POSITION.
Press the ENTER button. ... The POSITION screen will be displayed.
Press the UP ( ) and DOWN ( ) arrow buttons to select EDGE BLENDING.
Press the ENTER button. ... The EDGE BLENDING screen will be displayed.
Press the UP ( ) and DOWN ( ) arrow buttons to select designate the area
to blend.
• If blending the upper part : set UPPER to ON.
• If blending the lower part : set LOWER to ON.
• If blending the left part : set LEFT to ON.
• If blending the right part : set RIGHT to ON.
Press the LEFT ( ) and RIGHT( ) arrow buttons to turn ON and OFF.
Adjust the correction area using the control level buttons ( + and − ).
• Used when displaying adjustment marker.
Select MARKER using the UP ( ) and DOWN ( ) arrow buttons.
Select ON and OFF using the LEFT ( ) and RIGHT( ) arrow buttons.
MENU
AUTO SETUP
LENS
PICTURE
POSITION
OPTION
SIGNALLIST
TEST PATTERN
MENU :
SUBMENU : ENTER
EXIT : MENU
POSITION
SHIFT
SIZE
BLK
CLOCKPHASE
INPUTRESOLUTION
CLAMPPOSITION
KEYSTONE
EDGEBLENDING
SELECT :
SUB MENU : ENTER
EXIT : MENU
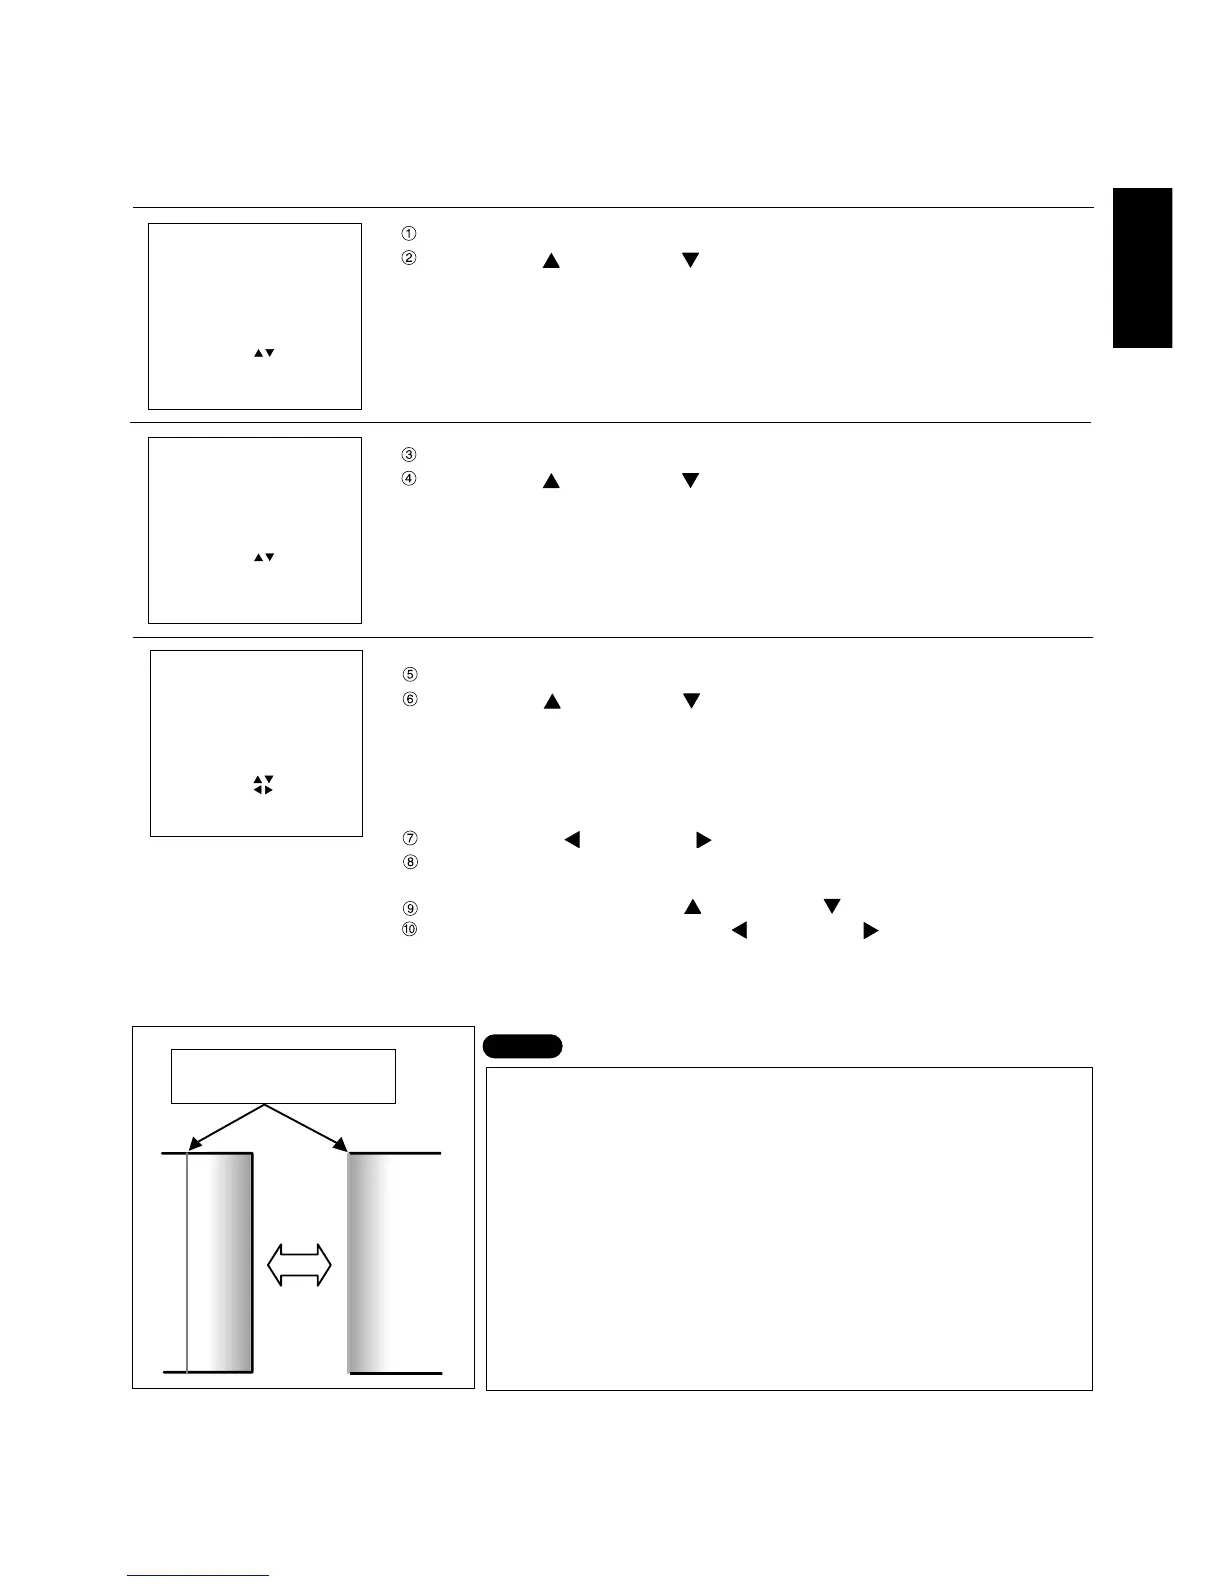
The projector is equipped with a function to blend edges that may appear on the screen during multi-screen use.
Adjustment marker
The image-positioning marker is displayed when the MARKER is turned
ON.
A green line is displayed to the top and left of the screen, and a red line
is displayed to the bottom and right of the screen. The position where
the red and green lines overlap is the best position for combining
projectors.
Caution:
Be sure to set the correction width to the same value for the two
projectors to be combined. If projectors have different values, the best
blending of edges cannot be achieved.
NOTE
EDGEBLENDING
UPPER : OFF***
LOWER: OFF***
LEFT : OFF***
RIGHT :OFF***
MARKER :OFF
SELECT :
ON/OFF :
ADJUST : + −
EXIT : MENU