[PROJECTOR SETUP] menu
On the menu screen, select [PROJECTOR SETUP] from the main menu, and select an item from the submenu.
Refer to “Navigating through the menu” (x page 59) for the operation of the menu screen.
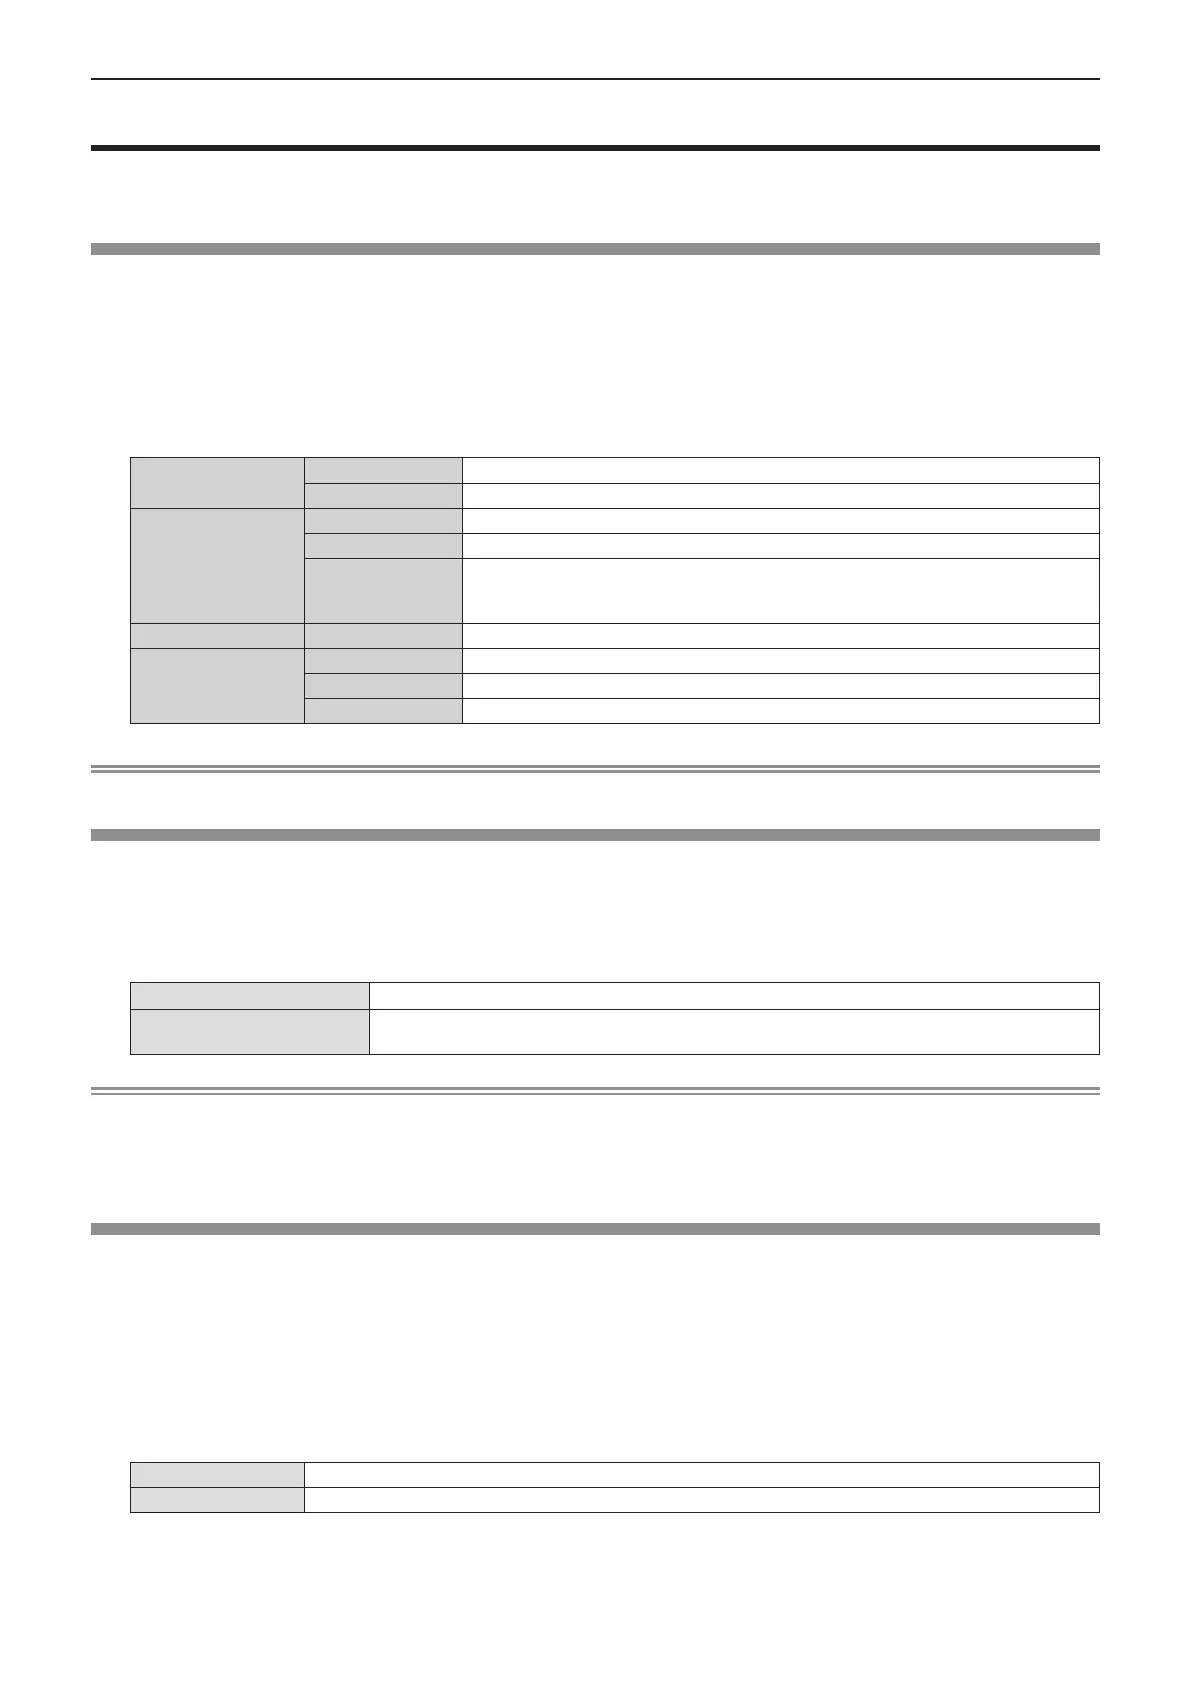
[STATUS]
Display the status of the projector.
1) Press as to select [STATUS].
2) Press the <ENTER> button.
f The [STATUS] screen is displayed.
3) Press qw to switch the pages.
f The page will change each time you press the button.
[SIGNAL]
[NAME]
Displays the name of input signal.
[FREQUENCY]
Displays the scanning frequency of input signal.
[RUNTIME]
[PROJECTOR]
Displays the actual usage time of projector.
[LIGHT RUNTIME]
Displays the runtime of the light source.
[CONTINUOUS
LIGHTING TIME]
Displays the elapsed time from when the light source is illuminated.
The elapsed time is reset when the light source is temporarily turned off such as using
the shutter function.
[SERIAL NUMBER] [PROJECTOR]
Displays the serial number of the projector.
[VERSION]
[MAIN]
Displays the main version of the rmware of the projector.
[SUB]
Displays the sub version of the rmware of the projector.
[LD]
Displays the version of the light driver of the projector.
Note
f For the network status, refer to the [NETWORK] menu → [NETWORK STATUS]. (x page 99)
[COMPUTER2 SELECT]
Switch the input/output of the <COMPUTER 2 IN/1 OUT> terminal.
1) Press as to select [COMPUTER2 SELECT].
2) Press qw to switch the item.
f The items will switch each time you press the button.
[COMPUTER2 IN]
Select when <COMPUTER 2 IN/1 OUT> terminal is used as COMPUTER 2 input.
[COMPUTER1 OUT]
Select when the signal input from the <COMPUTER 1 IN> terminal is output from the
<COMPUTER 2 IN / 1 OUT> terminal.
Note
f When COMPUTER2 input is selected, [COMPUTER2 SELECT] cannot be set.
f You cannot switch to COMPUTER 2 input when [COMPUTER2 SELECT] is set to [COMPUTER1 OUT].
f When set to [COMPUTER1 OUT], the signal input to the <COMPUTER 1 IN> terminal is output from the <COMPUTER 2 IN/1 OUT>
terminal regardless of the selected input.
[PROJECTOR ID]
The projector has an ID number setting function that can be used when multiple projectors are used side by side
to enable simultaneous control or individual control via a single remote control.
1) Press as to select [PROJECTOR ID].
2) Press the <ENTER> button.
f The [PROJECTOR ID] screen is displayed.
3) Press qw to select a projector ID.
f To select one item among [ALL] and [1] ~ [64].
[ALL]
Select when controlling projectors without specifying an ID number.
[1] ~ [64]
Select when specifying an ID number to control individual projector.
4) Press the <ENTER> button.
f [PROJECTOR ID] is set.
ENGLISH - 83
Chapter 4 Settings - [PROJECTOR SETUP] menu