22
Top
Using the printer with
Easy-Mark Plus
Troubleshooting
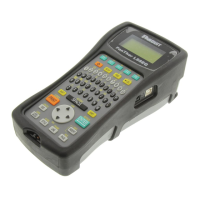
Part Names and
Functions
Start Here
Cleaning
Initializing the
Settings
Label Functions
Key Menu Index
Frame and Table Lists
Symbol List
Specications
Technical Support
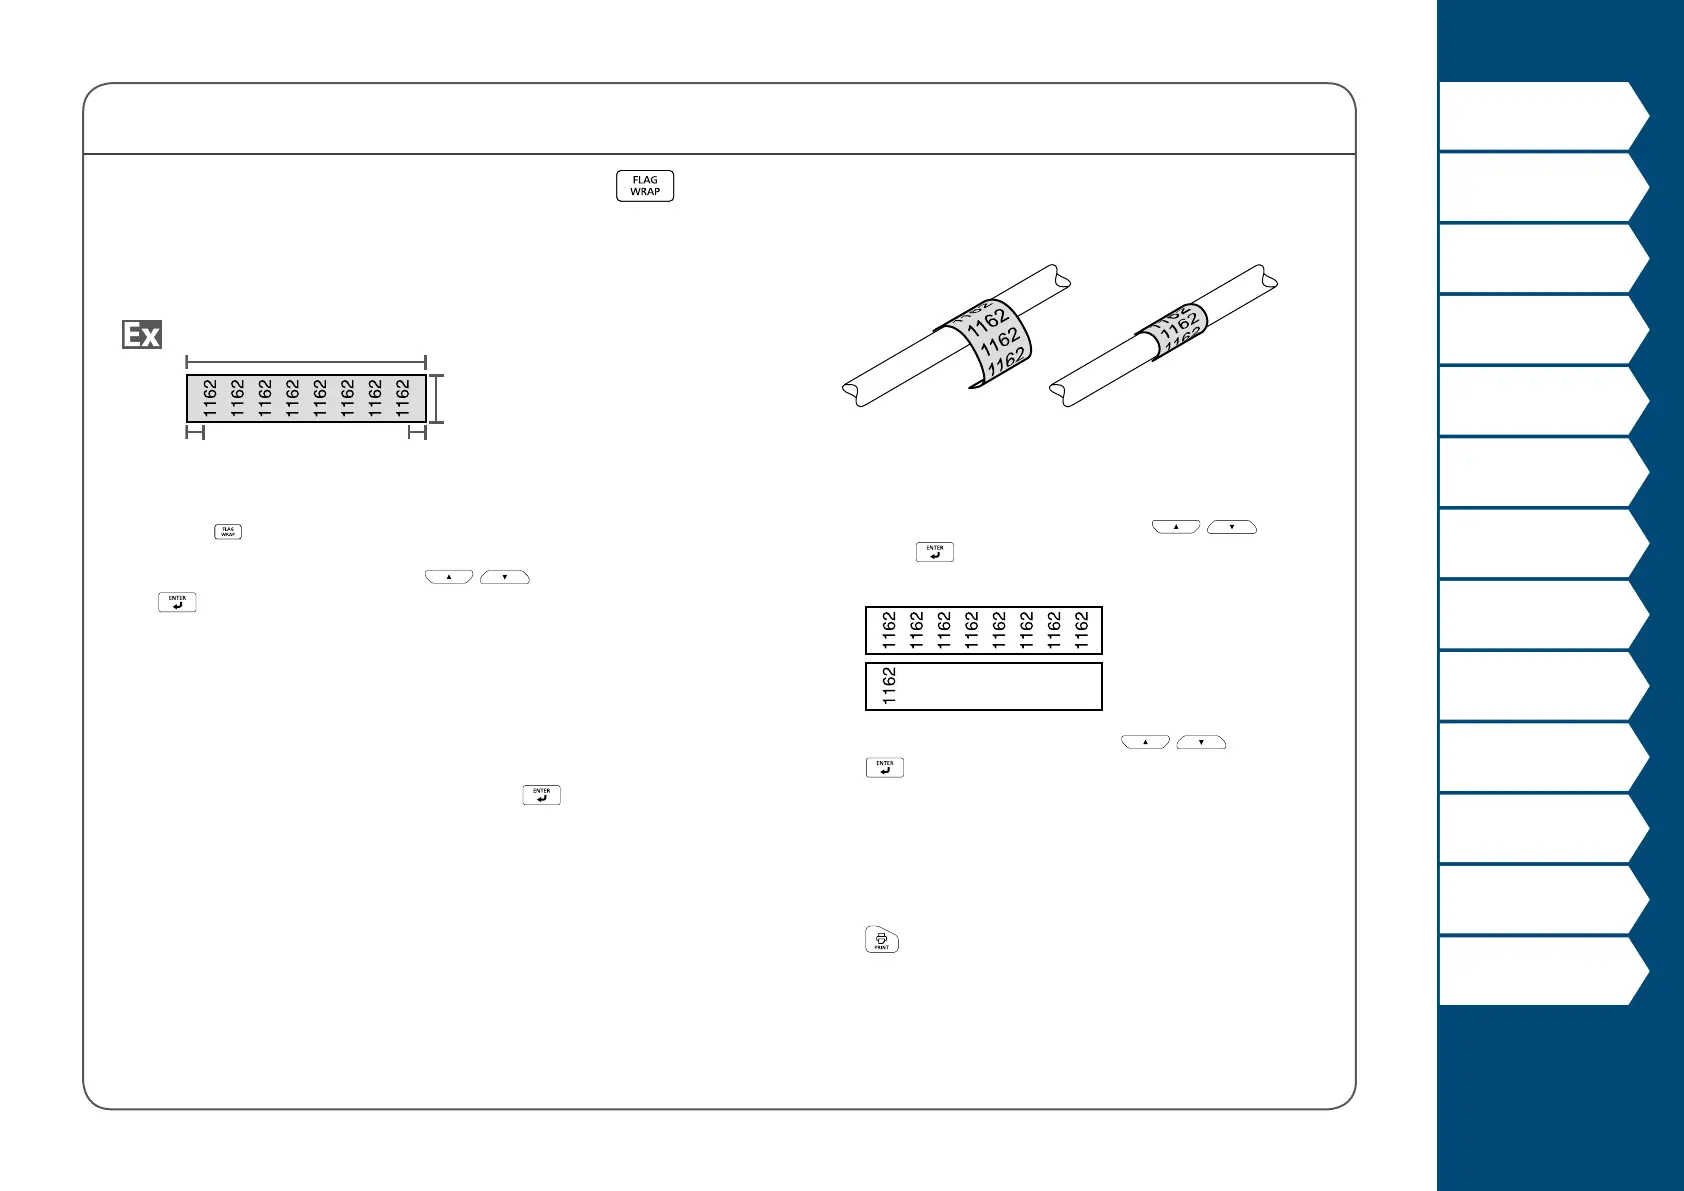
Wrap Mode
Creating Labels to Wrap around Cable
You can repeatedly print text so that it can be seen
regardless of the angle from which the cable is viewed.
Label length
Tape width
Margin
Margin
1. Press .
2. Select the length type with
/ and then press
.
In this example, we will select "Length".
AWG:
Sets the length according to the AWG wire size
standards.
Dia: Sets the length by cable diameter.
(Setting range: 0.1 to 5.9" (0.25 to 15.00 cm))
Length: Sets the length by label length.
3. Enter the label length and then press
.
Setting range: 0.39 to 39.36" (1 to 99.99 cm)
4. Select On or O of repeat text with
/ and
then press
.
In this example, we will select "On".
On
O
5. Select the type of margins with / and then
press
.
In this example, we will select "Long".
Tape/3: Sets margins that are 1/3 of the tape width.
Tape: Sets margins that are equal to the tape width.
6. Enter the text.
7. Press
.