MY22P01 - 12_1.0_31.08.2021
195
Maintenance
installing the outer sleeve and slide bushing
1 Carefully push slide bushing tube into the seat
tube.
2 Press outer sleeve downwards with your hand.
3 Use a 3 mm hex spanner to fasten the
attachment screw on the outer sleeve.
Figure 187: Fitting the slide bushing and outer sleeve
Fitting the seat post
1 Attach the outer sleeve end cap in the
counterholder on the seat post frame interface.
Figure 188: Attaching the end cap
2 Use both thumbs to push white activation slider
downwards and hold with one thumb.
Figure 189: Pushing the white activation slider
downwards
3 Attach Bowden cable with the nipple to the
bracket for the Bowden cable.
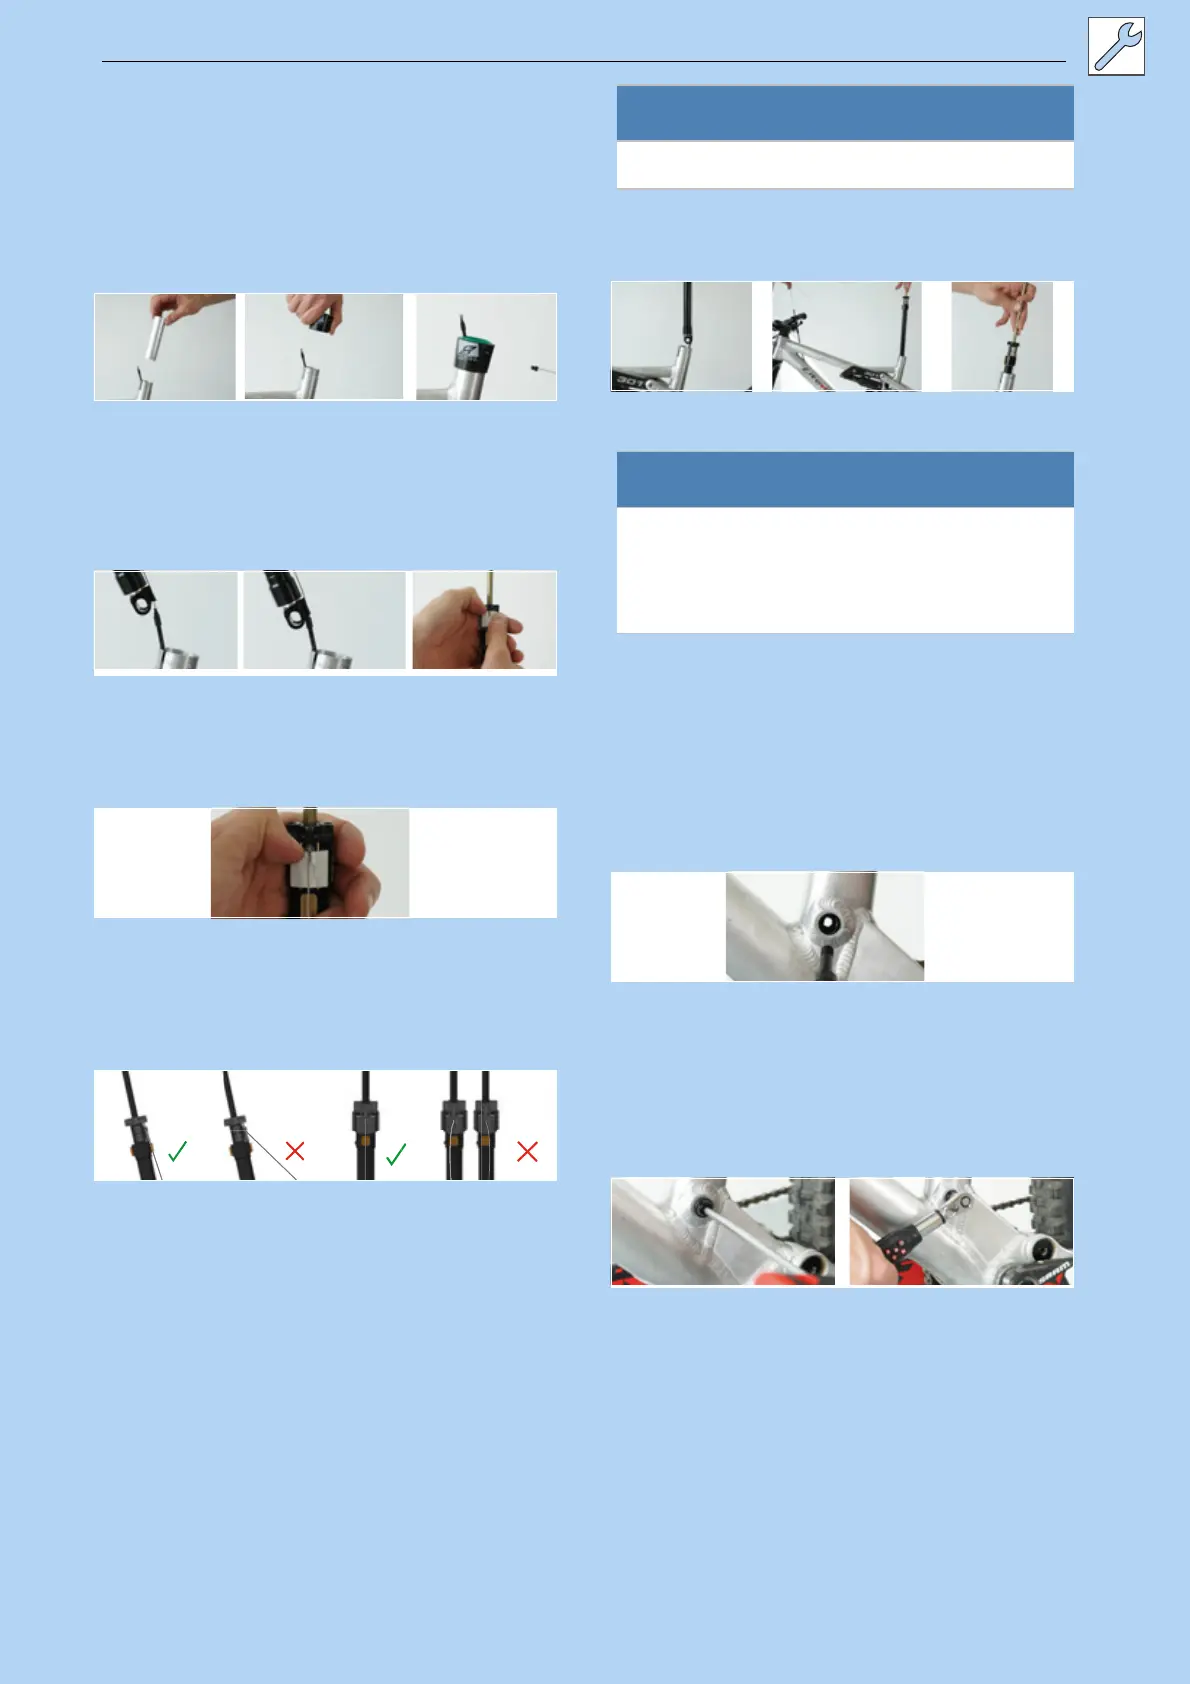
Figure 190: Correct and incorrect Bowden cable
4 Carefully push cartridge into the seat tube. Pull
the Bowden cable out of the frame to help.
Figure 191: Fastening the cartridge valve lid
5 Look at the frame interface through the hole in
the Postpin. Push the cartridge down until the
Postpin mounting interface on the seat post
reaches the Postpin interface on the frame.
6 If necessary, turn the seat post slightly and
push it to the correct position so that the
Postpin axle can be inserted.
Figure 192: Fastening the cartridge valve lid
7 Use a 5 mm hex spanner to screw in Postpin
axle and fasten slightly.
8 Use torque spanner to tighten Postpin axle with
8Nm.
Figure 193: Fastening the Postpin axle
Notice
Never pull Bowden cable forwards at an angle.
Notice
Before continuing with installation, ensure that
the Bowden cable is fed into the middle of the
longitudinal guide. If the Bowden cable is off-
centre, it will be pinched by the tube.