VisuNet RM Shell 6
How-Tos
2023-05
139
Step 2: RM / BTC Configuration
Assigning IP Address of the RM / BTC Manually
1. Log in to RM / BTC Shell as Administrator.
2. Start the System Settings App.
3. Select the submenu "Network."
4. If more than one network adapter is available, choose the network adapter with the status
"Network connected" (green).
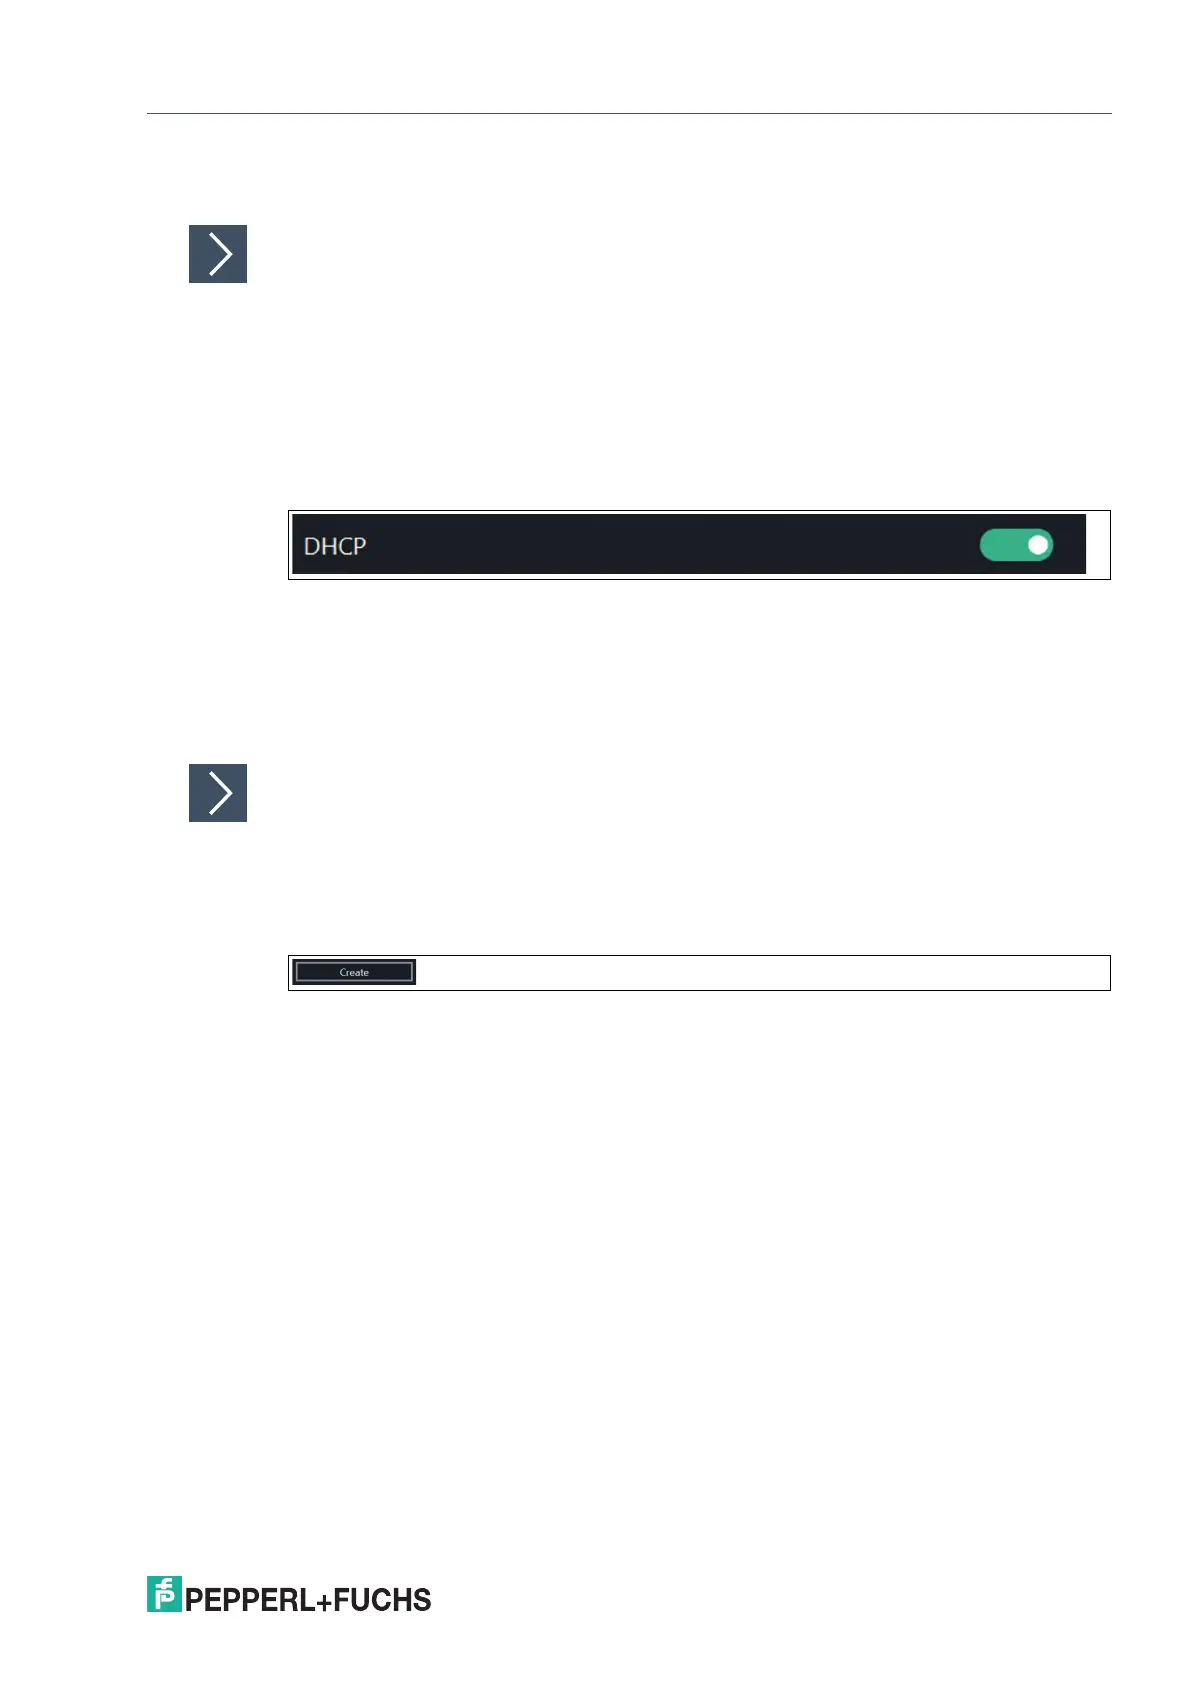
5. Disable the DHCP option.
Figure 11.14
6. In the IP address field, type an IP address that differs in the last 3 digits from the IP address that
is assigned to the PC (e.g., "192.168.124.101").
7. In the Subnet Mask field, type 255.255.255.0.
8. To confirm the changes, click "Apply Changes."
Creating a Corresponding RDP Profile
1. If you are not logged in, log in to RM Shell as Administrator.
2. Start the Profiles Management app.
3. Create a new profile by clicking
Figure 11.15
4. Select "Microsoft RDP," and click "OK."