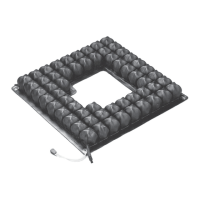
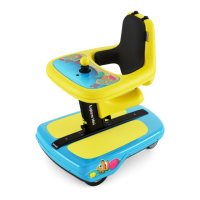
Explorer Mini Repairs - Cushion
4 Repairs
CAUTION!
Maintenance by a qualified service technician
Only qualified service technicians should perform the maintenance and repair
specified in this manual. Read all instructions carefully before proceeding. If
any questions arise, contact Permobil for assistance.
WARNING!
Use supplied screws and recommended tightening
torque
Use the supplied screws and the tightening torques recommended in this
service manual to reduce the risk of damage to the wheelchair and to prevent
causing injury to the user.
NOTICE
Replace worn screw
Worn screw must be replaced.
4.1 Cushion
4.1.1 Removing the cushion
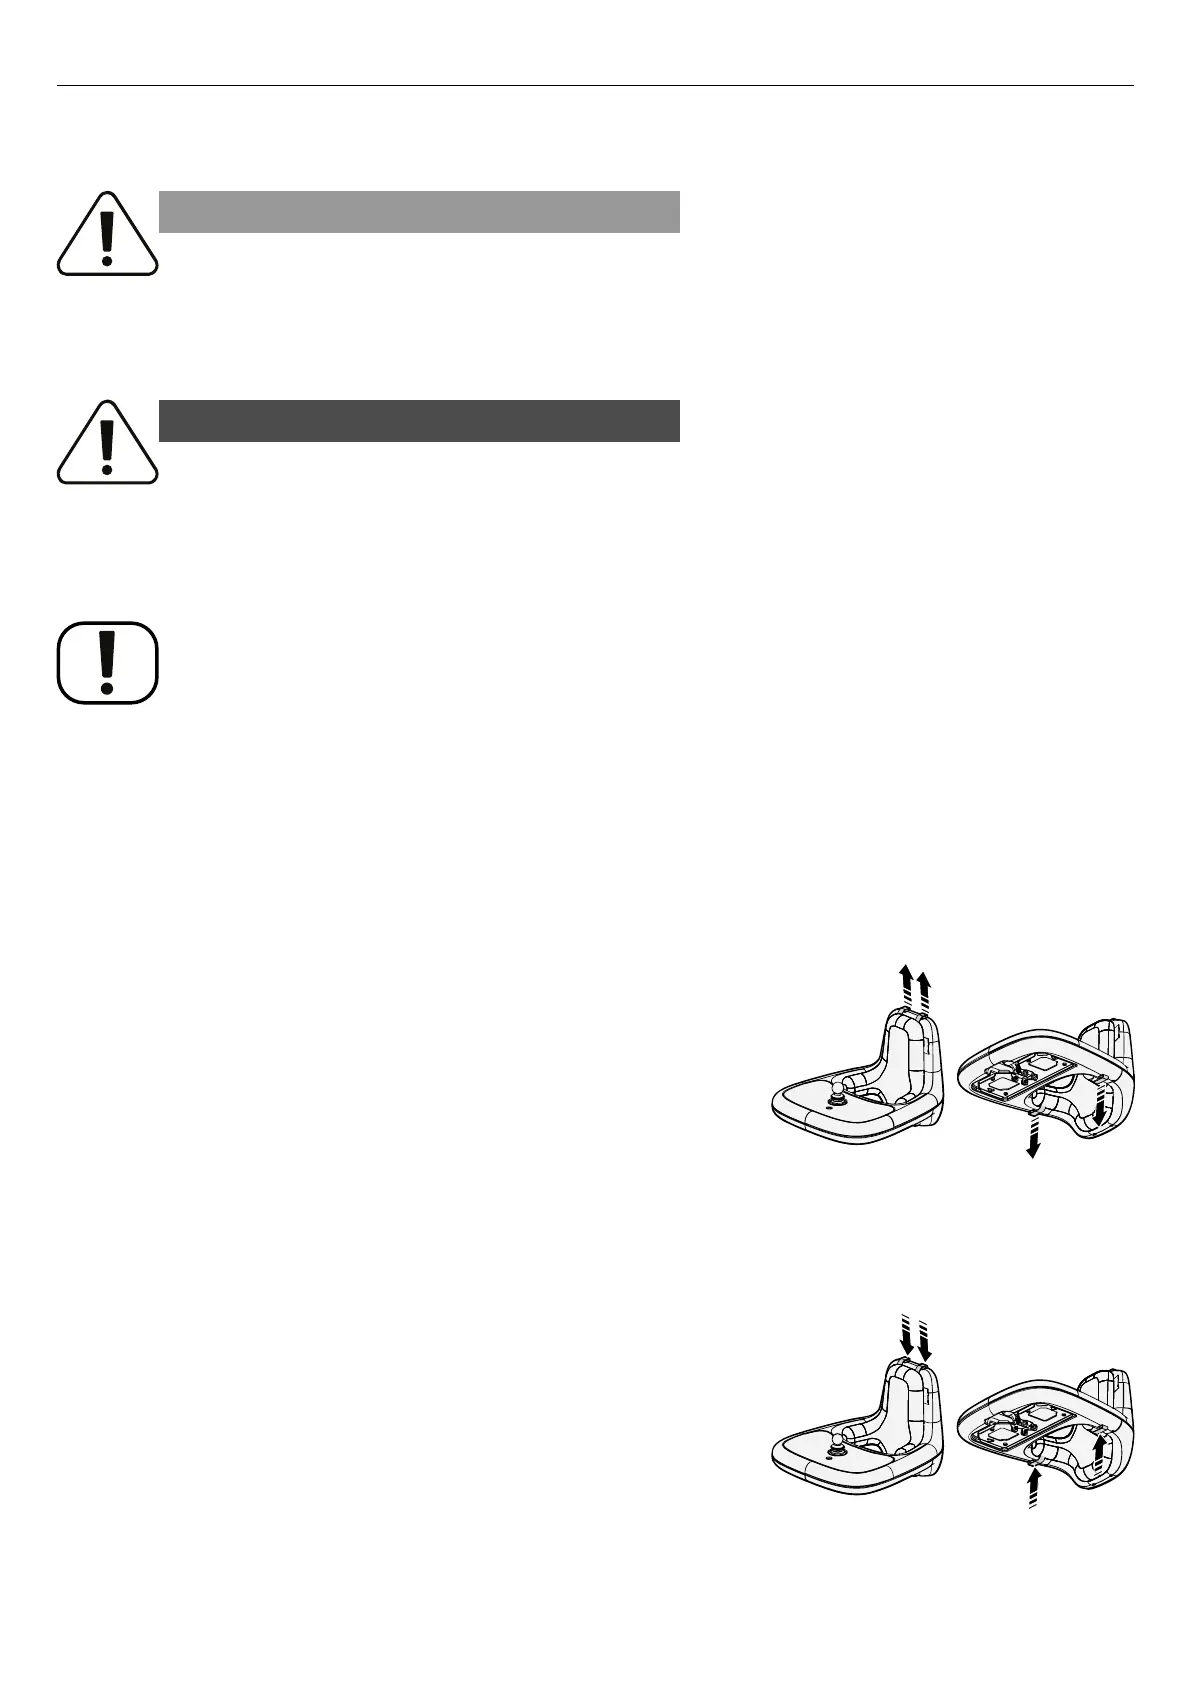
The wheelchair has a removable cushion. There are four screws,
attached to the cushion, that hold the cushion in place.
Figure 8. Remove the screws from the attachment points
on the backrest.
1. Remove the four screws from the attachment points on the
backrest.
2. Remove the cushion from the backrest.
4.1.2 Attaching the cushion
Figure 9. Attach the cushion with the screws in the
attachment points on the backrest.
1. Put the cushion in place on the backrest.
2. Put the four screws into the attachment points on the backrest and
tighten them by hand.
15


 To Next Page