Explorer Mini Repairs - Control panel
4.9 Control panel
4.9.1 Removing the control panel
The following tools are necessary for this task:
• Torque wrench.
• Allen socket, 3 mm.
• Allen socket, 4 mm.
• Allen socket, 5 mm.
• Needle-nose pliers.
5. Remove the seat. For instructions, see 4.4.1
Removing the seat
6. Remove the table and backrest unit. For instructions, see
4.5.1
Removing the table and backrest unit
.
7. Remove the top cover. For instructions, see
4.6.1.1
Removing the top cover
.
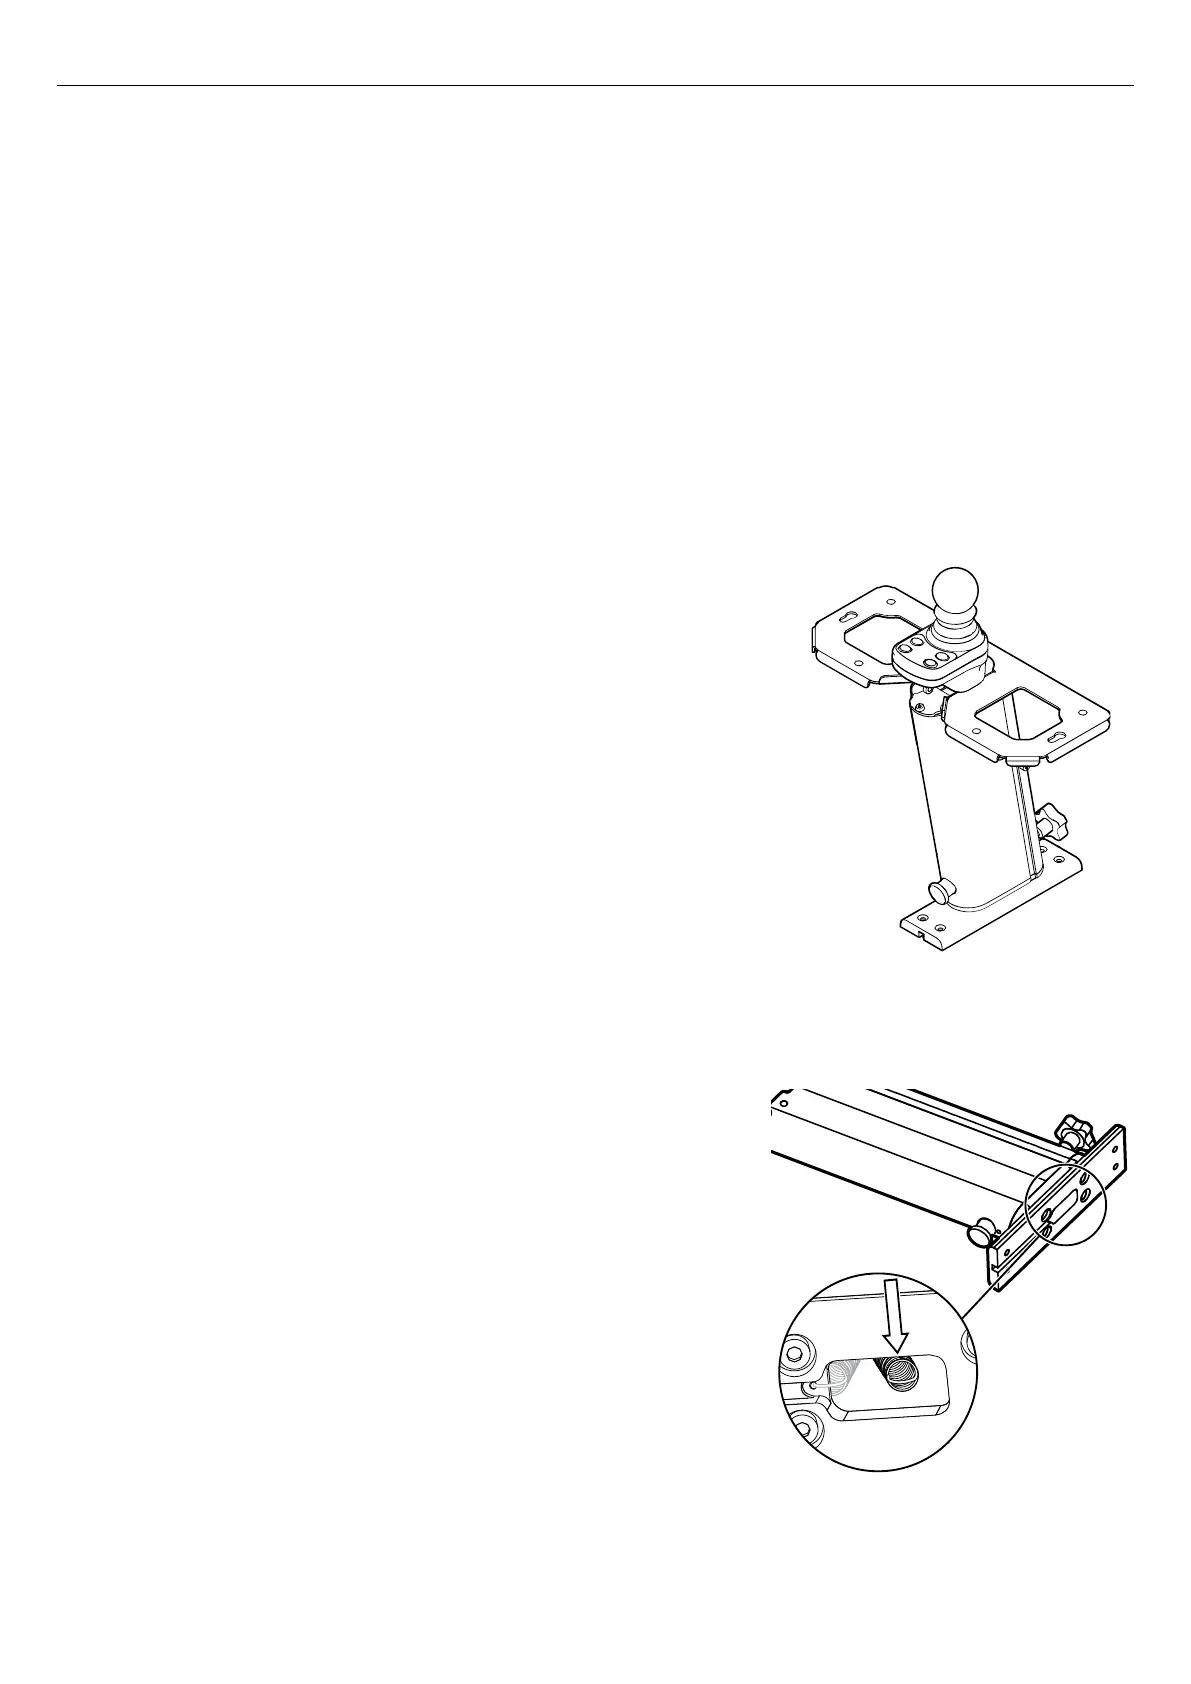
Figure 82. Column and control panel, adjusted to its
lowest position, when the seat, table and backrest unit
and base module are removed.
8. Adjust the column to its lowest setting. For instructions, see
5.1.2.1
Adjusting the height of the table and backrest unit
.
Figure 83. Remove the pull spring.
9. Put the column down on a flat surface.
10. Remove the pull spring from the hole at the bottom of the column
bracket with a needle-nose pliers.
44