DA 7440 User Manual v.1.1 Aug 2015
39 (48)
Select the sensor to connect and press Bind to smart sensor.
Return to Dashboard and select a measurement profile to start.
Changing the IP address configuration on the sensor can be done using a SSH client, the client
Putty.exe is installed on the Instrument computer.
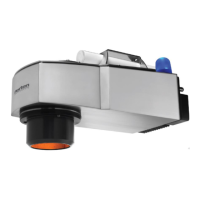
9.2 DA 7440 sensor IP configuration
Changing network configuration on the DA 7440 sensor is done through a SSH client. Putty.ex is
installed on the Instrument PC. Summarized steps in setting IP address configuration through the
SSH client are given below:
1. Find the sensor IP address, using Find Smart Sensor function, chapter 9.1
2. Connect to the sensor using the SSH client. E.g. Putty in instrument PC.
3. Log in with username root and password enilno
4. Locate the network interface (below marked in bold) name by typing:
/usr/lib/connman/test/get-services | grep cable
Results will be similar to
[ /net/connman/service/
ethernet_xxxxxxxxxxxxx_cable
]
5. The new IP is set using the set-ipv4-method command. Syntax is:
./set-ipv4-method <service> [off|dhcp|manual <address> [netmask] [gateway]]
Connection might drop when setting the new IP address.
An example line for setting a static IP address would be:
/usr/lib/connman/test/set-ipv4-method ethernet_xxxxxxxxxxxxx_cable manual 192.168.0.2
255.255.255.0 192.168.0.1usr
Changing from fixed to dynamic IP address is done through the syntax:
/usr/lib/connman/test/setipv4method
ethernet_ xxxxxxxxxxxxx _cable dhcp
Summarized steps for finding the IP address if it is unknown or faulty are summarized below:
1. Connect directly from computer to the DA 7440 sensor, using LAN cable.