50
Operation
22 Press the Config button as shown in Figure 7-51 to open the Configure dialog shown
below in Figure 7-52.
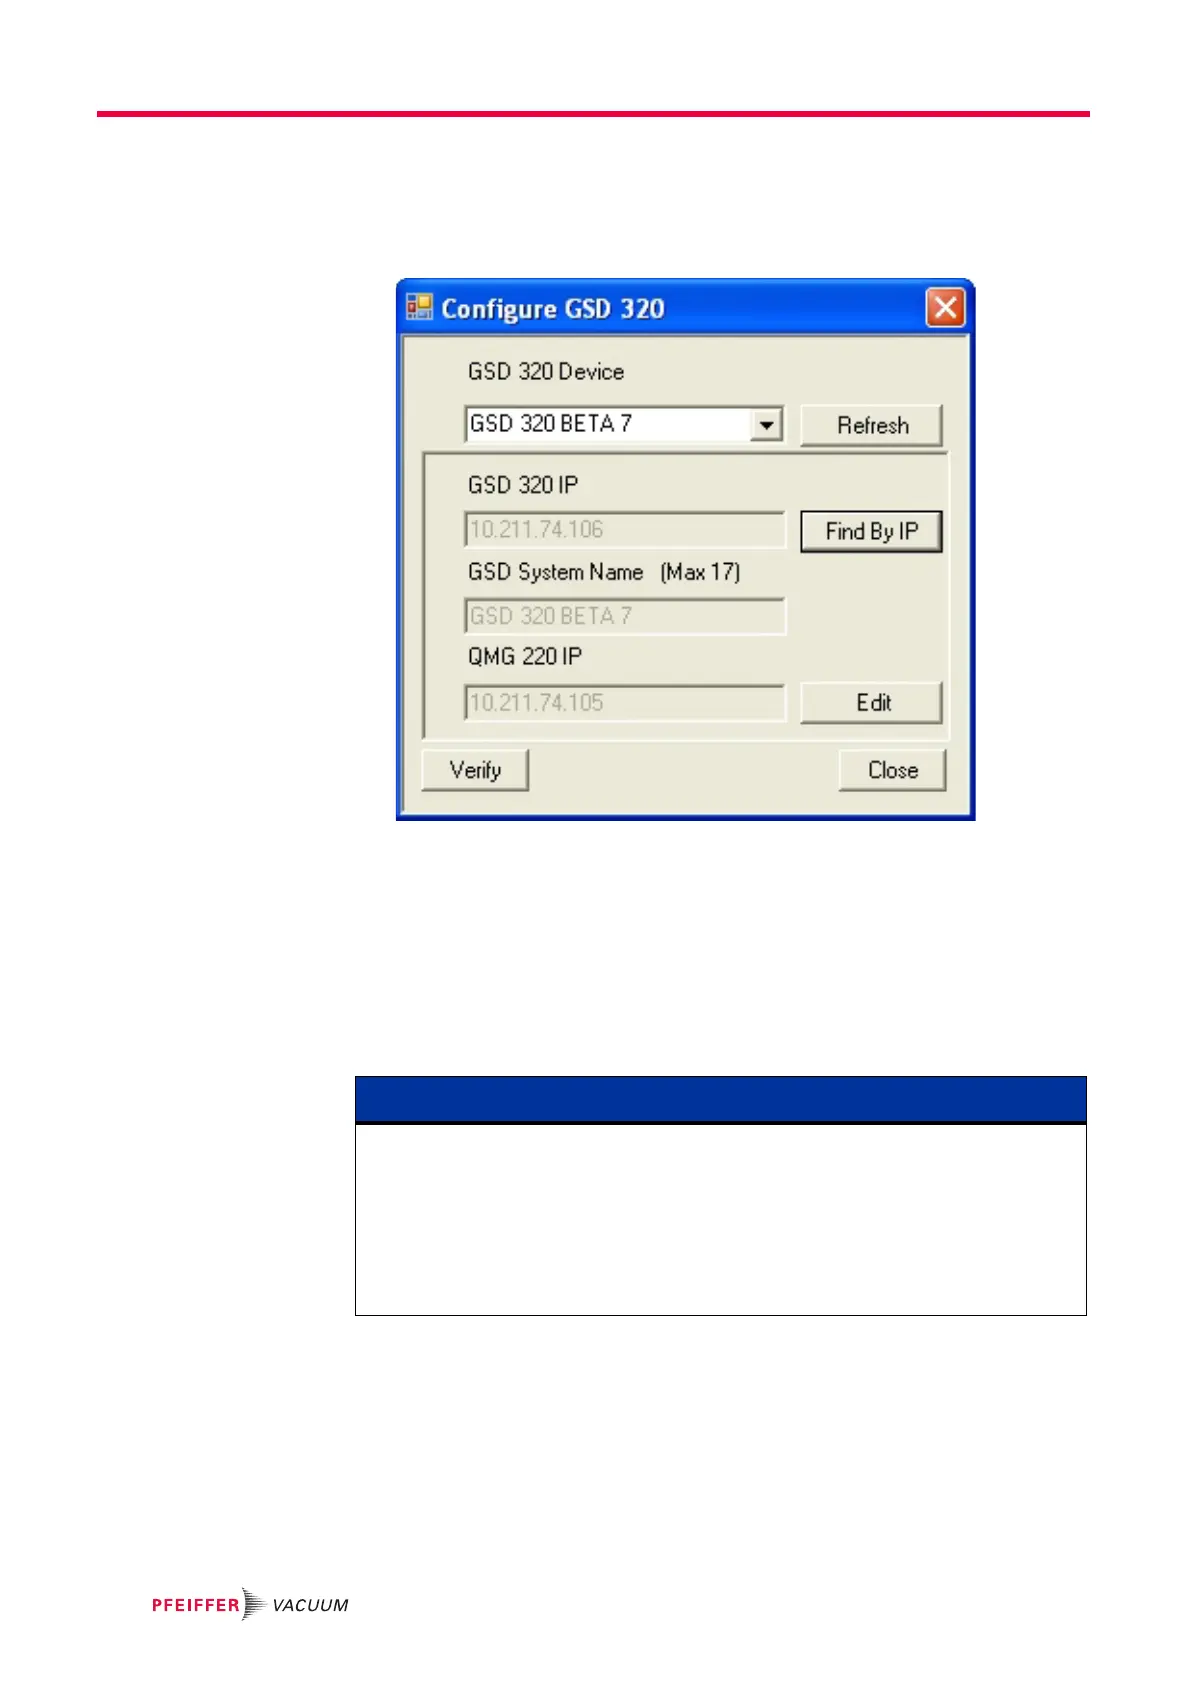
23 Press the Edit button shown in Figure 7-54.
Figure 7-54 Configuration Dialog showing the Edit Button
24 Change the QMG 220 IP Address to the same IP Address set in step 7 on page 45.
This step is not actually changing the QMG 220 IP Address; it is changing the
information used by the GSD 320 to understand which QMG 220 is within the system.
It is very important to enter this correctly. If this IP Address already matches that
used in step 7 then no change is required.
25 Press the Update button if a change was made in step 24.
26 In order to activate any new QMG220 address, close and re-open the GSD 320 Add-
In Main Form.
27 Next Press the Config button.
NOTE
To re-open the Add-In Main Form select Tools >> Programming >> Macros to open
the Macro Window. Next click on Show_GSD320_Dialog and select Run. The Add-In
Main Form will then open.
You may instead select Tools >> Programming >> Add-In Manager, to open the Add-
In Manager window. Next un- check the GSD 320 box and select OK. Re-open the Add-
In Manager window, check the GSD 320 box and press OK. The Add-In Main Form will
then open.