94
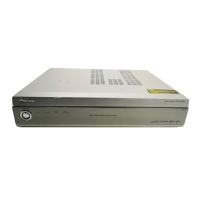
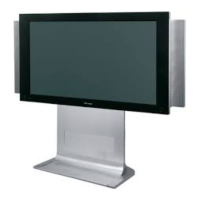
Plasma Display Ceiling Suspension Hardware: PDK-5012
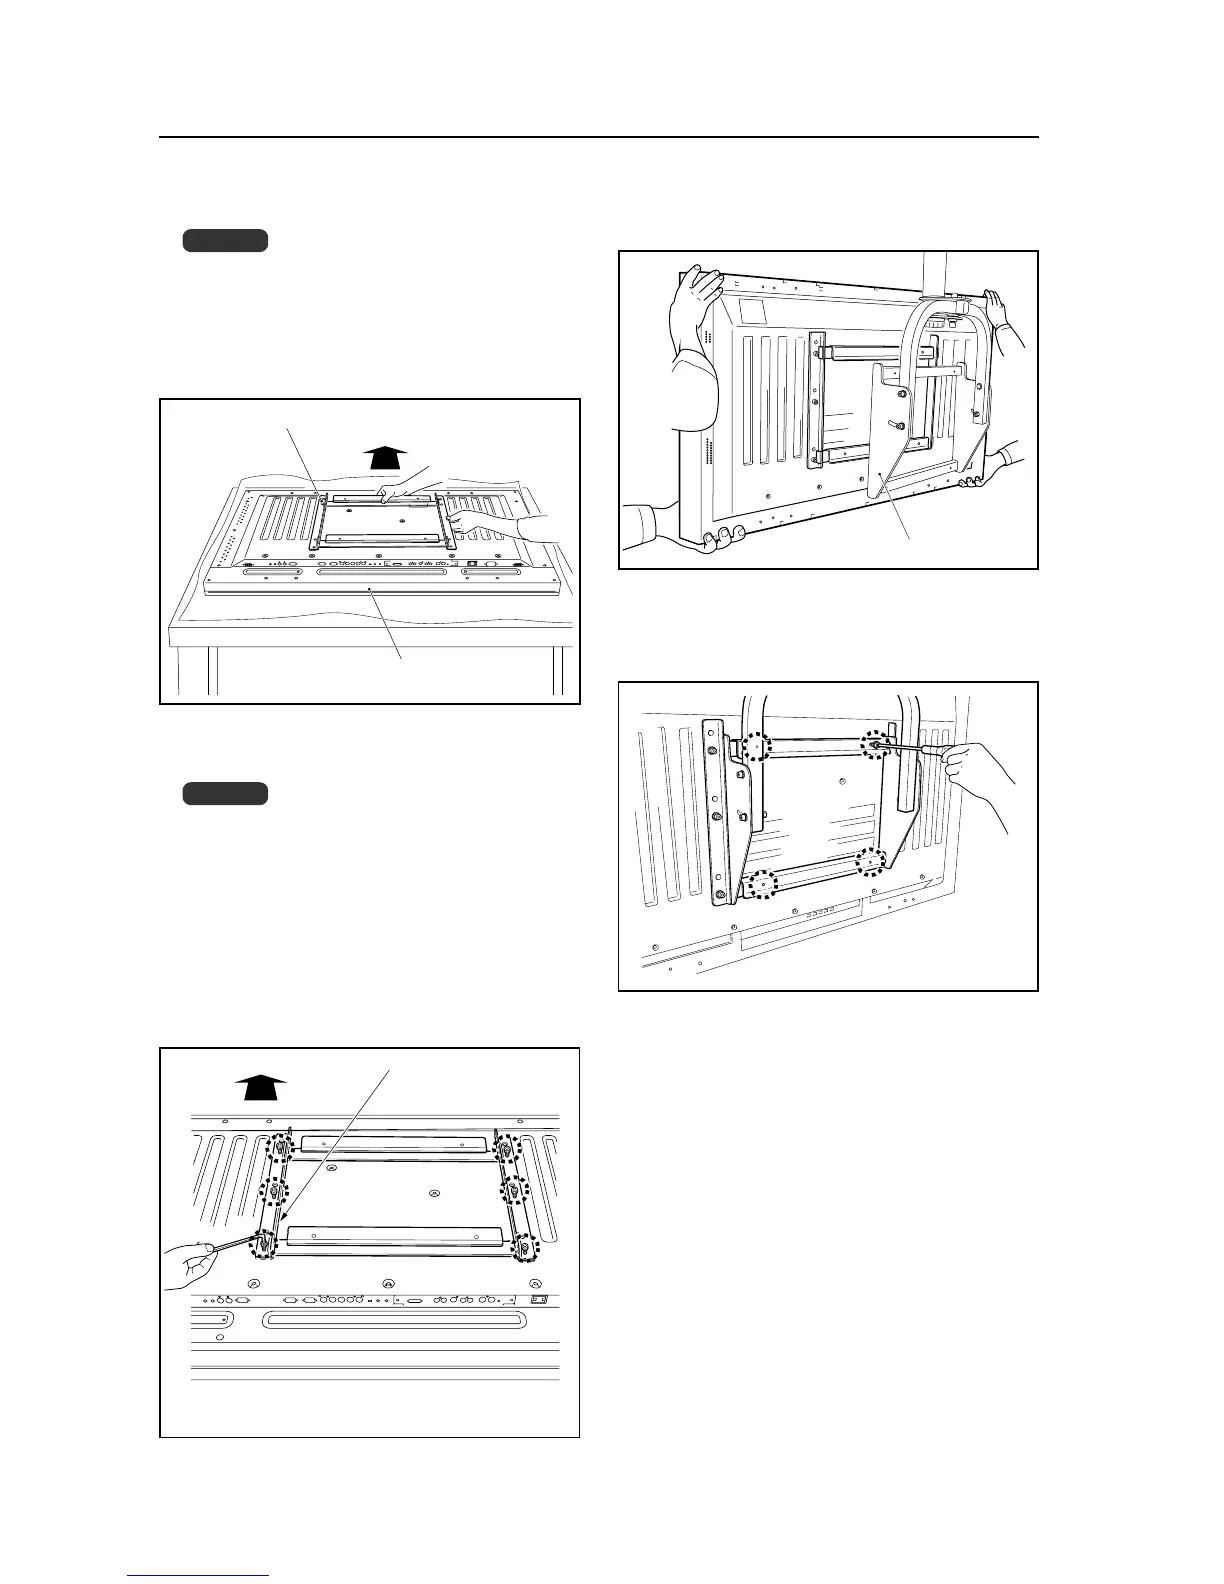
4.8.4 Assembly procedure
1 Attach the PDP bracket to the plasma display.
Warning
• Cover the display with a sheet or similar protective
material to protect it from scratches or other dam-
age.
• Be sure to attach it on top of a flat table or similar
surface.
• Be careful that the PDP bracket is not upside down.
3 Attach the plasma display to the hanger.
(The attachment shown in the figure is that used with
the PDP-503CMX/PDP503MXE.)
4 Screw the plasma display to the hanger (at 4 locations).
(The attachment shown in the figure is that used with
the PDP-503CMX/PDP503MXE.)
PDP bracket
Top side of plasma display
Hanger
Plasma display
Hexagonal bolts*
Top side of plasma displa
2 Fix the plasma display to the PDP bracket with screws
(6 locations).
Warning
Be sure to use the holes (hole positions on the dia-
gram) shown on [50] to attach the PDP-503CMX or
PDP-503MXE.
Be sure to use the holes shown on [43] to attach the
PDP-433CMX/PDP-433MXE. But if the cable cover is
attached, use the holes shown on [50], because at this
location, it will interfere with the PDP bracket.
If you attempt to attach the PDP-503CMX/PDP-
503MXE using the holes shown in [43], the support
pipe will interfere with the plasma display.
*; PDP-503CMX/503MXE: 6 holes shown on [50]
PDP-433CMX/433MXE: 6 holes shown on [43]
[503CMX/503MXE : 433CMX/433MXE]
 Loading...