99
4.9.3 Disassembling the display stand
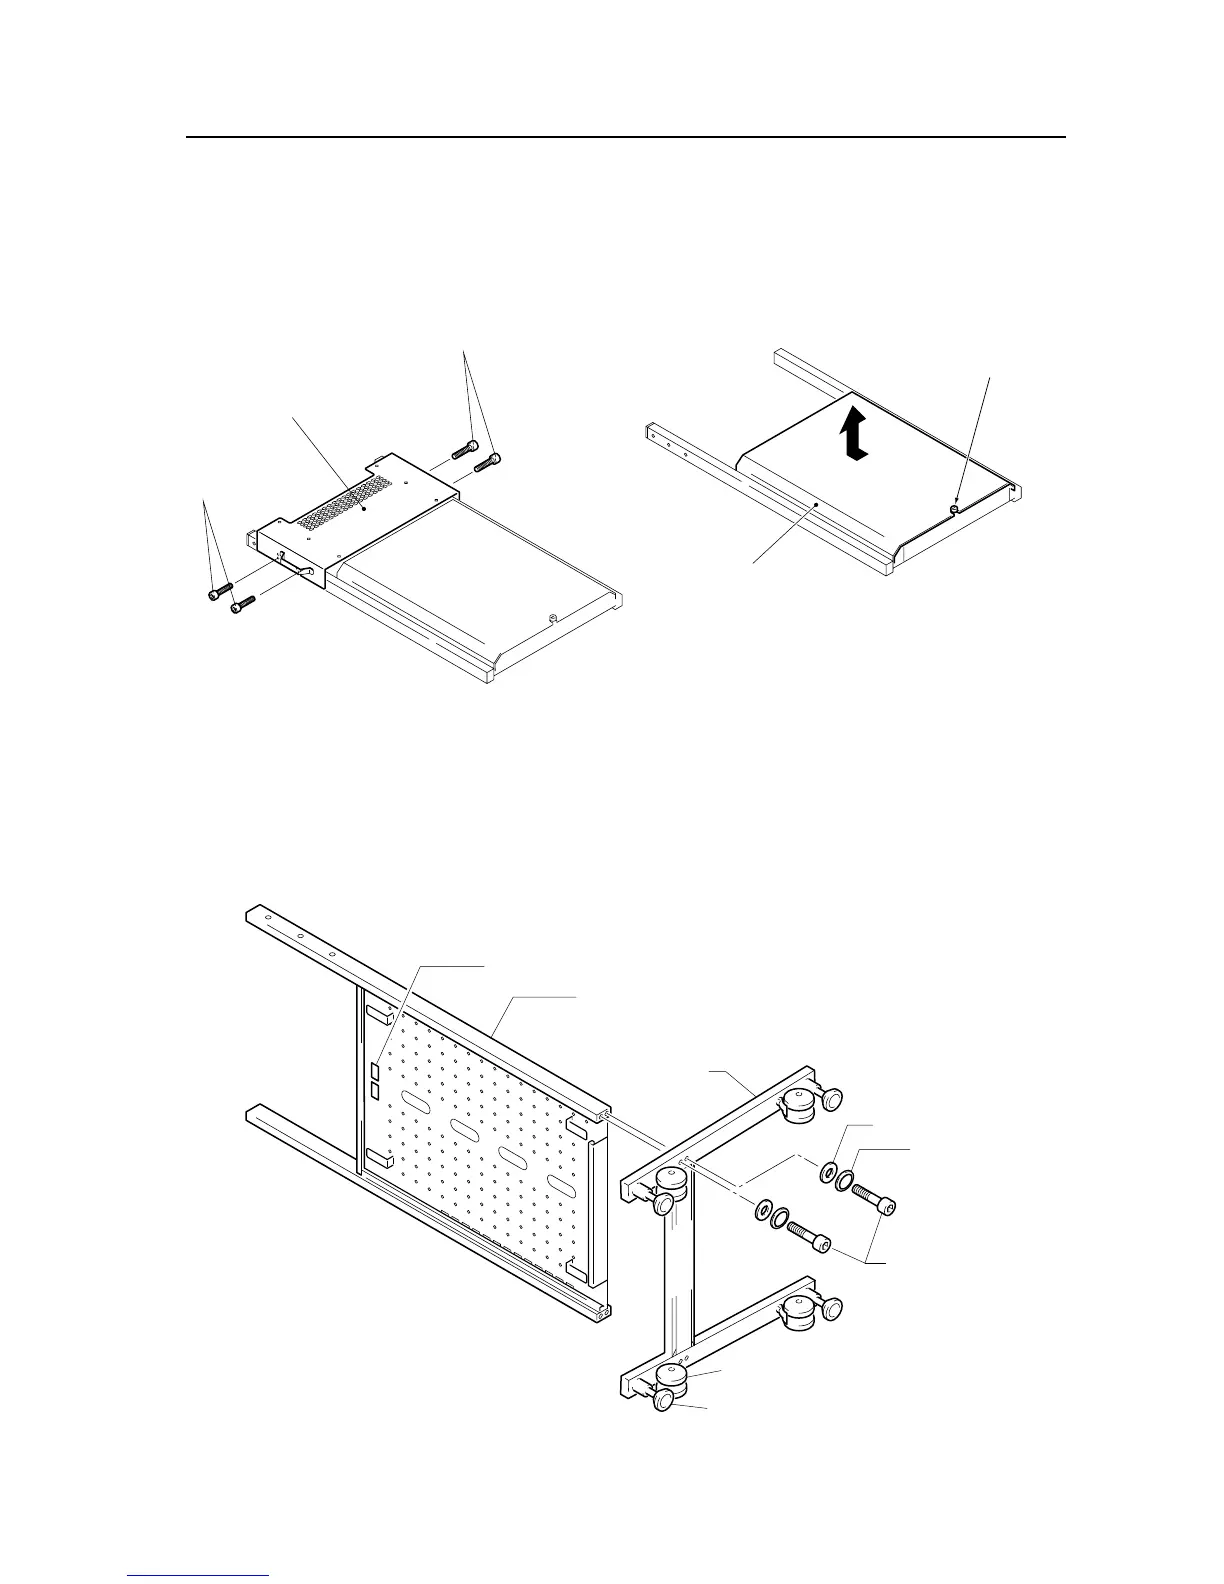
1 Remove the screws (four locations on the left and right
sides) and take off the bracket. For packing reasons,
the bracket is installed at a location that is different
from the location where it is usually installed when it
is used.
2 Remove the rear cover.
4.9.4 How to install
In order to ensure safety during installation, always be sure to work together with more than two persons.
1 Assemble the unit
Attach the leg base to the display stand using the hexagonal bored bolts (M8 × 60) so that the rear label faces
towards the back casters as the figure.
Note: In order to ensure safe installation, always be sure to alternately tighten each bolt two times or more until
they are firmly fixed in place.
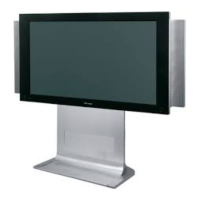
Mobile Cart: PDK-5014
Screws
Screws
Bracket
Rear cover
Loosen the
finger screws.
Do not take out the screws.
Back casters
Display stand
Leg base
Hexagonal bored bolts
(M8 × 60)
Washer
Plate spring washer
Support caster
Label
[503CMX/503MXE : 433CMX/433MXE]
 Loading...