EasyManua.ls Logo

Piper Cherokee Six - Page 171

Piper Cherokee Six
721 pages
Print Icon
To Next Page IconTo Next Page
To Previous Page IconTo Previous Page
Loading...
PIPER
CHEROKEE
SIX
SERVICE
MANUAL
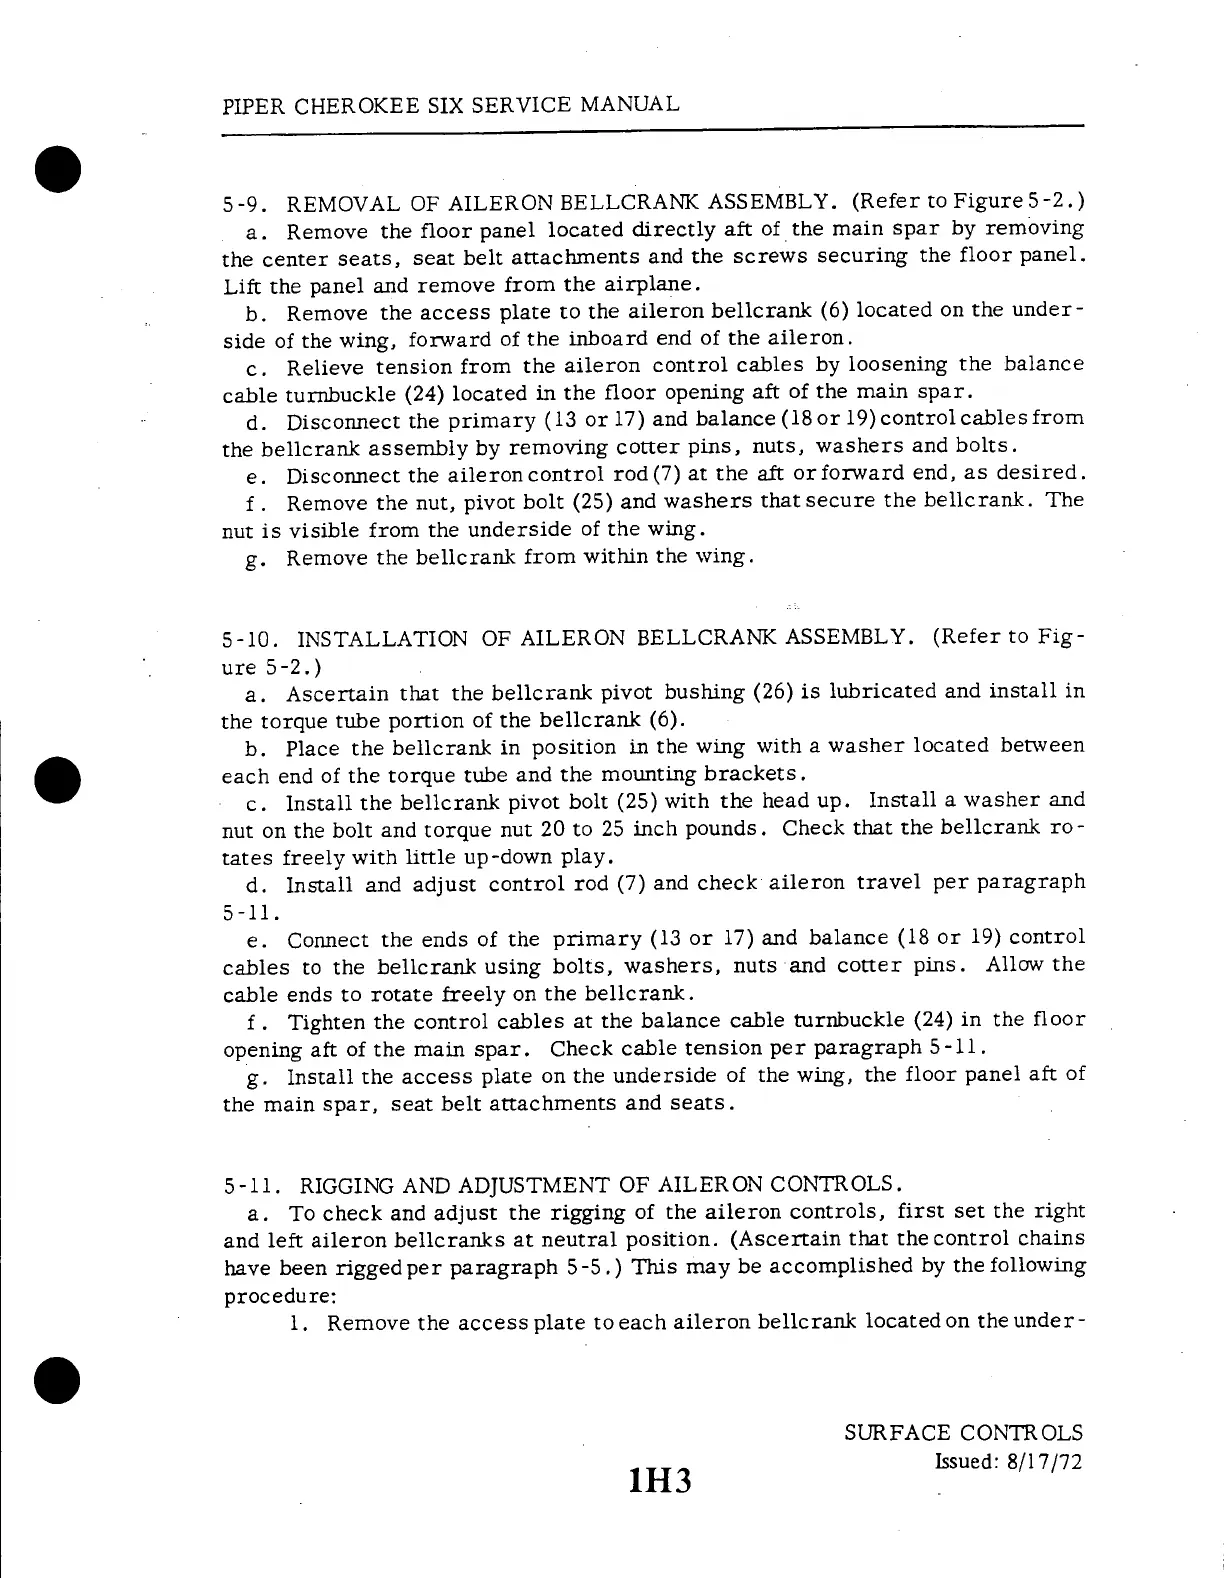
5 -9.
REMOVAL
OF
AILERON
BELLCRANK
ASSEMBLY.
(Refer
to
Figure
5 -2.)
a.
Remove
the
floor
panel
located
directly
aft
of
the
main
spar
by
removing
the
center
seats,
seat
belt
attachments
and
the
screws
securing
the
floor
panel.
Lift
the
panel
and
remove
from
the
airplane.
b.
Remove
the
access
plate
to
the
aileron
bellcrank
(6)
located
on
the
under-
side
of
the
wing,
forward
of
the
inboard
end
of
the
aileron.
c.
Relieve
tension
from
the
aileron
control
cables
by loosening
the
balance
cable
turnbuckle
(24)
located
in
the
floor
opening
aft
of the
main
spar.
d.
Disconnect
the
primary
(13
or 17)
and
balance
(18
or
19)control
cables
from
the
bellcrank
assembly
by
removing
cotter
pins,
nuts,
washers
and
bolts.
e.
Disconnect
the
aileron
control
rod(7)
at
the
aft
or
forward
end,
as
desired.
f .
Remove
the
nut,
pivot
bolt
(25)
and
washers
that
secure
the
bellcrank.
The
nut
is visible
from
the
underside
of the
wing.
g.
Remove
the
bellcrank
from
within
the
wing.
5-10.
INSTALLATION
OF AILERON
BELLCRANK
ASSEMBLY.
(Refer
to Fig-
ure 5-2.)
a.
Ascertain
that
the
bellcrank
pivot
bushing
(26)
is
lubricated
and
install
in
the
torque
tube
portion
of the
bellcrank
(6).
b.
Place
the
bellcrank
in position
in
the
wing
with
a
washer
located
between
each
end
of
the
torque
tube
and
the
mounting
brackets.
c.
Install
the
bellcrank
pivot
bolt
(25)
with
the
head
up.
Install
a washer
and
nut
on
the
bolt
and
torque
nut
20
to
25
inch
pounds.
Check
that
the
bellcrank
ro-
tates
freely
with
little
up-down
play.
d.
Install
and
adjust
control
rod
(7)
and
check
aileron
travel
per
paragraph
5-11.
e.
Connect
the
ends
of
the
primary
(13
or
17)
and
balance
(18
or
19)
control
cables
to
the
bellcrank
using
bolts,
washers,
nuts
and
cotter
pins.
Allow
the
cable
ends
to rotate
freely
on
the
bellcrank.
f.
Tighten
the
control
cables
at the
balance
cable
turnbuckle
(24)
in
the
floor
opening
aft
of
the
main
spar.
Check
cable
tension
per
paragraph
5-11.
g.
Install
the
access
plate
on
the
underside
of
the
wing,
the
floor
panel
aft
of
the
main
spar,
seat
belt
attachments
and
seats.
5-11.
RIGGING
AND
ADJUSTMENT
OF AILERON
CONTROLS.
a.
To
check
and
adjust
the
rigging
of
the
aileron
controls,
first
set
the right
and
left
aileron
bellcranks
at
neutral
position.
(Ascertain
that
the control
chains
have
been
rigged
per
paragraph
5-5.)
This
may
be accomplished
by
the
following
procedure:
1.
Remove
the
access
plate
to
each
aileron
bellcrank
located
on
the
under-
SURFACE
CONTROLS
1H3
Issued:
8/17/72
1H3

Table of Contents