Note:
Electronic Certified and E-Return Receipts are optional features. Contact your Pitney Bowes Sales
Representative for options and pricing.
1. From the home screen under Mailing, select Run Mail.
2. Place the mailpiece on the scale or enter the weight manually.
3. Select Class.
4. Select the back arrow until First Class displays.
5. Select First Class.
6. Select the mailpiece size.
7. Select Electronic Certified.
8. Enter the destination ZIP code.
9. Select OK.
10. Enter the tracking number from the electronic certified label.
11. Select OK.
12. To use the optional Return Receipt service, select Return Receipt.
13. To use the optional Electronic Return Receipt service, select Electronic Return Receipt.
14. Select OK.
15. Run the mailpiece through the meter.
16. Affix the top portion of the E-Certified mail label to the top of the envelope to the left of the
postage, inscription, and meter ad.
Once you are finished running Electronic Certified mail, upload your transactions:
1. Select Home to go to the home screen.
2. Select Funds.
3. Select Meter Information.
4. Select Upload Postal information now.
Sending mail using Electronic Return Receipt (ERR)
Tracking services are available when you use the Attached Scale or Manual Weight entry method.
The following steps are based on using Priority class and the Electronic Certified service with
Electronic Return Receipt.
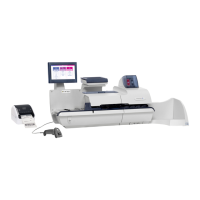
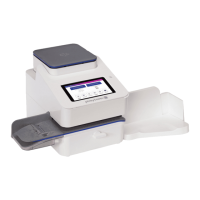
Mailing and Shipping
Pitney Bowes User Guide January 2023 44