Adding postage
1.
In the Home screen, tap the Postage icon .
2. Enter the amount of postage you want to add to your device.
3. Tap Add Postage.
If you need further assistance, please use the Contact Us options below.
Advancing the date on the SendPro Mailstation
If you miss today’s mail pickup, you can print your postage with a future date.
1. Tap the Settings icon.
2. Tap Date Settings.
3. Tap Advance.
4. Tap Select date to print.
5. Select the date to print from the calendar
6. Tap Apply.
If you need further assistance, please use the Contact Us options below.
Printing a date correction
If you already printed today’s date and postage on an envelope, but you missed your mail pickup, you can
re-date the mail. You must print a future date on the back of the envelope before you can mail it.
1. Tap the Date, or
Tap the Settings icon, then tap Date Settings.
2. Tap Correct Date.
3. Tap Select Date to Print.
4. Tap on the date you want to use, then tap Apply.
5. Turn the envelope over to the blank side.
6. Insert the letter into the device, pushing in all the way to the back and right. The device will clamp
the letter and print postage. The power button will flash while the device is printing.The word
“Redate” appears on the newly printed postage mark on the back of the envelope.
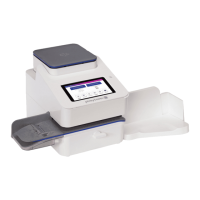
Using your device
Pitney Bowes User Guide January 2021 19