- 10 -
2.3.2 Connecting end node or hub or switch
1. Place the SGSW-2620 on a smooth surface or fasten the mounting brackets purchased separately
with the provided screws in a standard 19” rack.
2. Connect the power cord to the power inlet socket of SGSW-2620 and the other end into the local
power source outlet. When the Switch receives power, the Power LED should remain solid Green.
3. Connect other switch or PC to one port of the SGSW-2620 using Category 3/4/5 UTP/STP cabling.
4. Connect another switch or PC to the other port of SGSW-2620 by following the same process as
described in Step 3.
@Notice:
Cable distance for Switch
The cable distance between the SGSW-2620 and hub/PC should not exceed 100 meter for UTP/STP
cable, 220m(721 feet) for 62.5/125µm fiber cable and 550m(1800 feet) for 50/125µm fiber cable on
Mini-GBIC 1000Base-SX module, 550m(1800 feet) for 62.5/125µm and 50/125µm fiber cable and
10/50/70km for 9/125µm fiber cable on Mini-GBIC 1000Base-LX module.
Make sure the wiring is correct
It can be used Category 3/4/5 cable in 10 Mbps operation. To reliably operate your network at 100Mbps
and 1000Mbps, you must use an Unshielded Twisted-Pair (UTP) Category 5 cable, or better Data Grade
cabling. While a Category 3 or 4 cables may initially seem to work, it will soon cause data loss.
2.3.3 Connecting to Network Backbone or Server
Connect to the Gigabit Ethernet ports with Category 5 copper cable or for uplinking to a network
backbone or network server. These ports operate at 1000Mbps in full-duplex mode. A valid connec-
tion is indicated when the Link/Act LED is light.
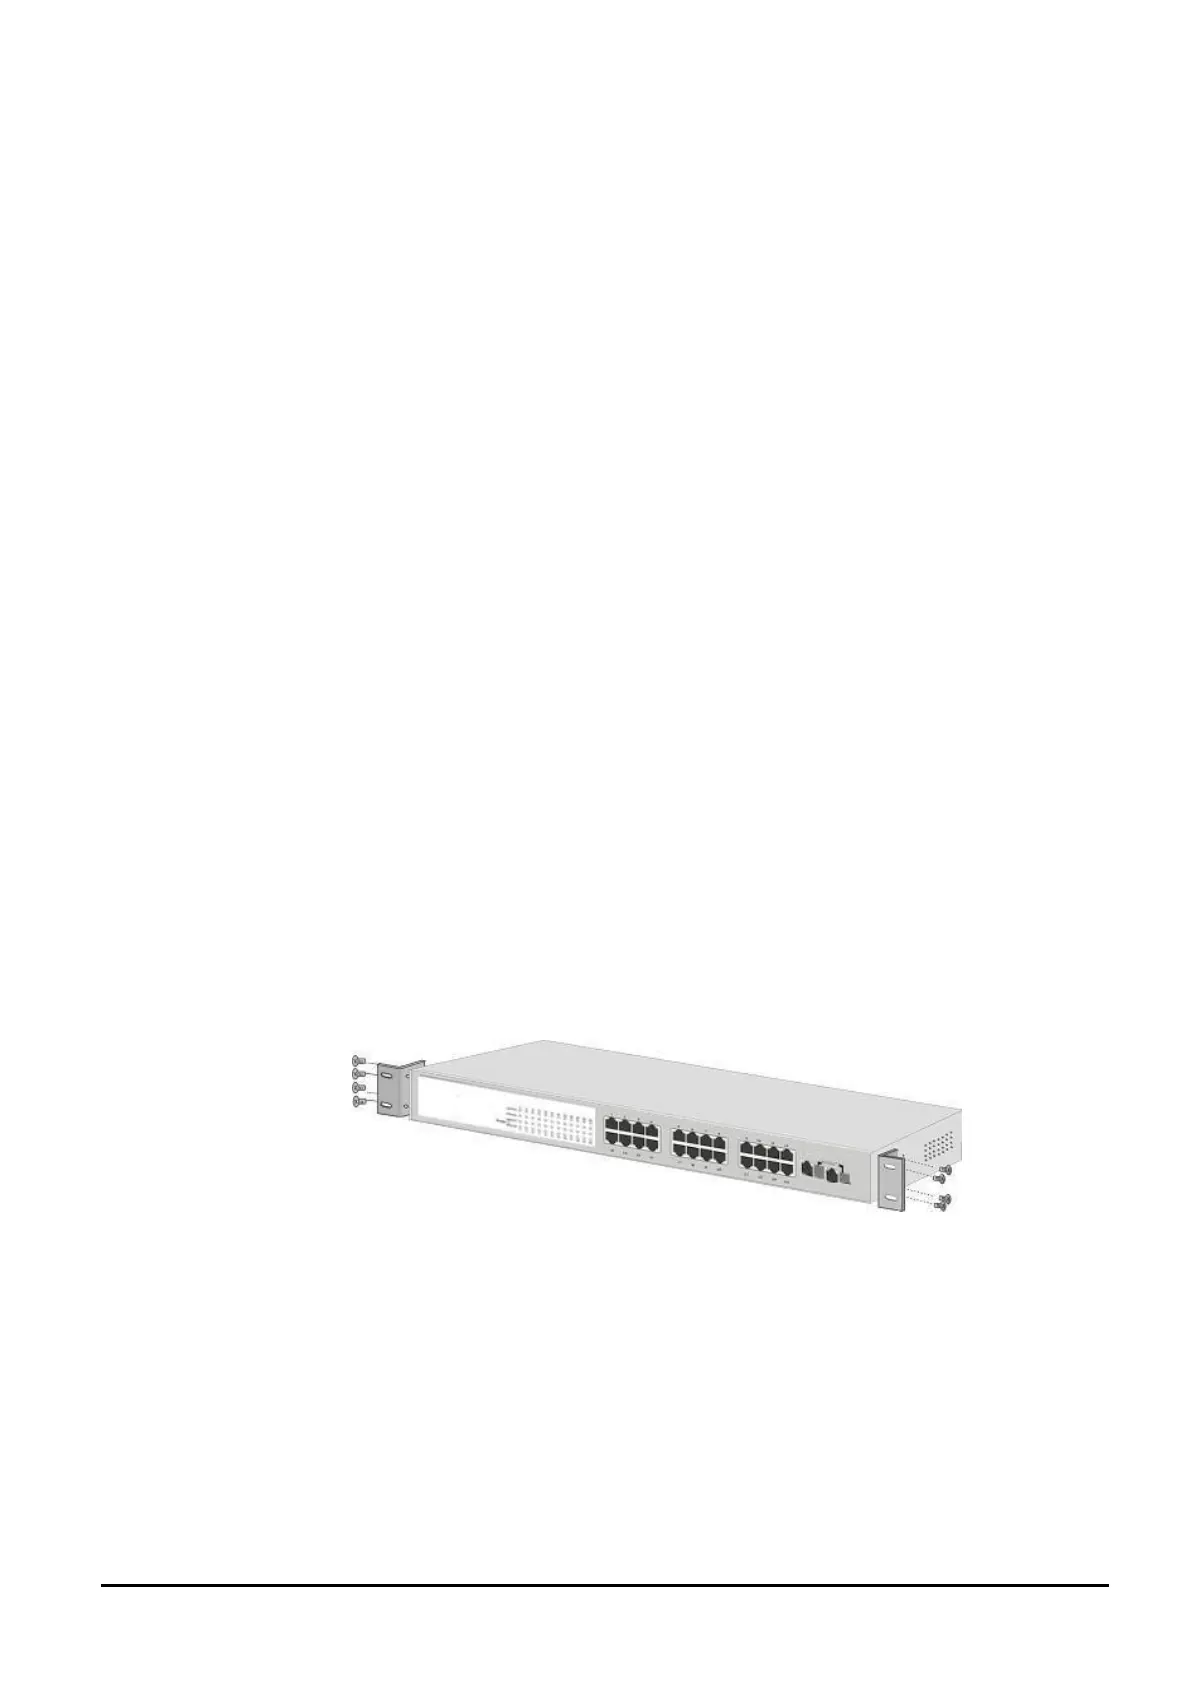
2.3.4 Rack Mounting
To install the Switch in a 19-inch standard rack, follow the instructions described below.
1. Step1: Place your SGSW-2620 Switch on a hard flat surface, with the front panel positioned towards your front
side.
2. Step2: Attach a rack-mount bracket to each side of the Switch with supplied screws attached to the package. Figure
2-3 shows how to attach brackets to one side of the Switch.
Figure 2-3 Attaching the brackets to the Switch
Caution:
You must use the screws supplied with the mounting brackets. Damage caused to the parts by using incorrect
screws would invalidate your warranty.
3.Step3: Secure the brackets tightly.
4. Step4: Follow the same steps to attach the second bracket to the opposite side.
5. Step5: After the brackets are attached to the Switch, use suitable screws to securely attach the brackets to the rack,
as shown in Figure 2-4
 Loading...