The unit can be set up as a tabletop unit (see section "Tabletop installation"
on page 21) or mounted on a wall using the wall bracket (see section "Wall-
mounted installation" on page 21).
The load-bearing capacity of the table or wall must be suitable for the weight
of the unit (see section "Technical data" on page 10).
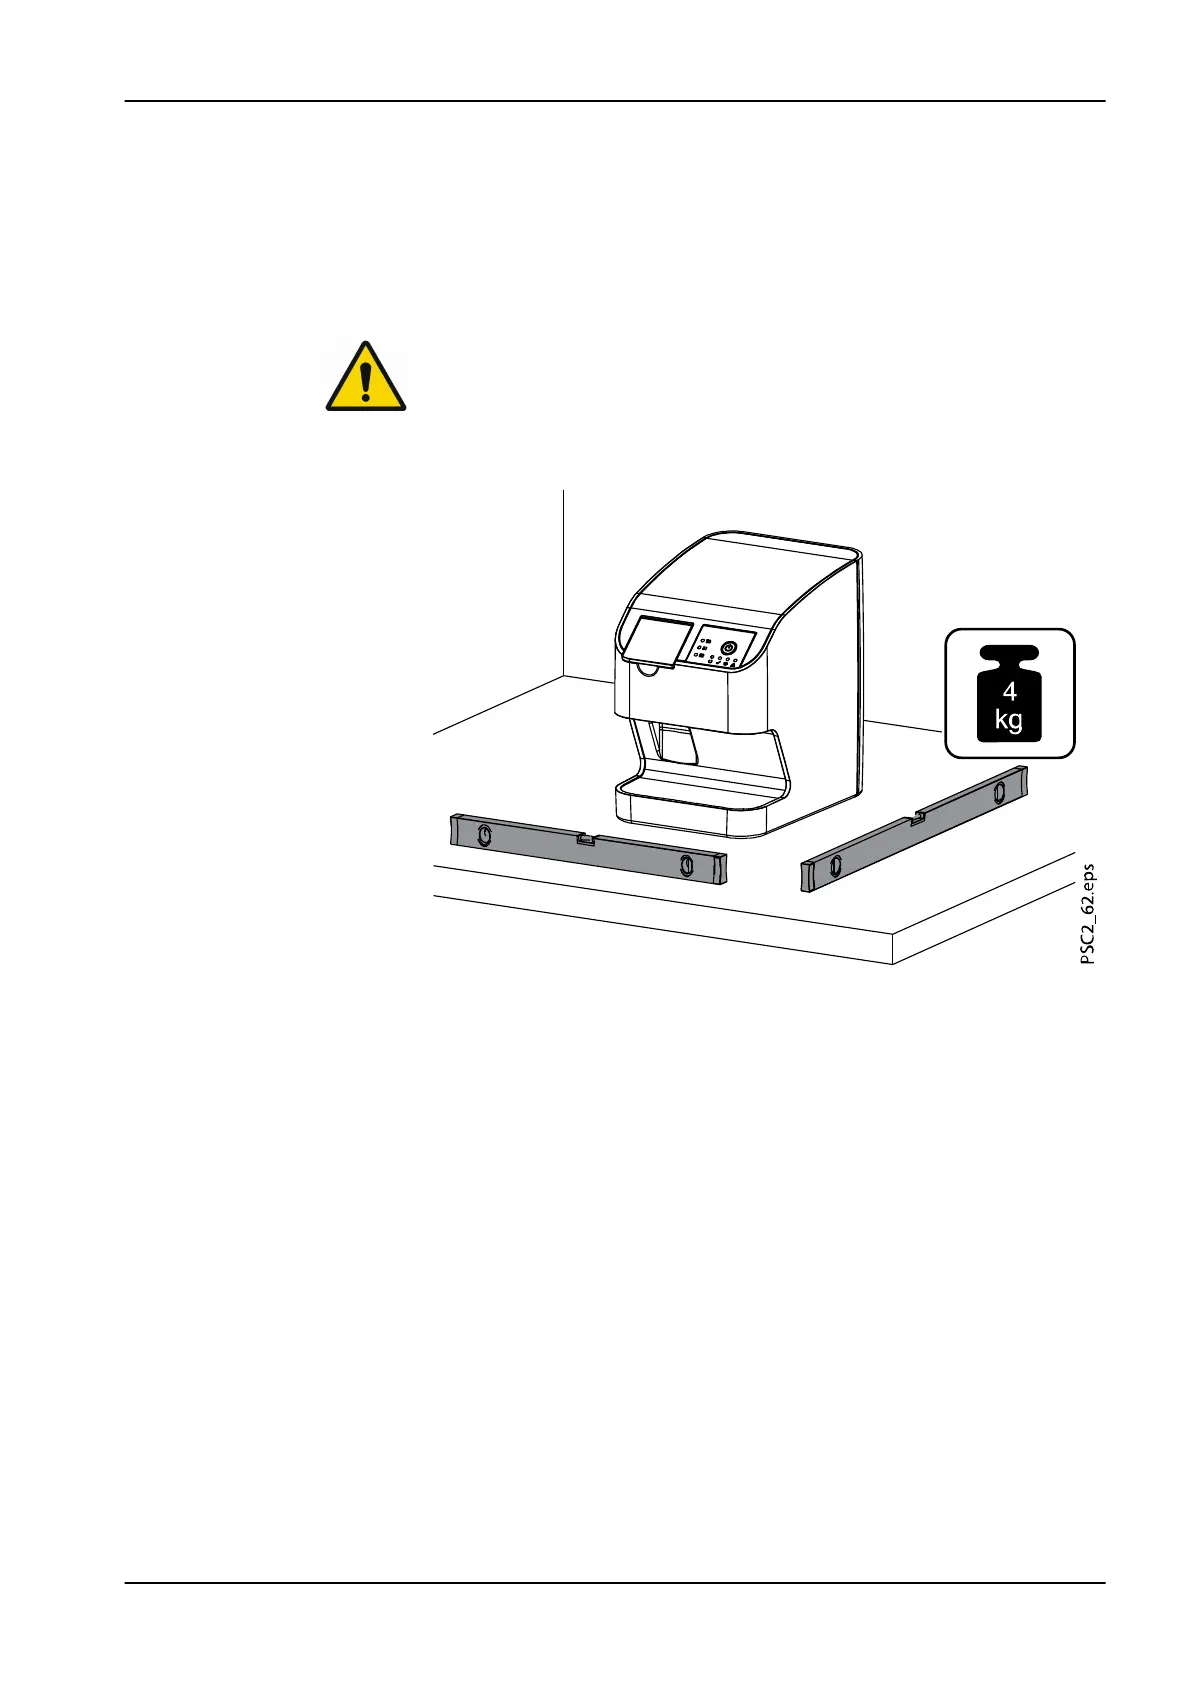
3.2.1.1 Tabletop installation
NOTE
To prevent errors when scanning the image data, install the unit so it is not
exposed to vibrations.
Place the unit on a firm, horizontal surface.
3.2.1.2 Wall-mounted installation
The unit can be mounted on a wall with the wall mounting bracket (optional
article Wall mounting Plate for ProScanner 2.0).
The following information is supplementary to the device user's manual.
As a general rule, the user's manual for the device must also be observed.
These instructions include important information such as safety instructions
and information on the setup, electrical connections, disinfection process,
cleaning process etc.
3 Assembly
User's manual Planmeca ProScanner 2.0 21