2. Unpacking the printer
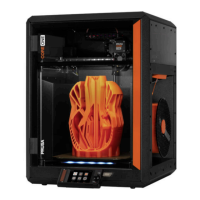
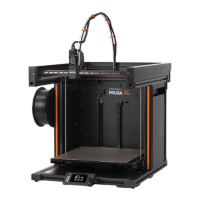
Prusa CORE One (assembled) 11
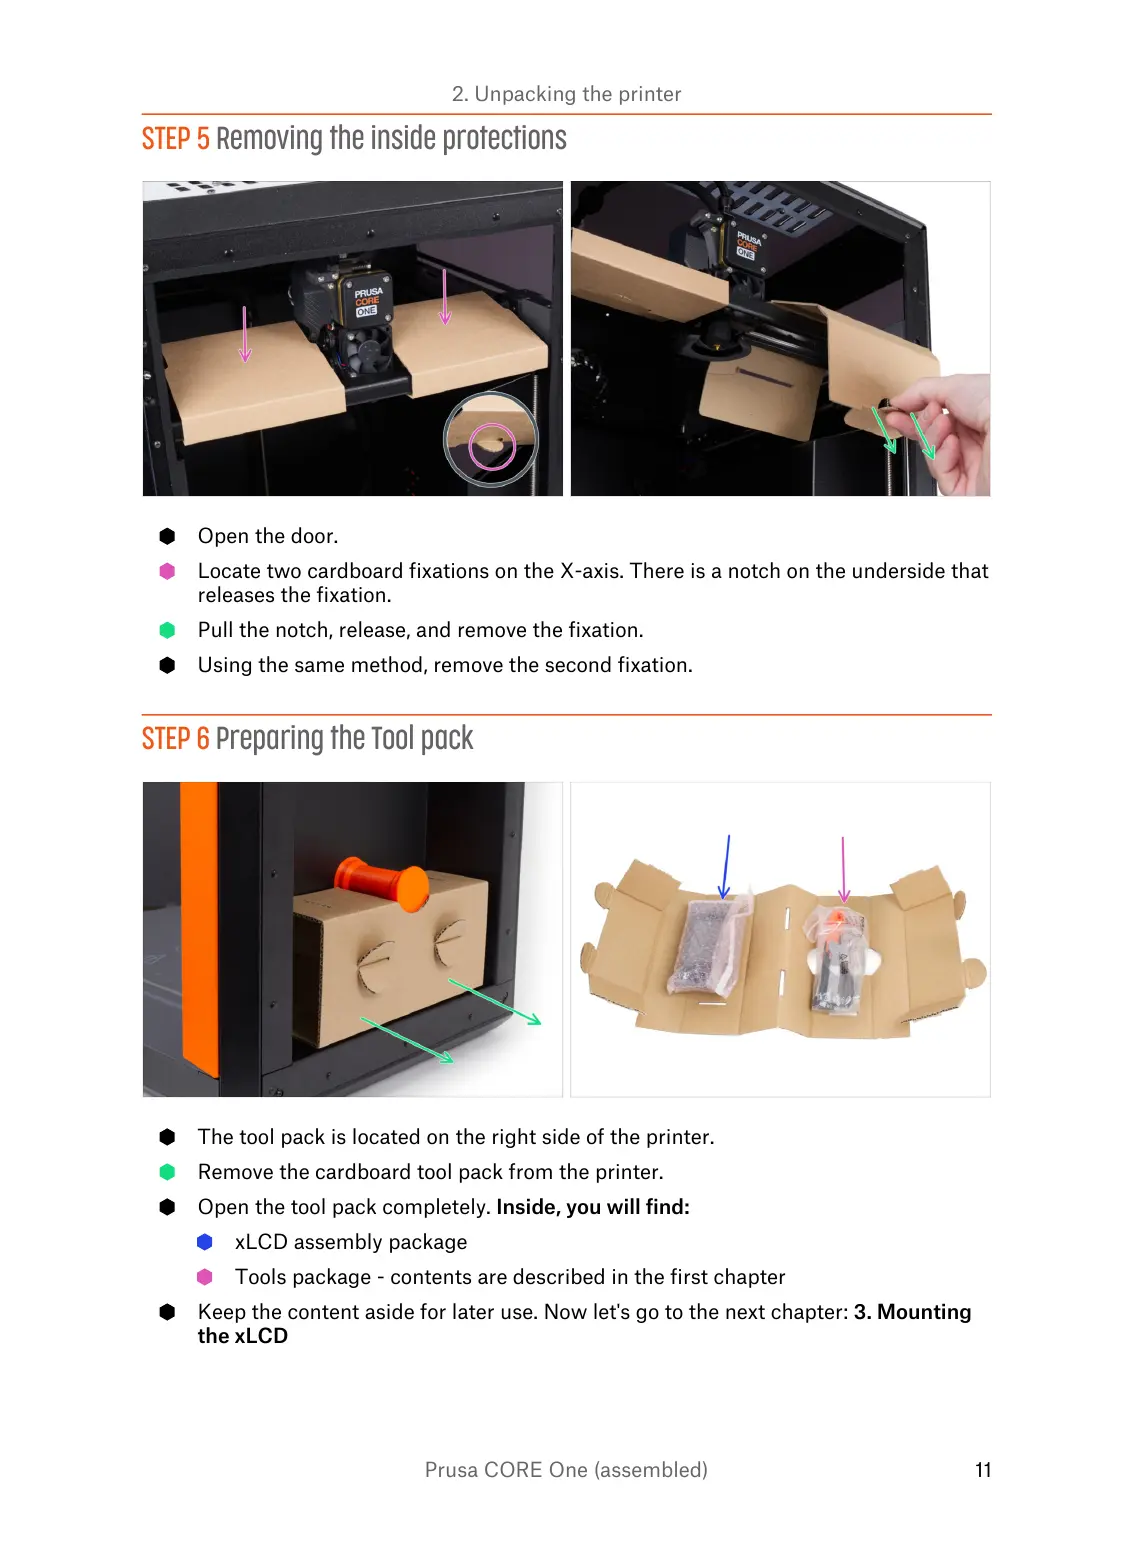
STEP 5 Removing the inside protections
Open the door.
Locate two cardboard fixations on the X-axis. There is a notch on the underside that
releases the fixation.
Pull the notch, release, and remove the fixation.
Using the same method, remove the second fixation.
STEP 6 Preparing the Tool pack
The tool pack is located on the right side of the printer.
Remove the cardboard tool pack from the printer.
Open the tool pack completely. Inside, you will find:
xLCD assembly package
Tools package - contents are described in the first chapter
Keep the content aside for later use. Now let's go to the next chapter: 3. Mounting
the xLCD