Page: 7
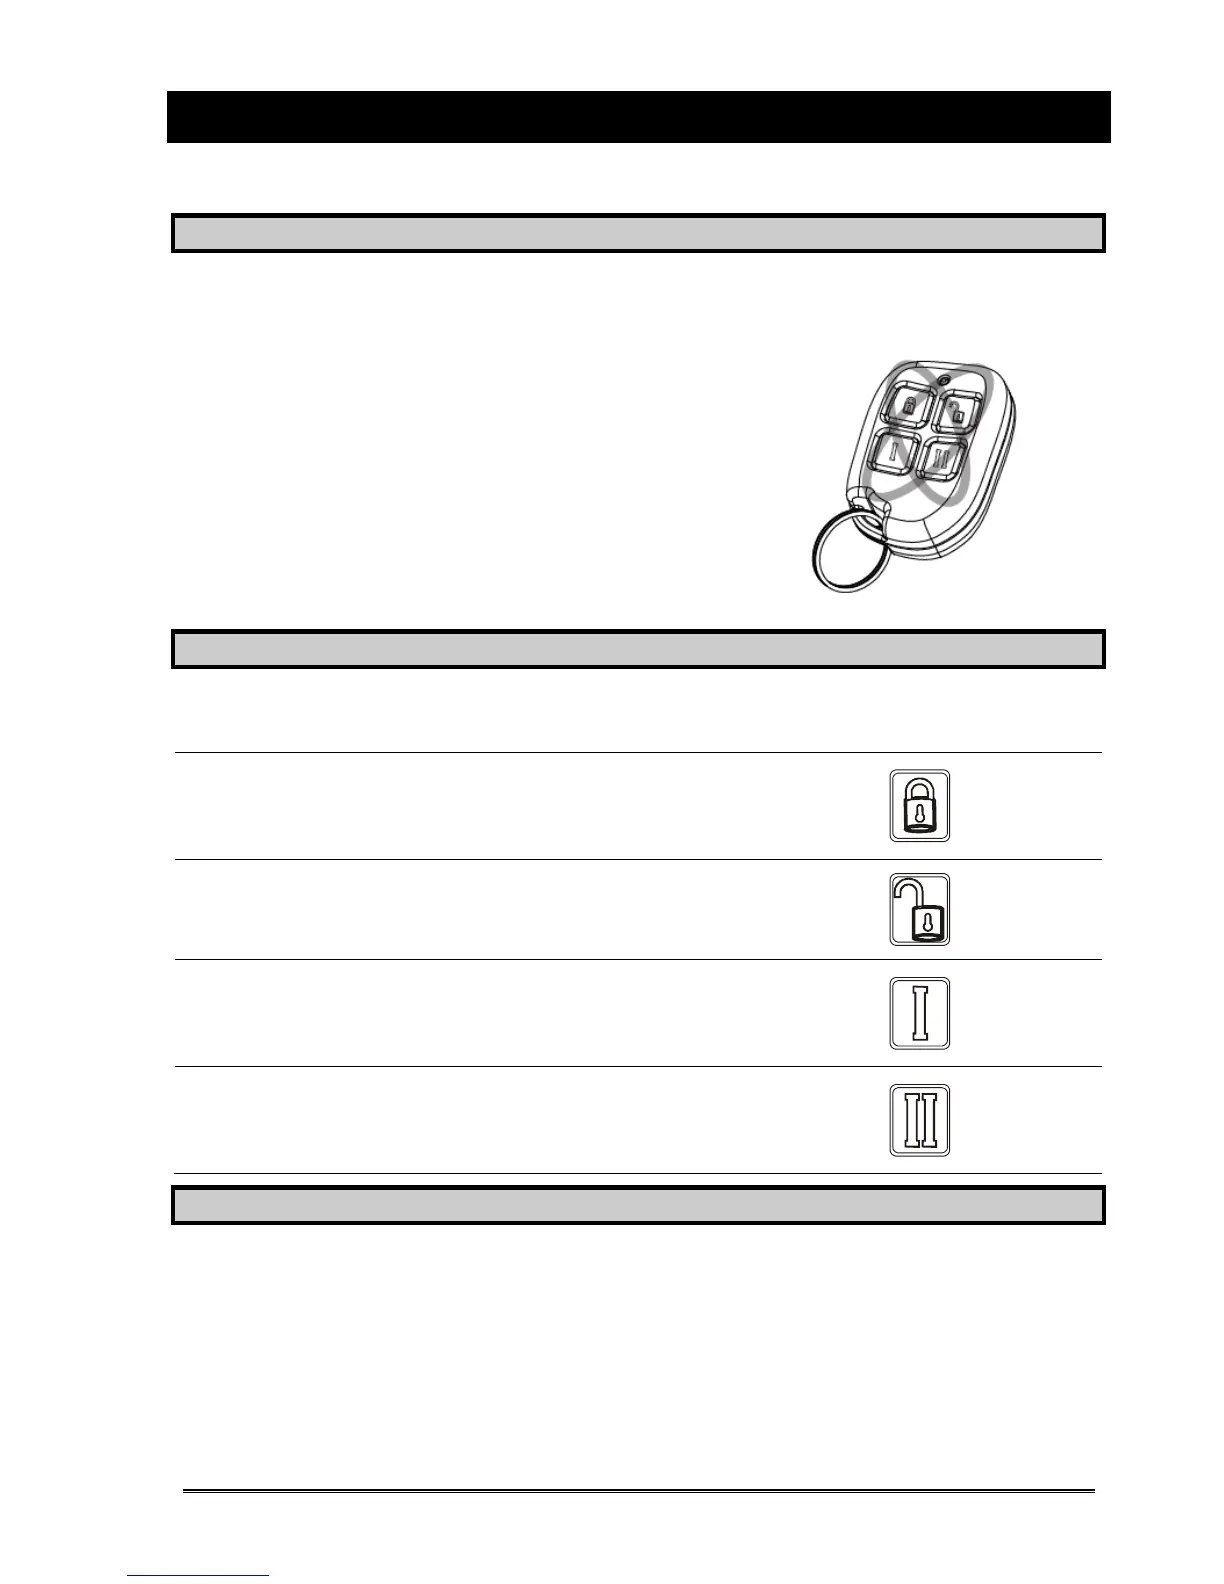
CHAPTER 3: THE KEYFOB
The wireless keyfob has 4 buttons that may be programmed for specific purposes (please see
Change codes on page 19 for more information).
3.1 Locking the Keyfob
All 4 buttons on the keyfob may be ‘locked’ so that any accidental presses will not affect your
alarm system (this protects the buttons from being pressed if a keyfob is next to keys etc in
someone’s pocket)
Locking the keys on the keyfob is performed by pressing
any buttons that are diagonal with one another at the
same time (LOCK & II or UNLOCK & I).
The RED LED will flash indicating that the fob has been
locked.
To unlock, press both buttons together again and the
GREEN LED will flash indicating that the keyfob is now
unlocked.
NOTE: When locked the LED status will also be disabled
3.2 Buttons
The buttons can be customised (see Change Codes, page 19) to operate as desired. The table
below gives an example of how each button may be programmed.
LOCK BUTTON = Programmed for ‘Set Area’
When pressed, the chosen area will be set (chosen in the
function ‘Change Codes’).
UNLOCK BUTTON = Programmed for ‘Unset Any Area’.
When pressed, the alarm system will unset (if set).
I BUTTON = Programmed for ‘Latch Output’
When pressed, a gate will open. When pressed again, the
gate will close.
II BUTTON = Programmed for ‘Timed Output’
When pressed, a door will unlock, after a programmed
time, the door will lock again automatically.
3.3 Quick Setting
If one of the buttons is programmed as ‘Set Area’, the alarm system can be set by the keyfob.
The keypad will then start to count down the exit time, or wait for a ‘final door’ to be closed
(depending what the exit mode is programmed as by the engineer) or the PTS button to be
pressed.
Once the alarm panel is in this ‘setting’ stage, it is possible to ‘quick set’ the system by pressing
the same button again; this will reduce the time to set to immediate. The alarm panel will
revert to the normal display with the time showing, but a beep will be heard once the system
has been set.
Please note this feature cannot be used if ‘Intelligent Arming’ is enabled.