R
October 27, 2011
Page29
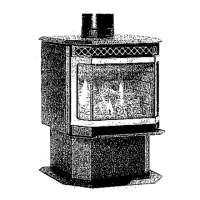
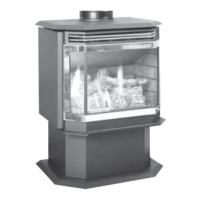
Castile & Santa Fe CE Insert
7069-101B
C. Door Handle Removal
1. Opentheouterdoor.
2. Unlatchandopenthereboxdoor.
3. Continue to turn handle until it is free from the rebox
door.
D. Door Removal
1. Opentheouterdoor.
2. Unlatchandopenthereboxdoor.
3. Liftthereboxdoorup,freeingitfromthereboxhinges.
E. Adjustable Hearth Support
Size: 229mm d x 1143mm w, 51mm to 254mm
Height Adjustment
Included in Kit: (1)trimtop,(1)trimfront,(2)trimsides,
double-sidedtape(alreadyinstalled)
Tools Needed: Phillipsheadscrewdriver,sheetmetal
shears,measuringtape,gloves
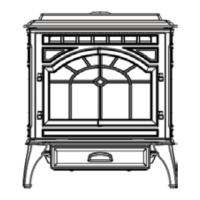
1. The10screwsoneachsetofscissorswillalreadybe
loosewhenshipped.Figure 32.1.
2. Expandscissorstodesiredheight.Tightenscrewsto
holdinplaceusingPhillipsheadscrewdriver.
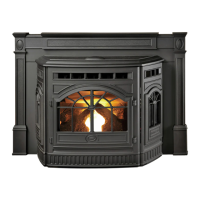
3. Measure front and side trims to required height
to cover scissors and mark pieces for cutting. Cut
excessmaterialfromtopoftrim’sedge,notbottom.
Thisedgewillbesharp;wearglovestopreventinjury
toyourhands. Figure 32.2.
4. Usingsheetmetalshears,cuttrimalongthemarked
edge. The cut edge ts under lip of top trim, so it
allowsforsomevarianceinyourstraightedge.
5. Thedouble-sidedtapethatholdsfrontandsidetrims
toscissorshasapowerfulbondingadhesive.Adjust-
mentsareextremelydifcultoncetrimhasadheredto
tape.Doadryrunrstwithoutremovingpaperfrom
tape.
6. Placecutedgeoftrimundertoplipandintoposition
onscissors.Placesidepiecesonrstandthenfront
piece.Thefrontpieceoverlapssidepieces.
7. Once you are satised with the positioning, remove
trimandsetaside.
8. Remove the paper from double-sided tape that is
toaccepttrimside.Align sideandthenpresshard
againsttapetosecuresidepiece.Repeatforother
side.Installfronttrimpiecelast.
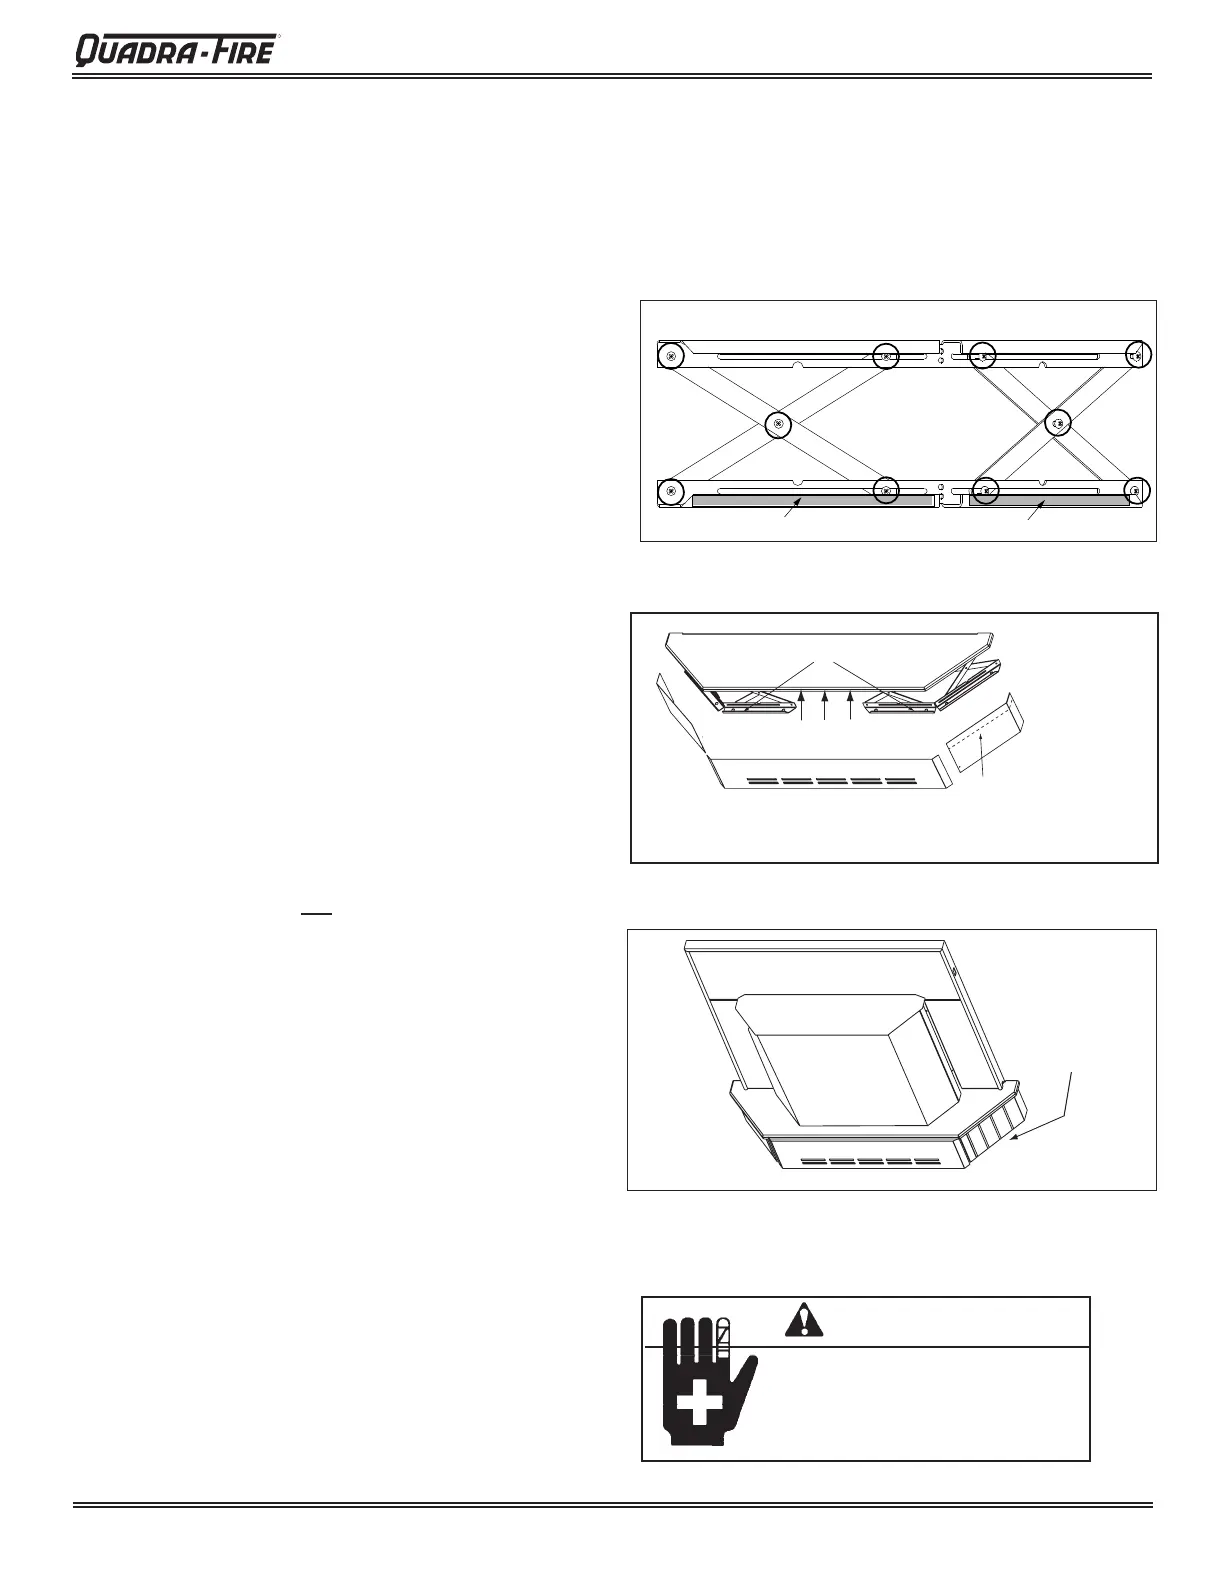
9. Thereare3holesinthebackangeofthetoptosecure
ittothewallifnecessary.Usetheappropriatefastener
forthetypeofwallmaterial,i.e.,brick,sheetrock,etc.
NOTE:9.5mmthicktileorlikematerialcanbecuttosize
andtunderlipoftoptrimedgeforadecorativetouch.
Figure 32.3.
Figure 32.1
Figure 32.2
Figure 32.3
WARNING
Sheetmetaltrimedgeswillbesharp.
Forsafetypurposesweargloves.
Injurycanoccur.
DOUBLE-SIDED TAPE
DOUBLE-SIDED TAPE
SCREWS ARE CIRCLED
EXPLODED VIEW OF SCISSORS
Decorative tile
may be installed
INSTALL FRONT TRIM LAST.
CORNERS OVERLAP SIDE
TRIM PIECES
EXPAND SCISSORS TO DESIRED HEIGHT
CUT TOP EDGE OF TRIM,
NOT BOTTOM EDGE
 Loading...