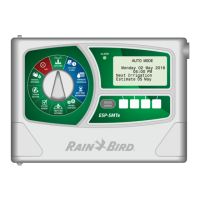
ESP-SMTe Controller
8
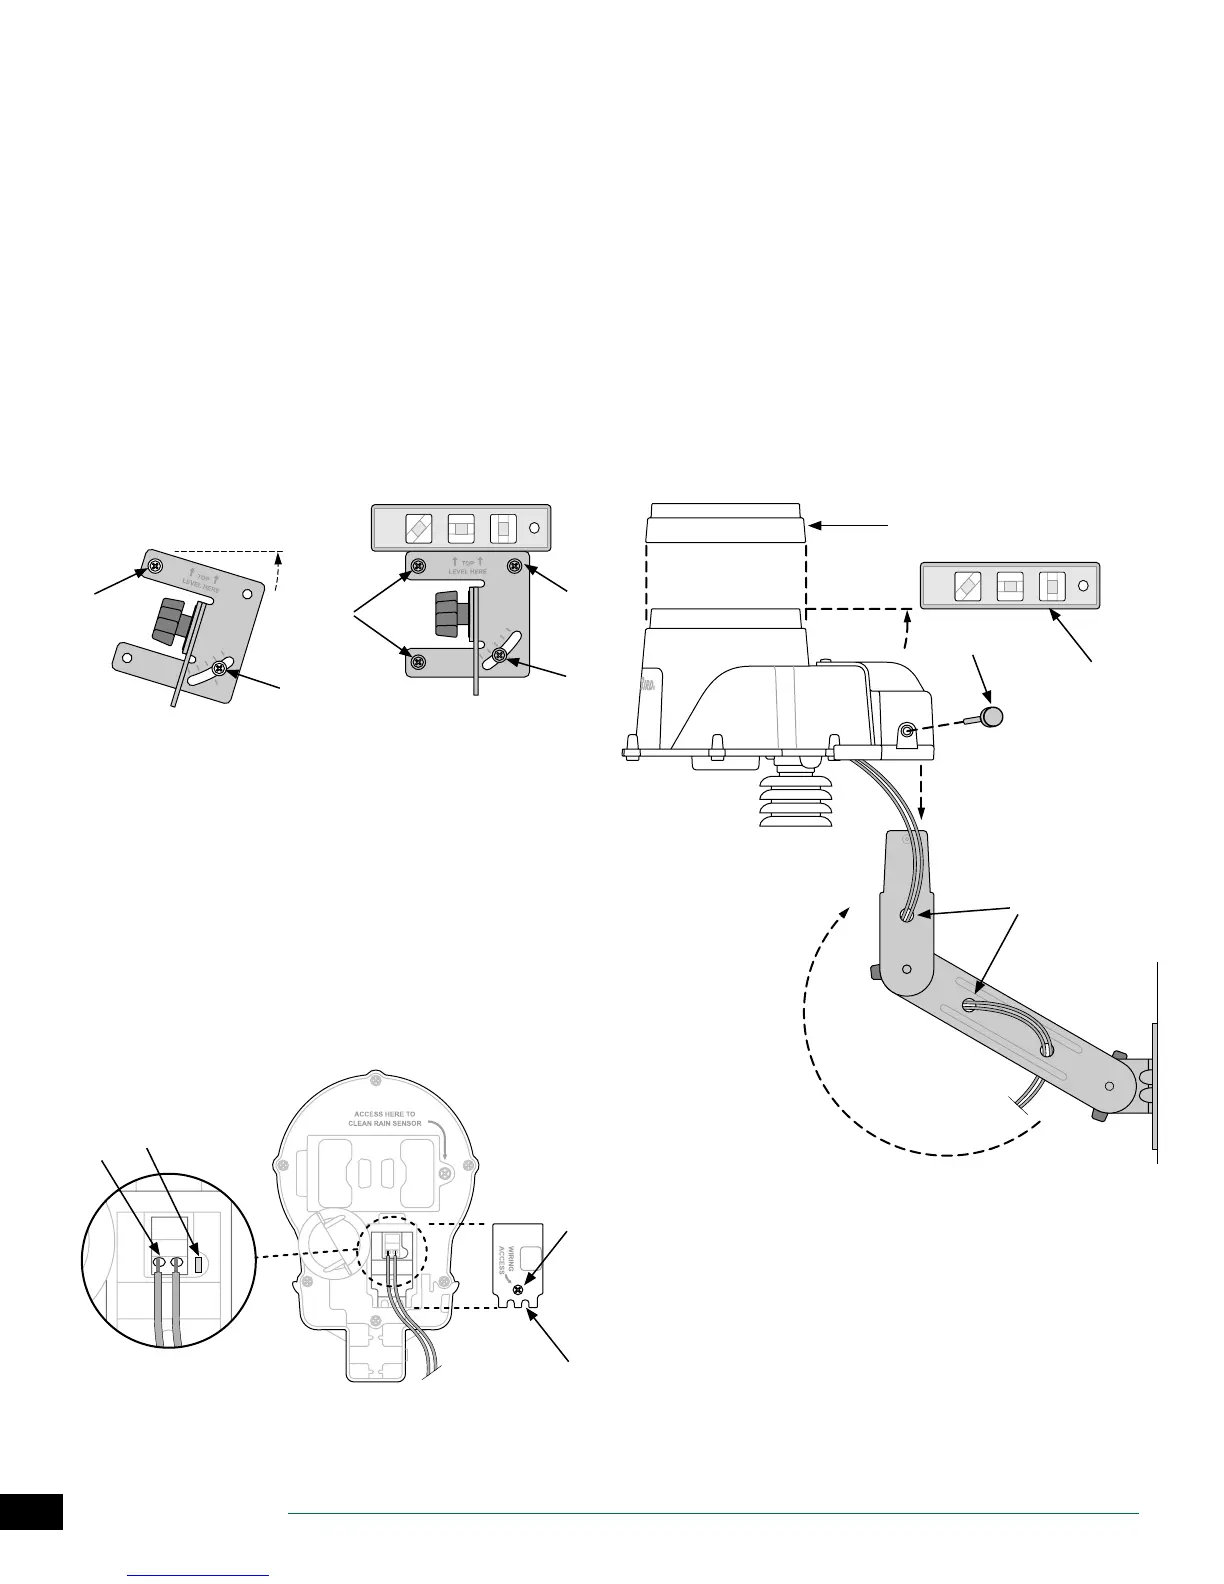
Mount Weather Sensor
Begin by running the communication wire to the location
where the sensor will be mounted.
A
Place the mounting bracket base assembly against
a mounting surface that permits the top of the
mounting bracket to be adjusted to vertical. Drive a
screw into the upper left hole of the base (do not
tighten completely).
B
Drive a second screw into the middle area of the
adjustment slot, located on the lower right corner of
the mounting base.
C
Level the mounting base and hold it in place, then
tighten the screw in the adjustment slot.
D
Tighten the upper left screw, then drive the two
remaining screws into the mounting base, securing it
to the mounting surface.
A
B
D
D
C
Connect Weather Sensor Wire
A
Loosen the captured-screw of the wiring compartment
cover to expose the sensor housing and green wiring
connector within.
B
Strip the two wire leads 1/4” and insert into the
connectors (polarity is not important).
C
If AC power is available, the green LED will blink. Once
communication is established between the sensor
and controller, the LED will light solid.
D
Re-attach the wiring compartment cover and route
the wire through the two openings. Then re-tighten
the captured screw to secure the cover.
D
B
C
A
E
Feed the communication wire(s) through the three
holes in the mounting arm, providing “strain-relief” for
the wires. Leave enough extra wire at the top end so
the sensor pod can easily be installed and removed.
F
Mount the sensor housing assembly to the top of
the mounting arm. Align the mounting hole on the
bracket with the arm and tighten using the provided
thumb-screw
G
Adjust each of the mounting arms to assure that the
top of the sensor is secured and level.
H
Press the sensor debris cover onto the top of the
sensor.
G
H
F
E