7.3Engagingtheautopilot
Engagingtheautopilotusingthepilot
button
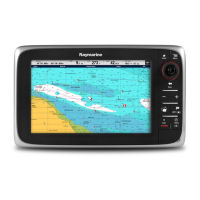
Onmultifunctiondisplayswhichhaveadedicated
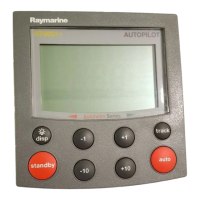
pilotbuttonorwhenusingaremotekeypadyoucan
engagetheautopilotusingthePilotbutton.
Withtheautopilotdisengaged:
1.PressthePilotbutton.
Thepilotcontroldialogisdisplayed.
2.SelectAuto.
Theautopilotisengagedandwillmaintainthe
currentheading.
Note:Youcanalsoautomaticallyengagethe
autopilotbypressingandholdingthePilotbutton.
Engagingtheautopilotfromthechart
applicationmenu
Youcanengagetheautopilotintrackmodeusing
theapplicationmenu.
Inthechartapplication:
1.SelectMenu>Navigate>GotoCursor,Goto
Waypoint,orFollowRouteasappropriate.
ThePilotControldialogisdisplayed.
2.SelectYes(Track).
Engagingtheautopilotusingthecontext
menu
Youcanengagetheautopilotintrackmodeusing
thecontextmenu.
Fromthechartapplicationcontextmenu.
1.SelectanyofthefollowingoptionsfromtheChart
contextmenu:
•GotoWaypoint
•GotoCursor
•FollowRoute
•FollowfromHere
•FollowRouteinReverse
Thepilotcontroldialogisdisplayed.
2.SelectYes(Track).
7.4Adjustingthecurrentlocked
heading
WhentheautopilotisinAutomodethecurrent
lockedheadingcanbeadjustedfromthePilot
ControldialogandfromthePilotBar.
WiththePilotBarorPilotControldialogdisplayed:
1.UsetheLeftArrowicontodecreasethecurrent
lockedheading,or
2.UsetheRightArrowicontoincreasethecurrent
lockedheading.
Autopilotcontrol
85

 Loading...

