3.P
ositiontheMountingtrayontopoftheRiser.
4.SecuretheMountingtraytotheRiserusing3xsuppliedfixings.
5.PlacethelargesealingringintothegrooveontheuppersideoftheMountingtray.
6.PulltheSea Talkng®andDeviceNetcablesthroughtheRiserandMountingtray.Pluginboth
cableconnectorsontheundersideoftheunit.SecuretheSeaTalkng®cablebyrotatingthe
lockingcollarclockwise2clicks.
Important:
IfthereisnotenoughspaceintherisertoaccommodatethecablesandtoplugtheSea
Talkng®
orDeviceNetspurcablesintotheunit,youmayneedtoobtainaSea Talkng®spurcablewitha
right-angledelbowconnector(A06081),oraright-angledelbowadaptor(A06077).
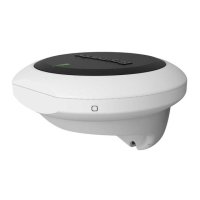
7 .Inserttheunitintothemountingtray,ensuringthetabsintheMountingtrayareslottedintothe
groovesaroundtheedgeoftheunit.
Important:
TheunitmustbemountedwiththeLED‘arrow’inparallelalignmentwiththelongitudinalaxis
(centerline)ofthevesselandbepointingtowardsthevessel’ sbow.
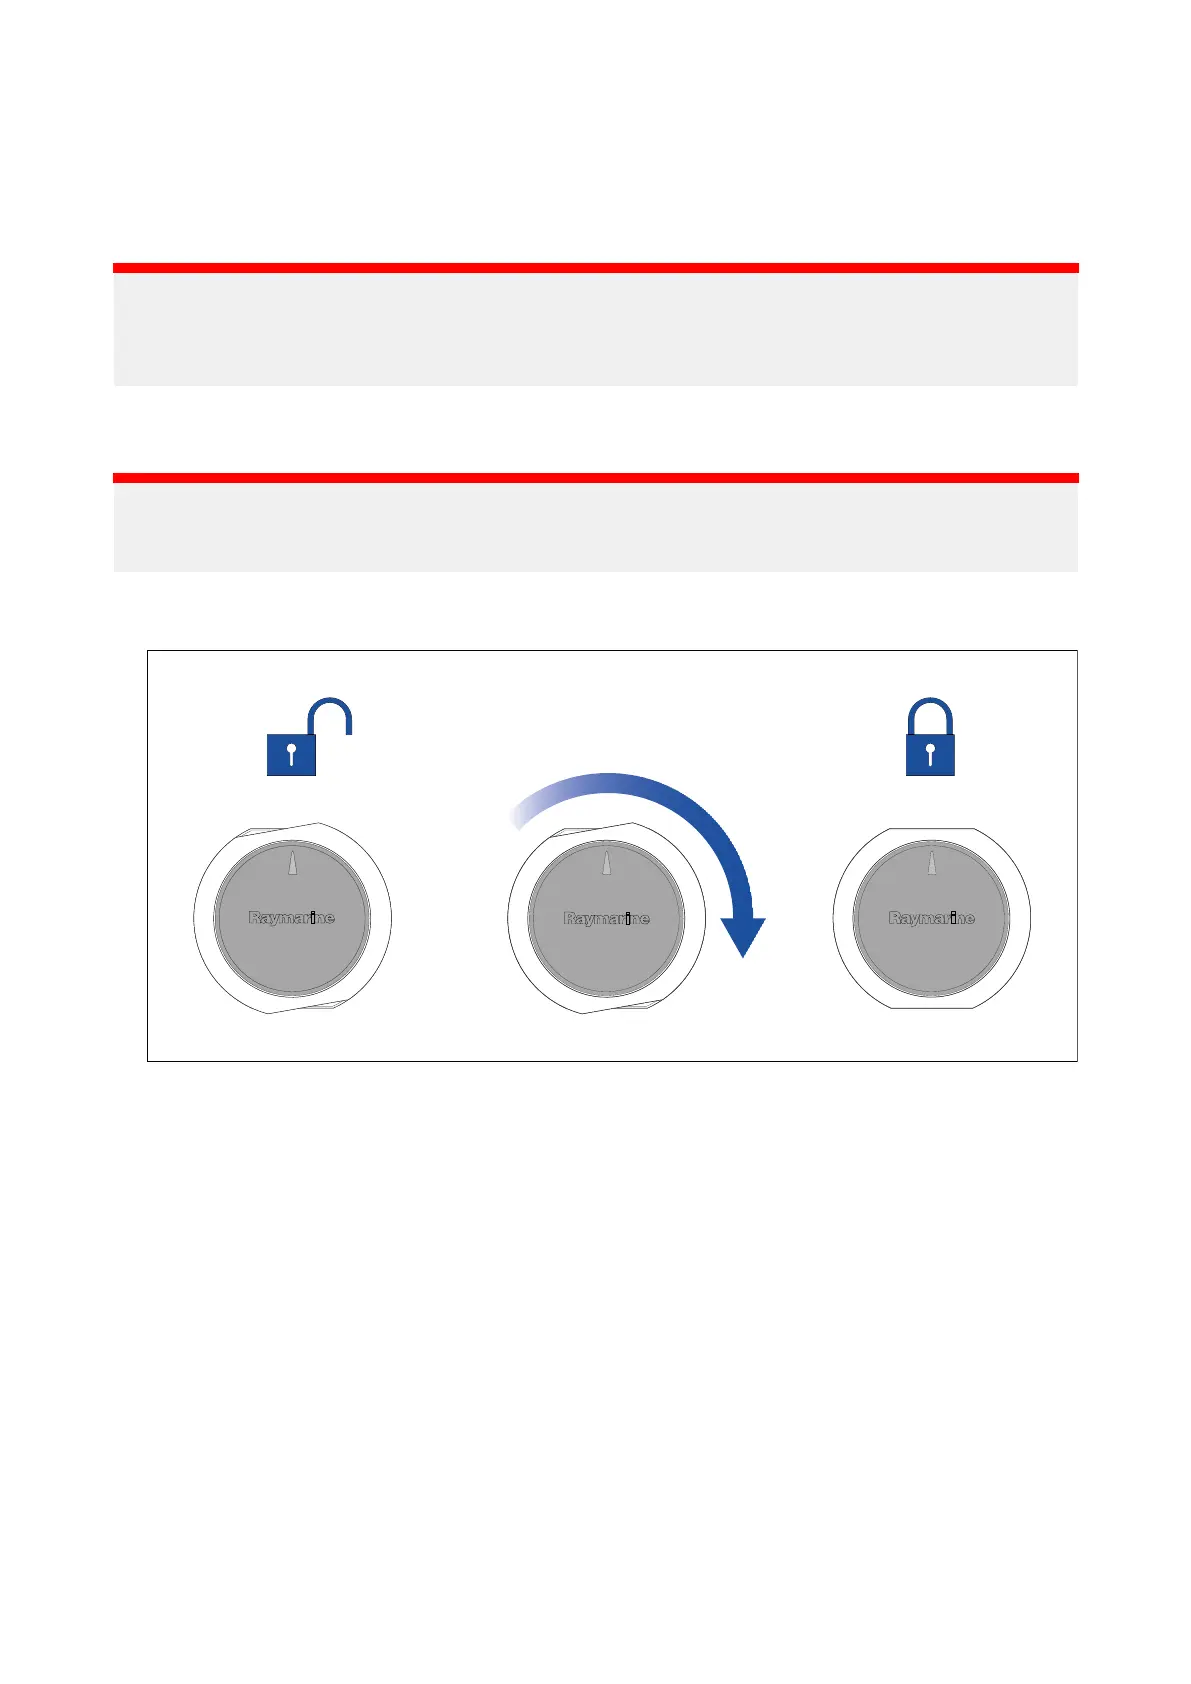
8.PlacetheMountingtrimovertheunitslightlyoffset,andthentwisttheMountingtrimclockwise
untilitlock sintoposition.
Installation39