RT-7600S Auto Hematology Analyzer User’s Manual
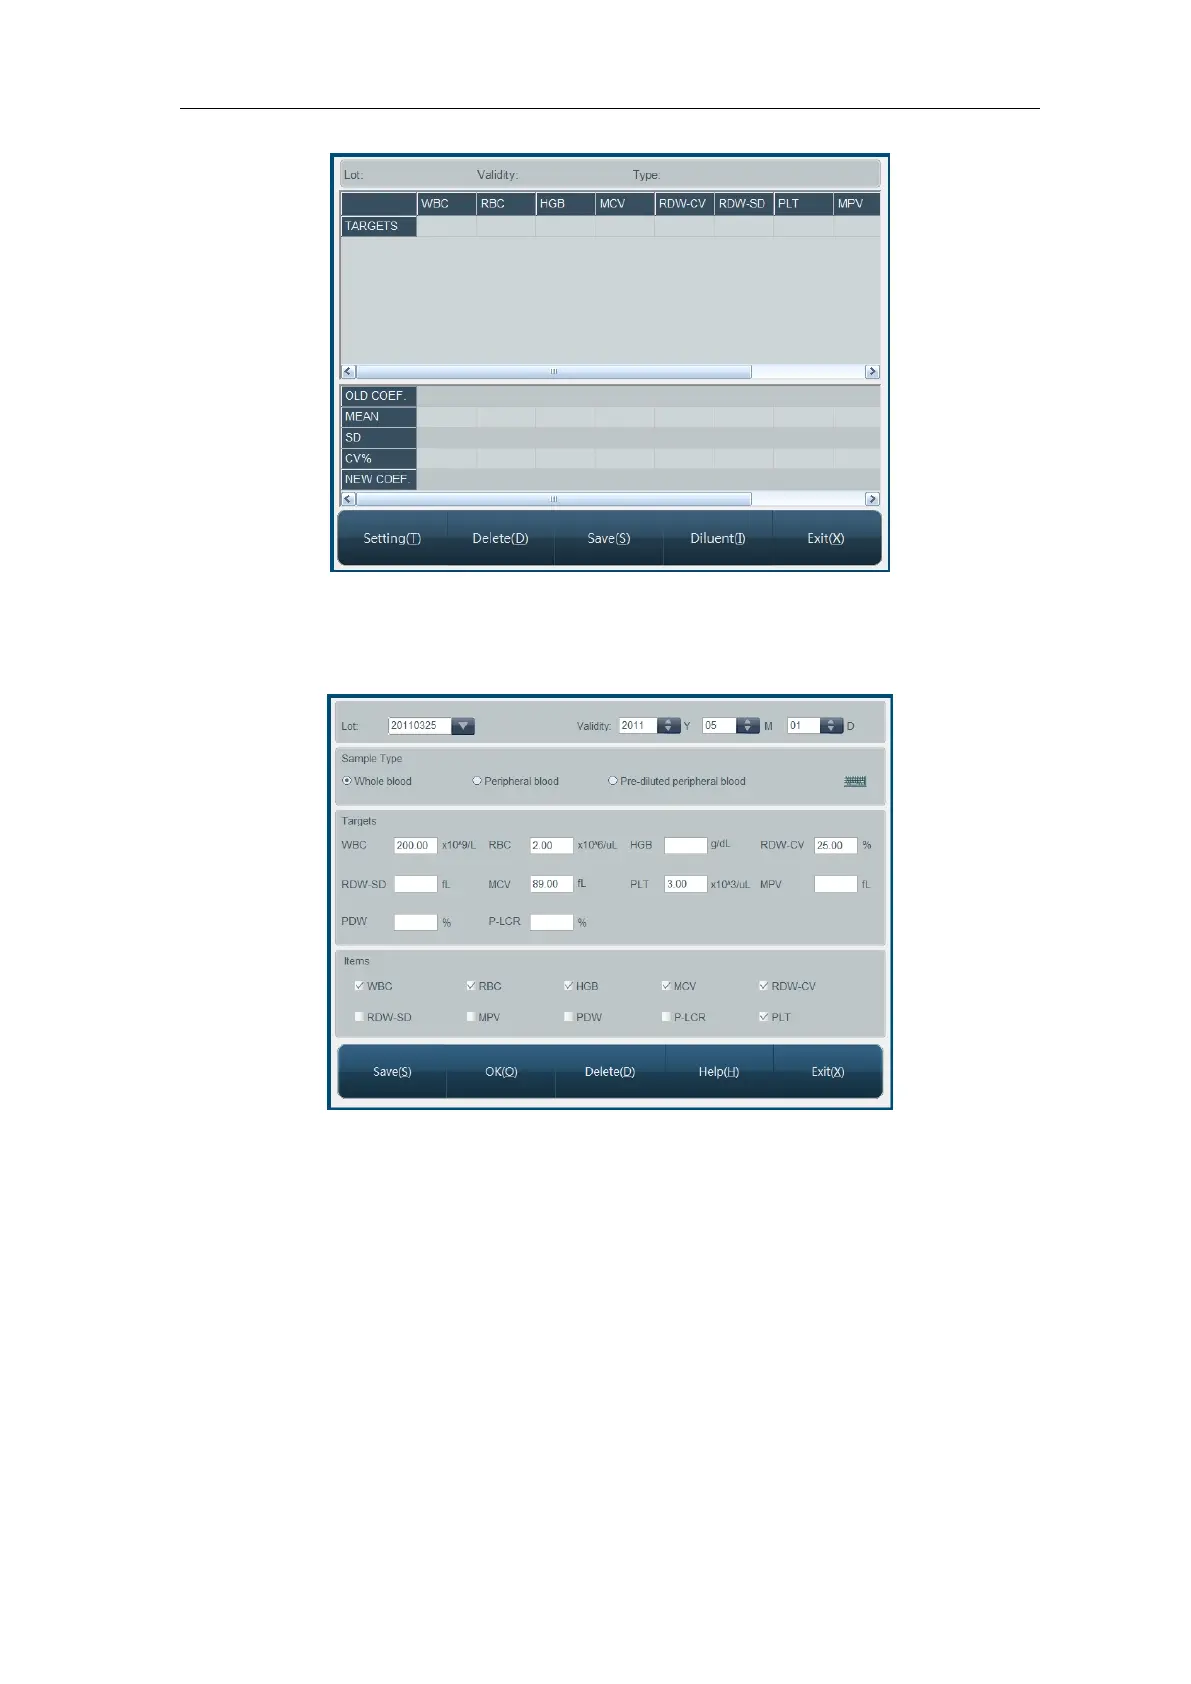
Fig.5-2 Auto-calibration
At first, calibration sample is to be set up, click “Setting” button, open auto-calibration setting
menu, as shown below:
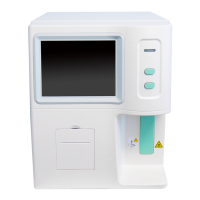
Fig.5-3 Auto-calibration setting
Lot No.: lot number of calibration sample, input and save, on next logon, you can select
from dropdown list, check or modify data of this lot no. Click “Input” button to input lot No.
Expiry: validity period of calibration sample, if validity period is less than current system
date, when confirmed to return, the instrument will give alarm of using another
calibration sample to calibrate.
Sample type: blood type of calibration sample.
Targets: reference value of each parameter of calibration sample.
Calibration parameter: parameter to calibrate.
Click “Delete” button, current calibration sample setting data can be deleted. Click “OK” to
save current lot number data and exit. Click “Cancel” button, the system will not function, and
directly return to Auto-calibration running screen.
After setting, return to screen as shown in Fig.5-2, start calibration test, the process is as