RT-7600S Auto Hematology Analyzer User’s Manual
1. Append: click “Append” button to add one row of blank column, input department name
in department column, click “Append” button, the added department message can be
saved.
2. Modify: Select the column you want to modify, input new department name, click
“Modify” button to update the info. If the input is blank, it will not update.
3. Delete: select one row or several rows of data, click “Delete” button, confirm, and delete
selected department message.
4. Exit: return to other setting frame.
7.2.7 Doctor information
Doctor information is used to set up individual doctor data, which will be sued in sample data
entry, preset these messages will speed up doctor data input. Click “Doctor Info” button, open
doctor information menu as follows:
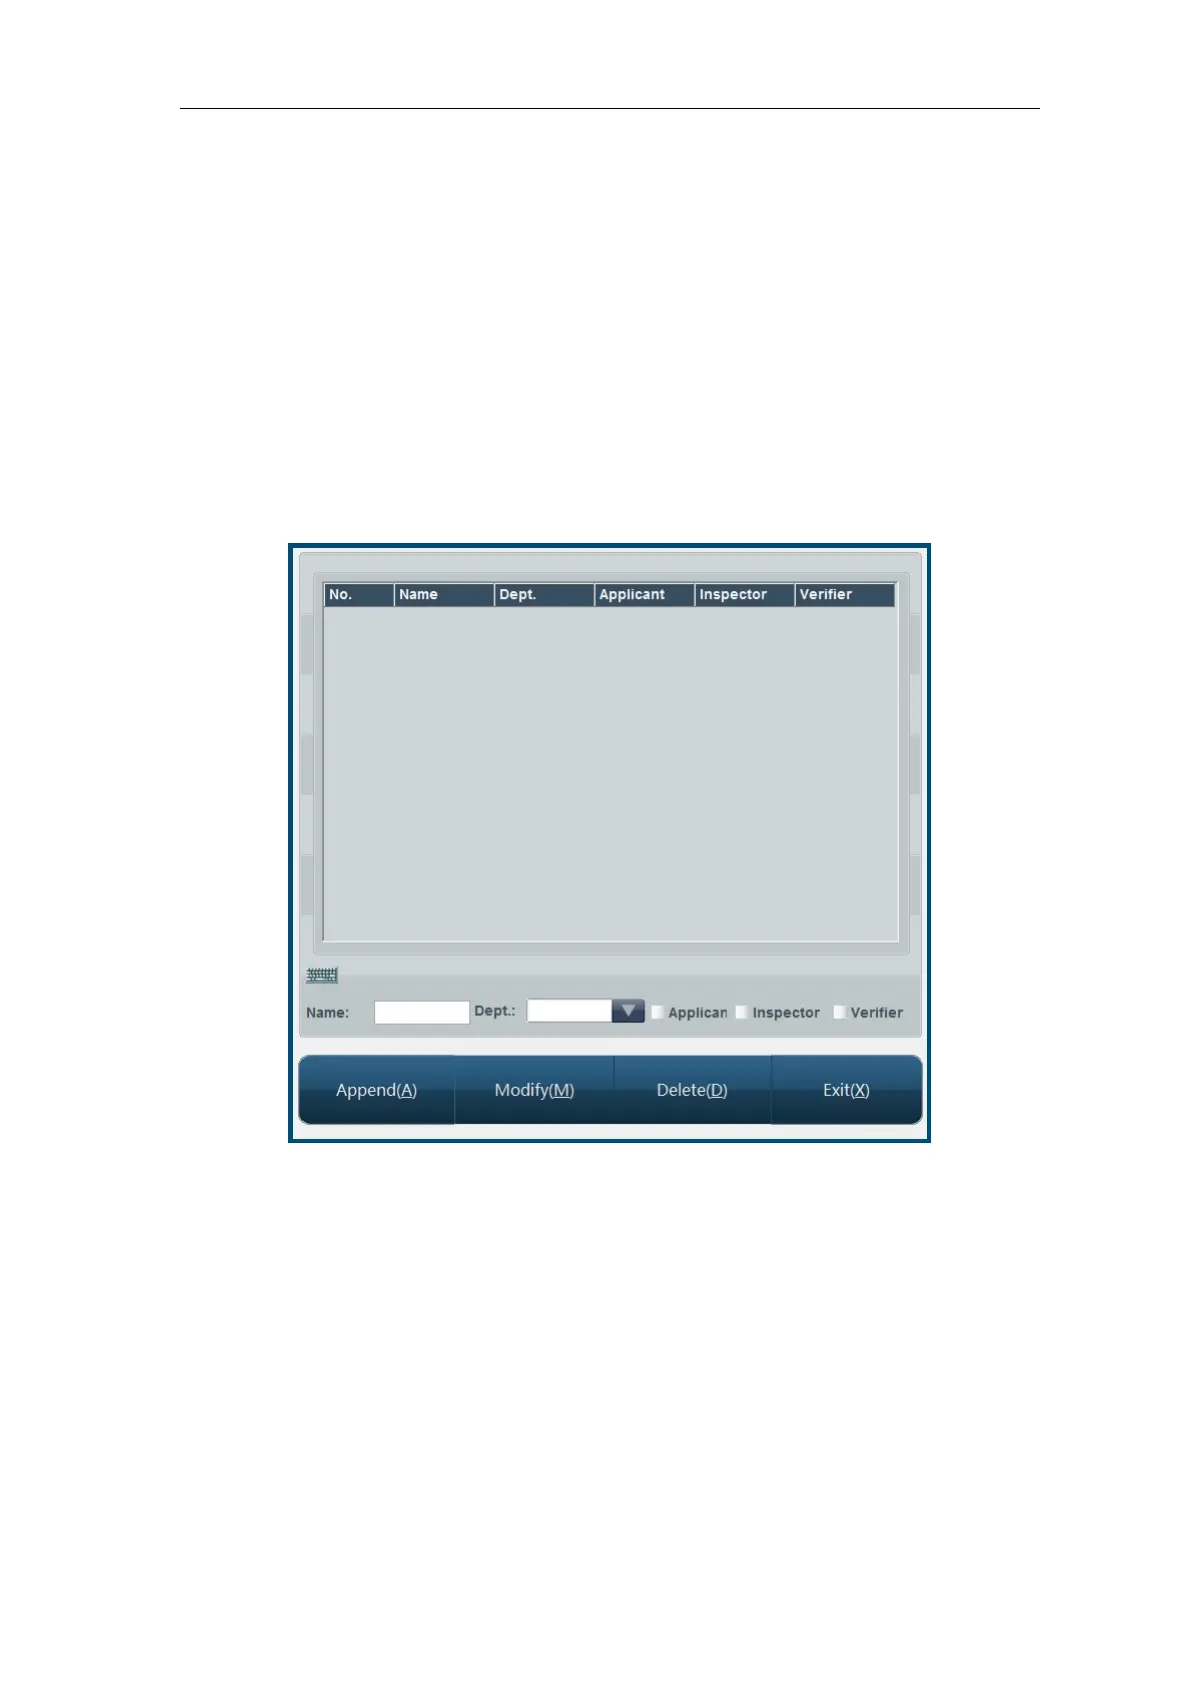
Fig.7-10 Doctor setting
1. Append: click “Append” button to add one row of blank column, input name in name
column, select department, sender, tester and checker from dropdown list. Set up
department in department message type, “N” in sender, tester and checker boxes
indicates that the doctor is not of this identity; “Y” indicates that this doctor has such
identity.
2. Modify: Select a data column you want to modify, input new information of the doctor,
click “Modify” to update the doctor’s information. If the input is blank, it will not update.
3. Delete: select one row or several rows of data, click “Delete” button, confirm, delete the
selected doctor message will be deleted.
4. Exit: return to other setting frame.