28
razberi™ Technologies
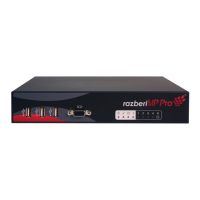
Figure 32
1. To change the settings, select the status option to enable access to change the static IP address in the IP
Configuration section.
2. In the IP Configuration section, enter the necessary information in the available fields.
3. Click Apply.
4. After clicking Apply, a prompt window asks to reboot the server. Click OK and the client window closes.
5. Re-log in to the system.
The DHCP Server section contains two available radio button options. (See figure 32)
1. Click the On radio button to turn on the DHCP server. With the DHCP server on, the razberi™ gives out IP
addresses.
2. Click the Off radio button to turn off the DHCP server. With the DHCP server off, the razberi™ does not give
out IP addresses.
3. Click Apply
4. After clicking Apply, a prompt window asks to reboot the server. Click OK and the client window closes.
5. Re-log in to the system.
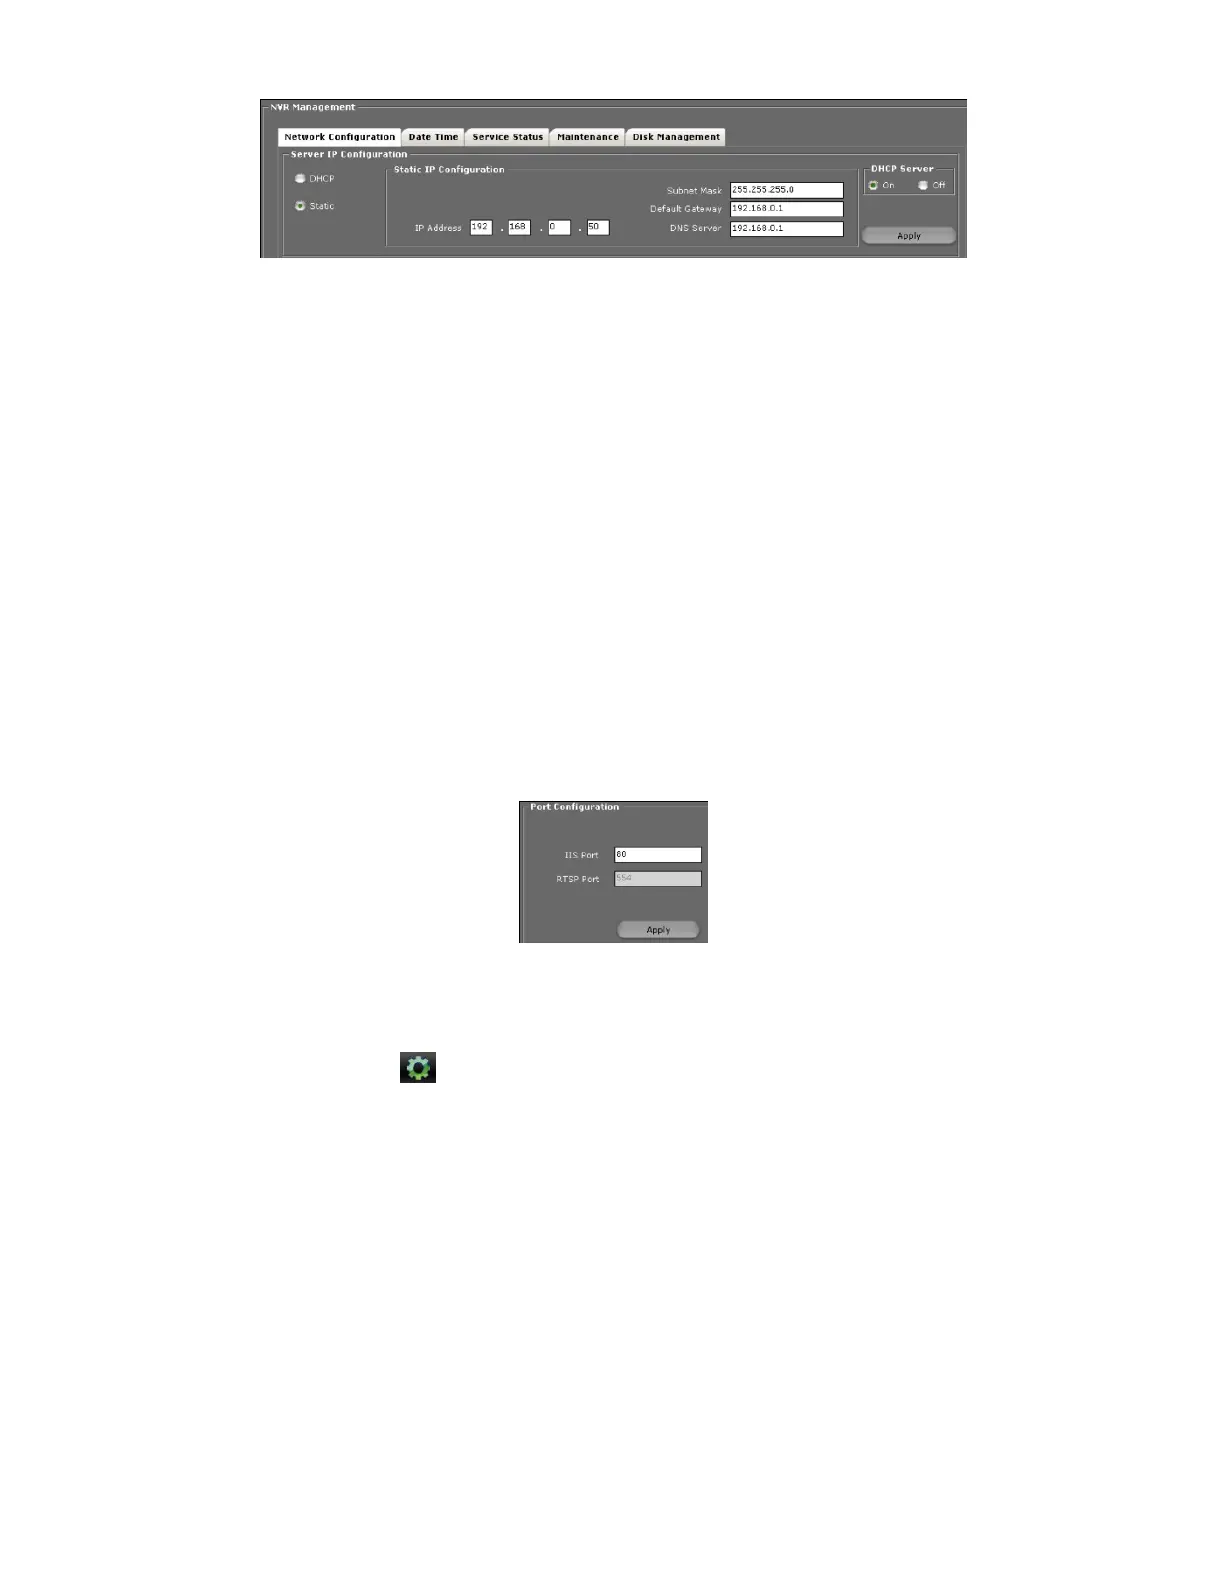
The section below the Server IP Configuration section provides fields to change the server ports. Click Apply to apply the
server port changes. In the prompt window, click OK.
Figure 33
3.14.2.2 Date and Time Settings
After connecting to the razberi™, login to the client and access the DateTime tab. (See figure 34)
1. To view the tab, click (Administration icon), click the NVR Management tab, and select the DateTime tab.
2. In the Time Mode field, select the Manual option.
3. In the TimeZone field, use the available dropdown menu to select the appropriate time zone.
4. Click Apply.
5. A prompt appears stating, “It will take few minutes to reboot the server. Please reconnect it later.” Click OK and
the system automatically reboots.
 Loading...