RED DSMC OPERATION GUIDE
COPYRIGHT © 2014 RED.COM, INC
955-0020_V5.1, REV-H | 25
ATTACH DSMC MODULE
WARNING: The DSMC modules are NOT HOT SWAPPABLE, meaning you cannot remove or install the modules
while the camera is powered on. Before installing or removing modules, you MUST power down the camera.
Failure to do so may result in damage to the modules or DSMC that will not be covered under warranty.
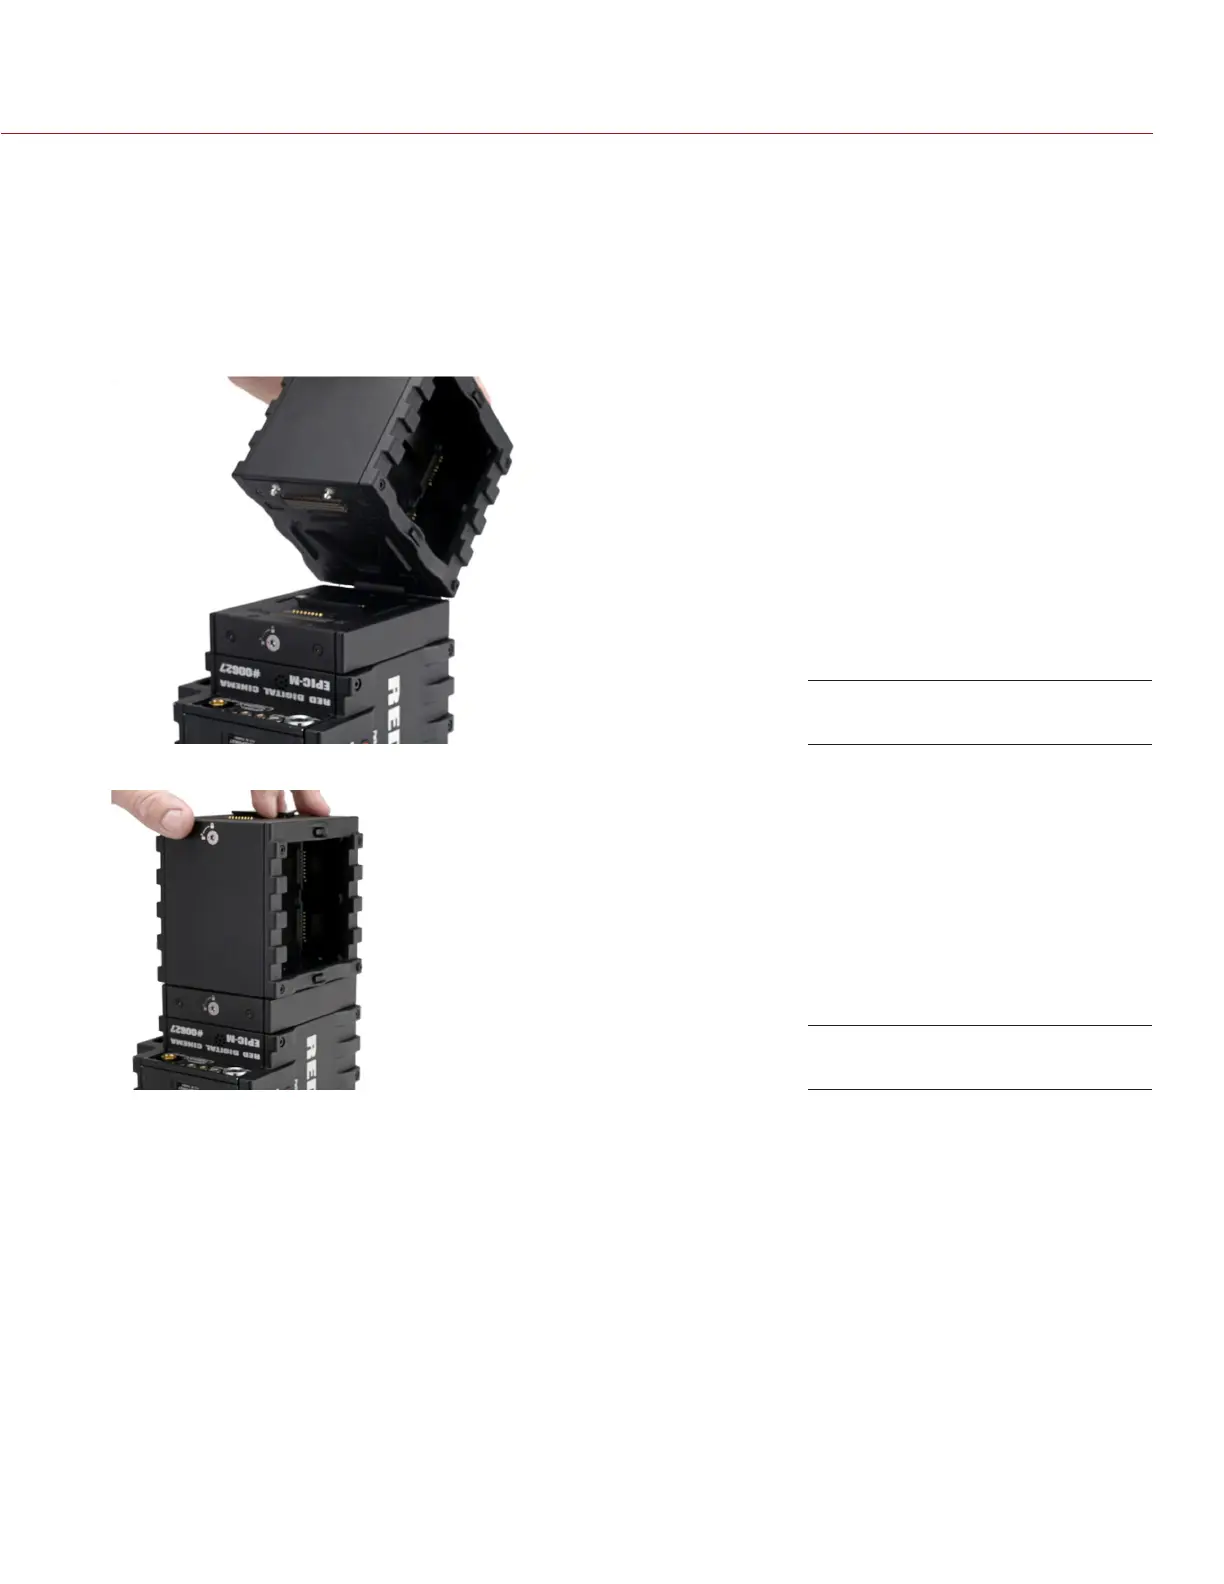
NOTE: The instructions below are applicable to all DSMC modules. The QUAD BATTERY MODULE is shown.
REQUIRED TOOL: T20 Torx
®
driver
1. Insert the lip at the top of the module into the recess at the top of the MODULE ADAPTOR.
2. Rotate the module down flush with the rear of the MODULE ADAPTOR.
3. While applying steady pressure to hold the module against the MODULE ADAPTOR, use a T20 Torx driver
to rotate the lock on the MODULE ADAPTOR clockwise to the Lock position in order to secure the module.
REMOVE DSMC MODULE AND ADAPTOR PLATE
REQUIRED TOOL: T20 Torx
®
driver
1. Power down the camera.
2. Use a T20 Torx driver to rotate the lock on the MODULE ADAPTOR counterclockwise to the Unlock position.
3. Rotate the module upwards and down to disengage the lip at the top of the module from the MODULE
ADAPTOR.
Insert Module Lip
Press Module Flush