34 | Regency Ultimate
™
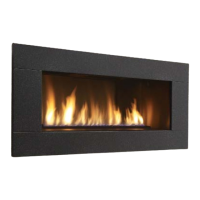
U1500E Gas Fireplace
installation
CONVERSION FROM NG TO LP
PRIOR TO CONVERSION, ENSURE UNIT HAS COOLED TO ROOM
TEMPERATURE, ALL POWER IS DISCONNECTED AND GAS SUPPLY
IS TURNED OFF.
Remove faceplate, inner frame, glass door, front trim piece- see instruc-
tions in this manual.
Remove Logs.
Remove Inner panels (see detailed instructions in unit manual).
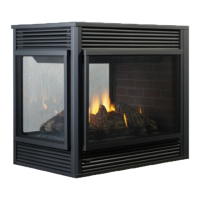
Remove burner side panels by lifting out as shown in Diagram 1.
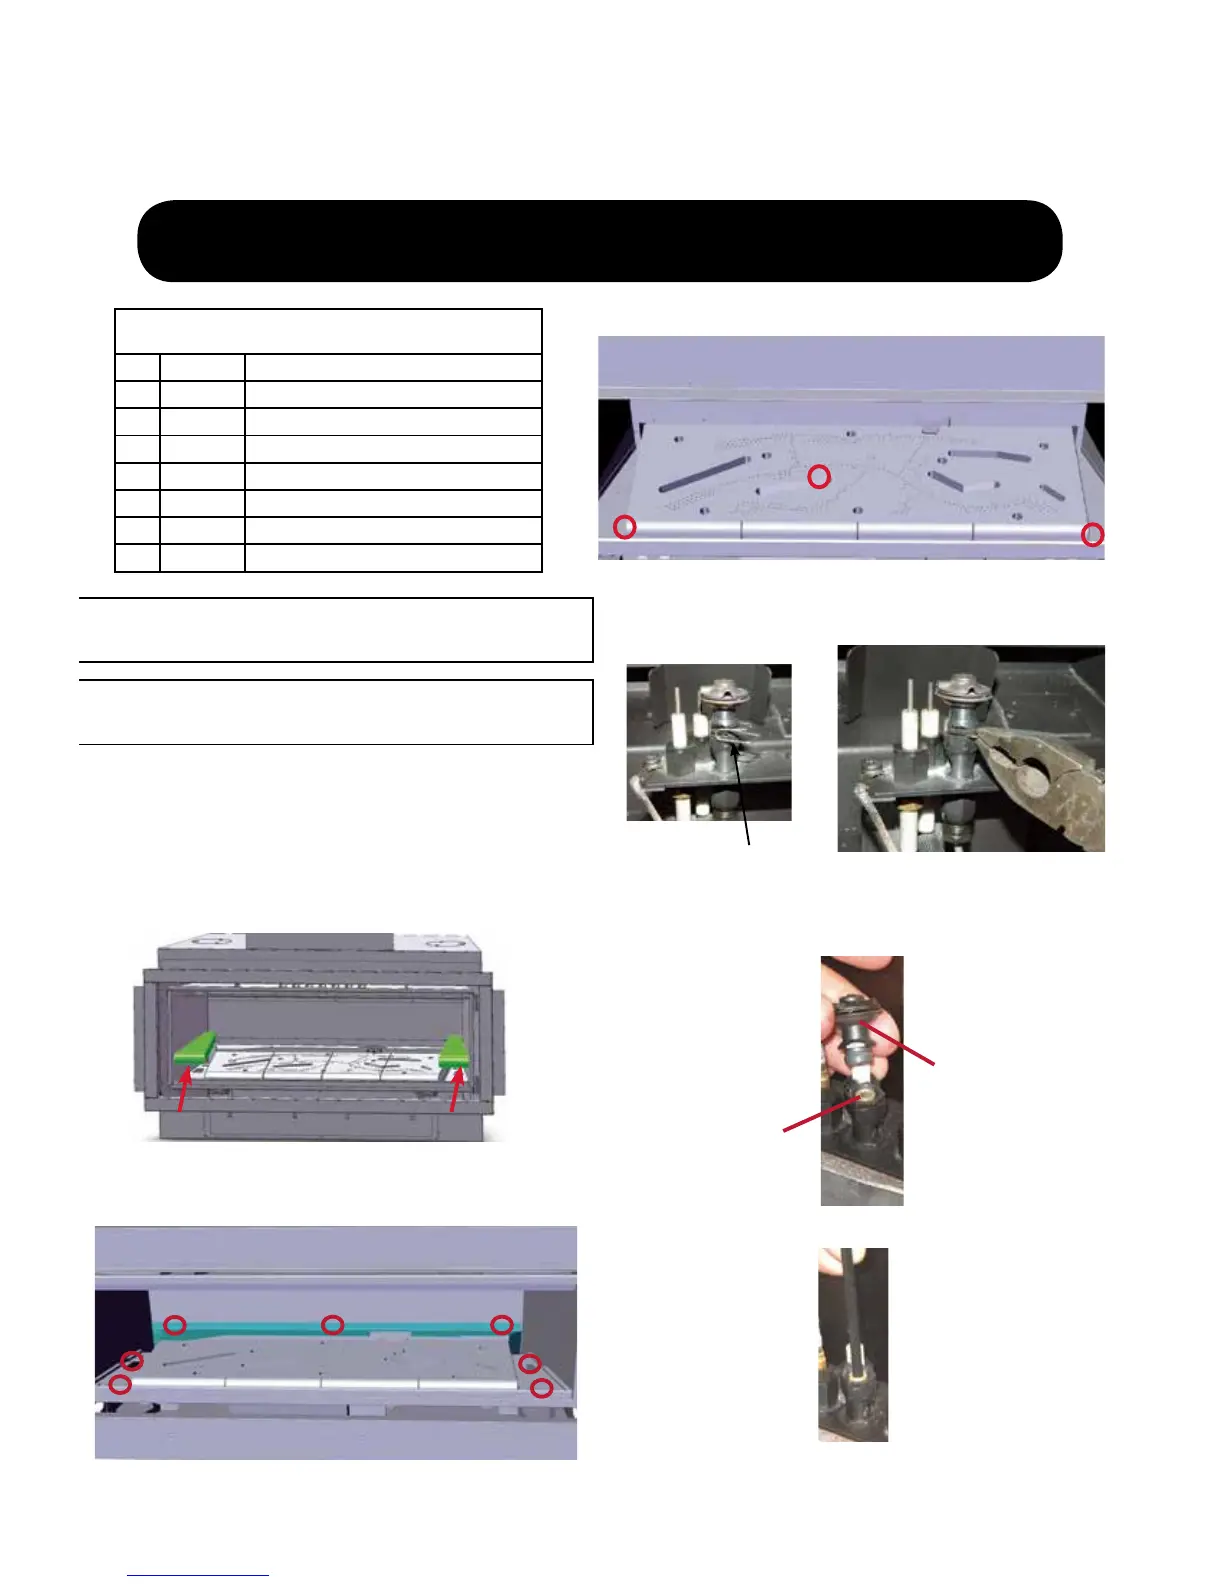
6. Remove burner by removing 3 screws in locations shown below.
Diagram 3 - Burner Screw Locations
CONVERSION KIT FROM NG TO LP
THIS CONVERSION MUST BE DONE BY A QUALIFIED GAS FITTER
IF IN DOUBT DO NOT DO THIS CONVERSION !!
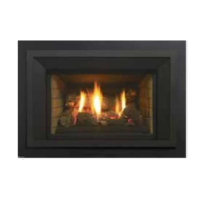
5. Remove rear log tray by removing 3 screws and remove 2 screws on each
side to remove left and right ceramic mounting brackets as shown in Diagram
2 below.
Each Kit contains one LP / ULPG
Conversion Kit
Qty.Part # Description
1 904-622 Burner Orifi ce #48 LP
1
918-590 Decal “Converted to LP”
1
908-528
Red Propane Label
1 911-011 Stepper Motor
1
904-529 5/32” Allen Key
1 910-101 Injector Orifi ce LP #35
1 919-794 Instruction Sheet
Diagram 4 - Remove Pilot Cap
Pilot Cap
Pilot Orifi ce
8. Pull off the pilot cap to expose the pilot orifi ce (see below).
9. Unscrew the pilot orifi ce with the Allen key and replace with the LP-
pilot orifi ce in the kit and replace pilot cap (see below).
Diagram 1 - Burner Side Panels
CONVERTING THE APPLIANCE PRIOR TO INSTALLATION OF UNIT
OR WALL FACING MATERIAL IS RECOMMENDED AS THIS WILL
ALLOW ACCESS TO THE BOTTOM PANEL.
Diagram 2--Screw Locations
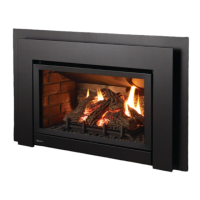
7. Remove pilot retainer clip with pliers and pull off the pilot cap to
expose the pilot orifi ce.
Pilot retainer clip