18
sufcient daylight in order to maintain the battery
charge at acceptable levels.
Shadows cast by neighbouring walls, trees and roof
overhangs should also be avoided. If the Siren is to
be mounted below the eaves, it should be positioned
a distance of at least twice the width of the eaves
overhang below the eaves. Remember that in winter
the sun is lower in the sky and you should avoid winter
shadows where possible.
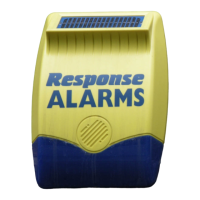
The Solar Siren contains a sophisticated radio receiver.
However, reception of radio signals can be affected by
the presence of metallic objects within the vicinity of
the Siren. It is therefore important to mount the Siren a
minimum distance of 1 metre away from any external or
internal metalwork, (i.e. drainpipes, gutters, radiators,
mirrors etc). Be especially aware of radiators mounted
on the inside wall behind possible locations for the
Siren.
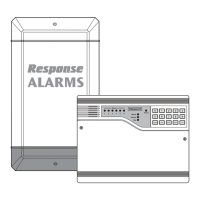
Ensure that the position selected for the Siren is within
effective range of the Control Panel.
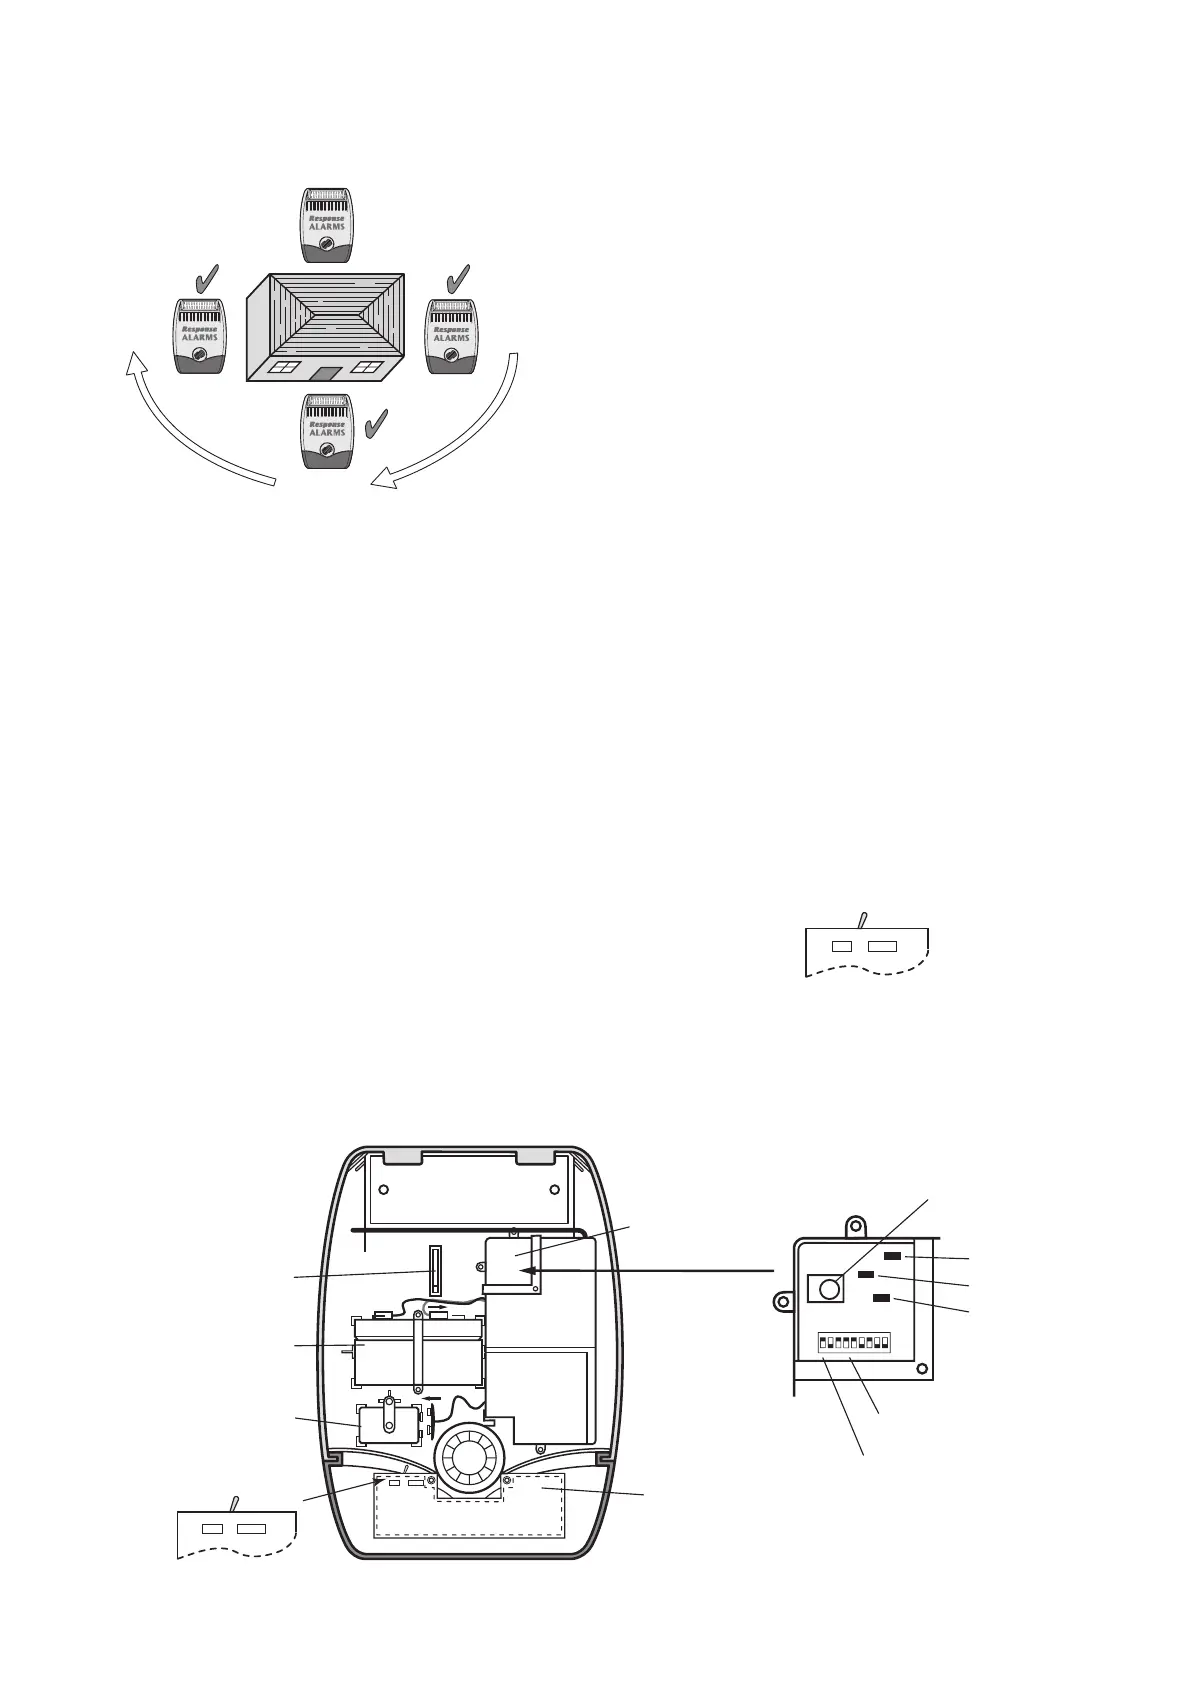
INSTALLING AND CONFIGURING THE
SOLAR SIREN
Ensure that the system is in Test Mode (see page 20).
1. Remove the xing screw from the bottom edge of the
Siren housing and carefully hinge off the front cover.
2. Hold the mounting plate in position and mark the
positions of the four mounting holes. A spirit level
placed on the casing will help ensure you get the unit
level.
Drill four 6mm holes and t the 26mm wall plugs.
3. Fit the two 30mm xing screws in the top holes
leaving approximately 10mm of the screw protruding.
4. Fit the top keyhole slots of the mounting plate over
the screw heads. Remove the mounting plate and
adjust the screws until they form a neat t with the
mounting plate with minimal movement.
5. Secure the mounting plate in position using the two
25mm xing screws in the bottom xing holes.
6. Ensure that the Siren’s main conguration switch on
the LED indicator board is set to “SIREN” for use with
this alarm system.
7. Undo the three screws holding the DIP Switch Cover
in place and remove the cover (see main diagram
below).