23
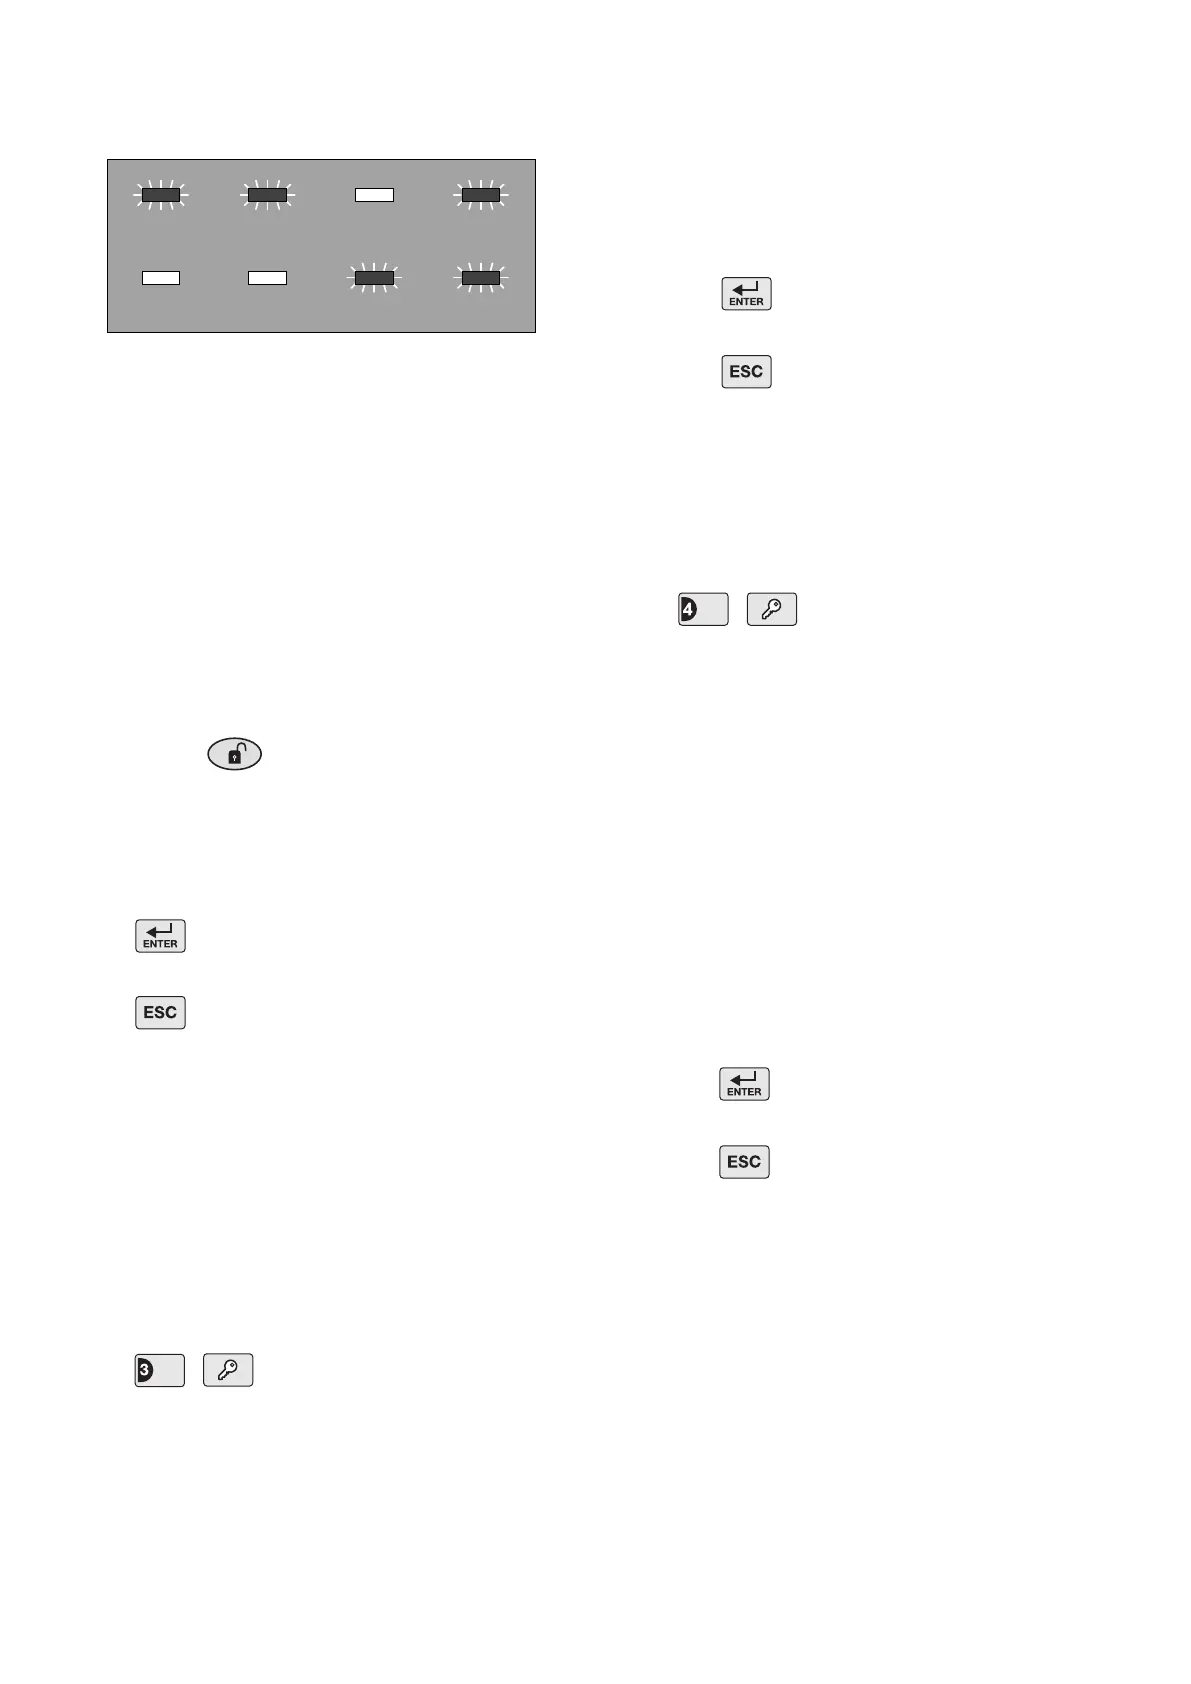
For example, a house code of 1101 0011, will be
indicated as shown below:
To change the setting:
a) At the Control Panel:
Press buttons 1-8 on the Control Panel to
congure the LEDs so that they indicate the
required house code. As each button is pressed
the corresponding digit in the House Code will
change to the opposite state, (“0” or “1”).
LED ON = 1, (House Code DIP Switch On/Up)
LED OFF = 0, (House Code DIP Switch Off/Down)
b) Using a Remote Control:
With the required house code already congured,
press the button on the Remote Control.
The Control Panel will beep twice to acknowledge
the signal and the LED status will change to
correspond with the House Code set on the
Remote Control.
Press to save the new setting and exit to
Program Mode, or
Press to exit without saving.
INSTANT/DELAY ZONES
This denes which zones will operate in conjunction
with the systems entry/exit delay period and which
zones will instantly trigger an alarm when activated
while the system is armed. Delay zones will not
become active (armed) until the exit-delay has expired
and when triggered will only initiate an alarm after the
entry-delay has expired.
Default setting: zone 1: Delay, zones 2-6: Instant
Press ,
The zone LEDs corresponding to the zones currently
set to Delay will be illuminated. LEDs for zones set to
Instant will be OFF.
LED ON Delay Zone
LED OFF Instant Zone
To change the setting:
Press the button corresponding to the zone
number to be changed. The zone’s status (delay
or instant) will switch to the opposite state each
time the button is pressed.
Press to save the new setting and exit to
Program Mode, or
Press to exit without saving.
ENTRY/EXIT DELAY
This allows the entry/exit delay period applied to
‘Delayed’ zones to be congured and/or changed. This
has no effect on zones congured to ‘Instant’
Default setting: 30 seconds
Press ,
The zone LED corresponding to the current setting will
illuminate.
0 No delay, (i.e. Instant)
1 10 seconds
2 20 seconds
3 30 seconds
4 40 seconds
5 50 seconds
To change the setting:
Press the key corresponding to the required delay
setting, the corresponding zone LED will illuminate
as the setting is changed.
Press to save the new setting and exit to
Program Mode, or
Press to exit without saving.
ALARM DURATION
This allows the alarm duration period (of the Control
Panel, Solar Siren and Hardwired Siren) to be set as
you require.
Note: Following initiation of a Full Alarm, the Siren will
continue to sound until either the system is Disarmed
or the Alarm Duration Time expires. However, if the ‘3
minute alarm time limit’ of the Solar Siren is enabled
then the Solar Siren will shut down after 3 minutes
even if the Control Panel siren is still operating.