7
7. Press the Scan Options tab to prompt the Scan Options screen. Change
the file format and compression level of the scanned image if the default
settings are not satisfactory.
8. Press the B&W Start button to send your document(s) in black and white,
or the Color Start button to send your document(s) in color.
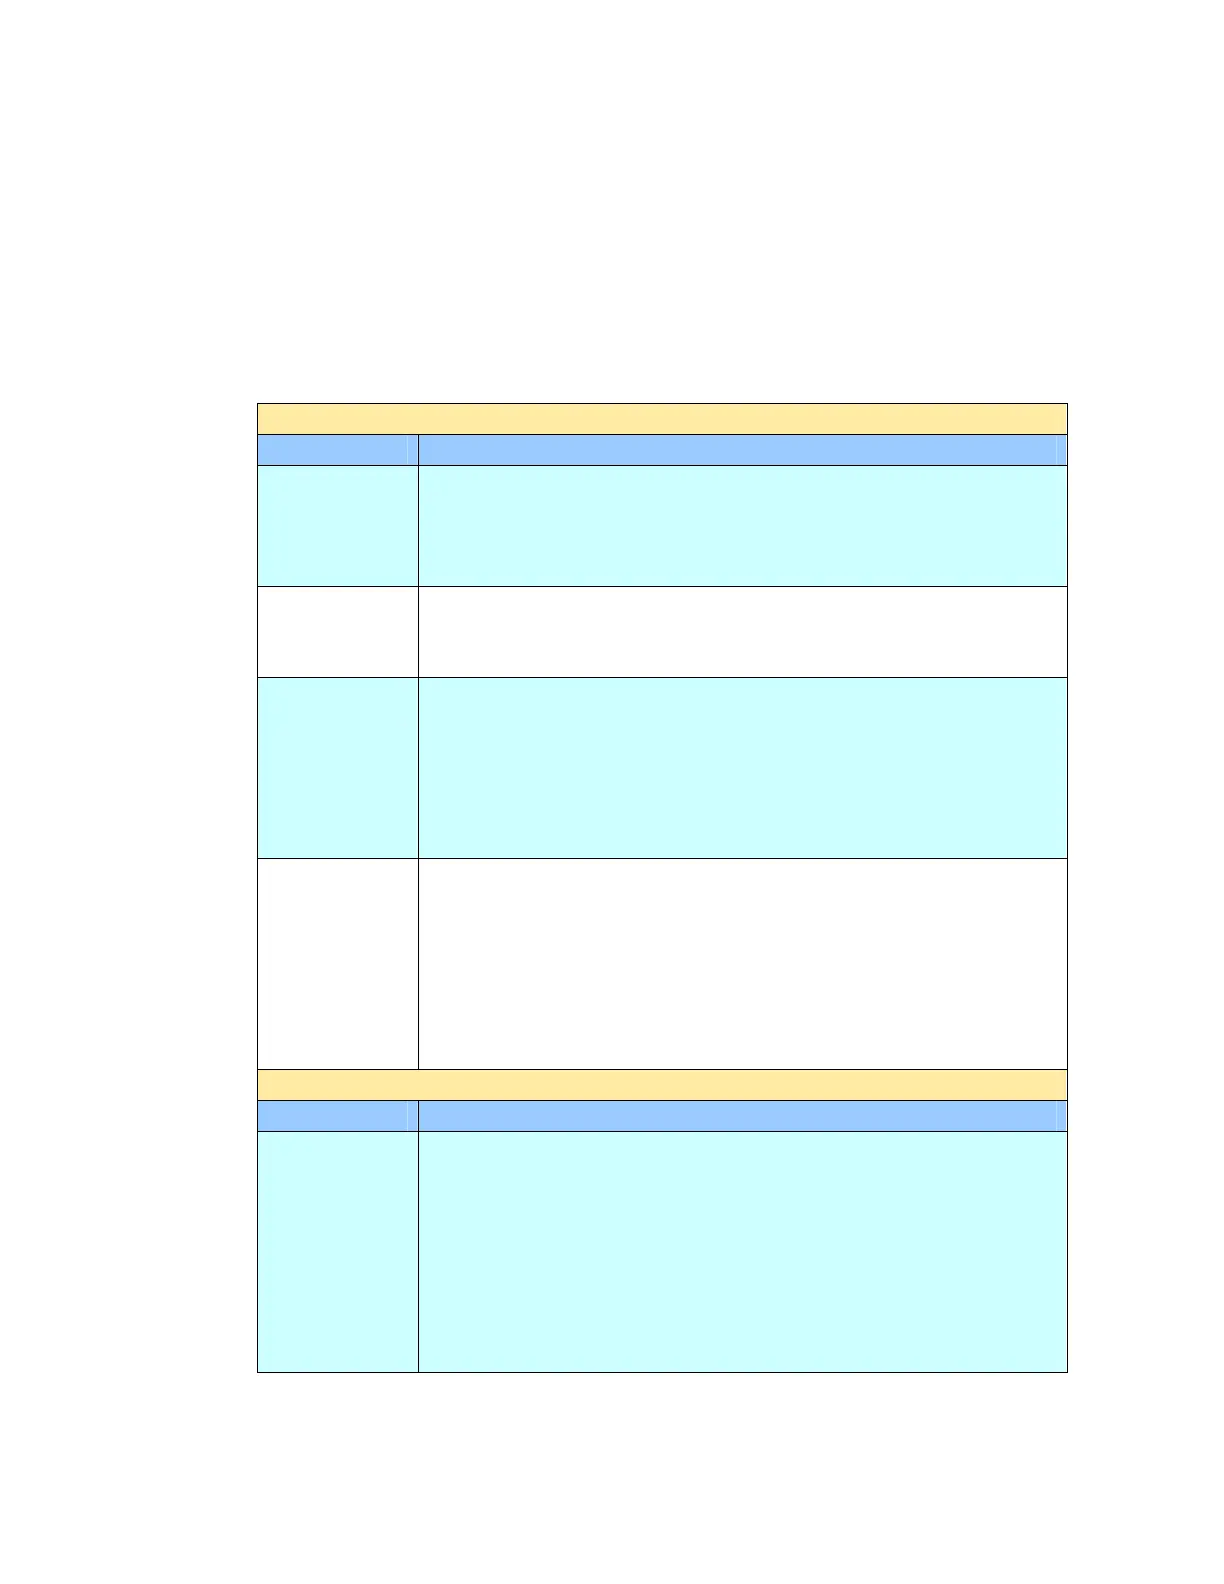
Settings Descriptions
Basic
Item Description
Resolution Choose scanning resolution for your scanned document. The
higher the resolution, the greater details for the scanned
image yet it requires more disk space.
Choice: 75, 100,150, *200, 300, 400, 600 dpi.
Paper Size Choose your original paper size.
Choice: A4, Letter, A5, B5, Legal. Note: The Legal
option is only for ADF scan.
Image
Density
Adjust the image density in seven steps using the control
panel. And you can specify the default value of image
density in the range of 1 to 7 using Web Page. Increasing
the value makes the printouts darker and decreasing the
value makes the printouts lighter.
Choice: 1, 2, 3, *4, 5, 6, 7
Bind Multi-batch document scanning from the ADF or Multi-page
scanning from the flatbed can be enabled. Press the Bind
button when loading more than 50 pages on the ADF or more
than one page on the flatbed. After scanning the 1
st
batch or
1
st
page, a dialog box will pop up enquiring if you wish to
Bind or End. Choose Bind to scan next batch or page of
document or End to stop scanning.
E-Mail Options
Item Description
File Name
of
Attachment
Enter the file name for your scanned document without
extension. If you have not entered a value in the box, the
system will bring you a default file name, image. Using
#Y#M#D#h#m#s#n makes file name change as time goes.
(Y), M, D, h, m, s, and n represent year, month, date, hour,
minute, second and series number respectively.) For
example, type file name: test#D#n will bring your filing file
name as test0500001