Specifying Paper Type and Paper Size Using
Web Image Monitor
This section describes how to specify paper sizes and types using Web Image Monitor.
Depending on the model, Web Image Monitor may not be available. For details about model-specific
differences, see "Differences in Performance/Functions between Different Models" in page 8 "How to
Read This Manual".
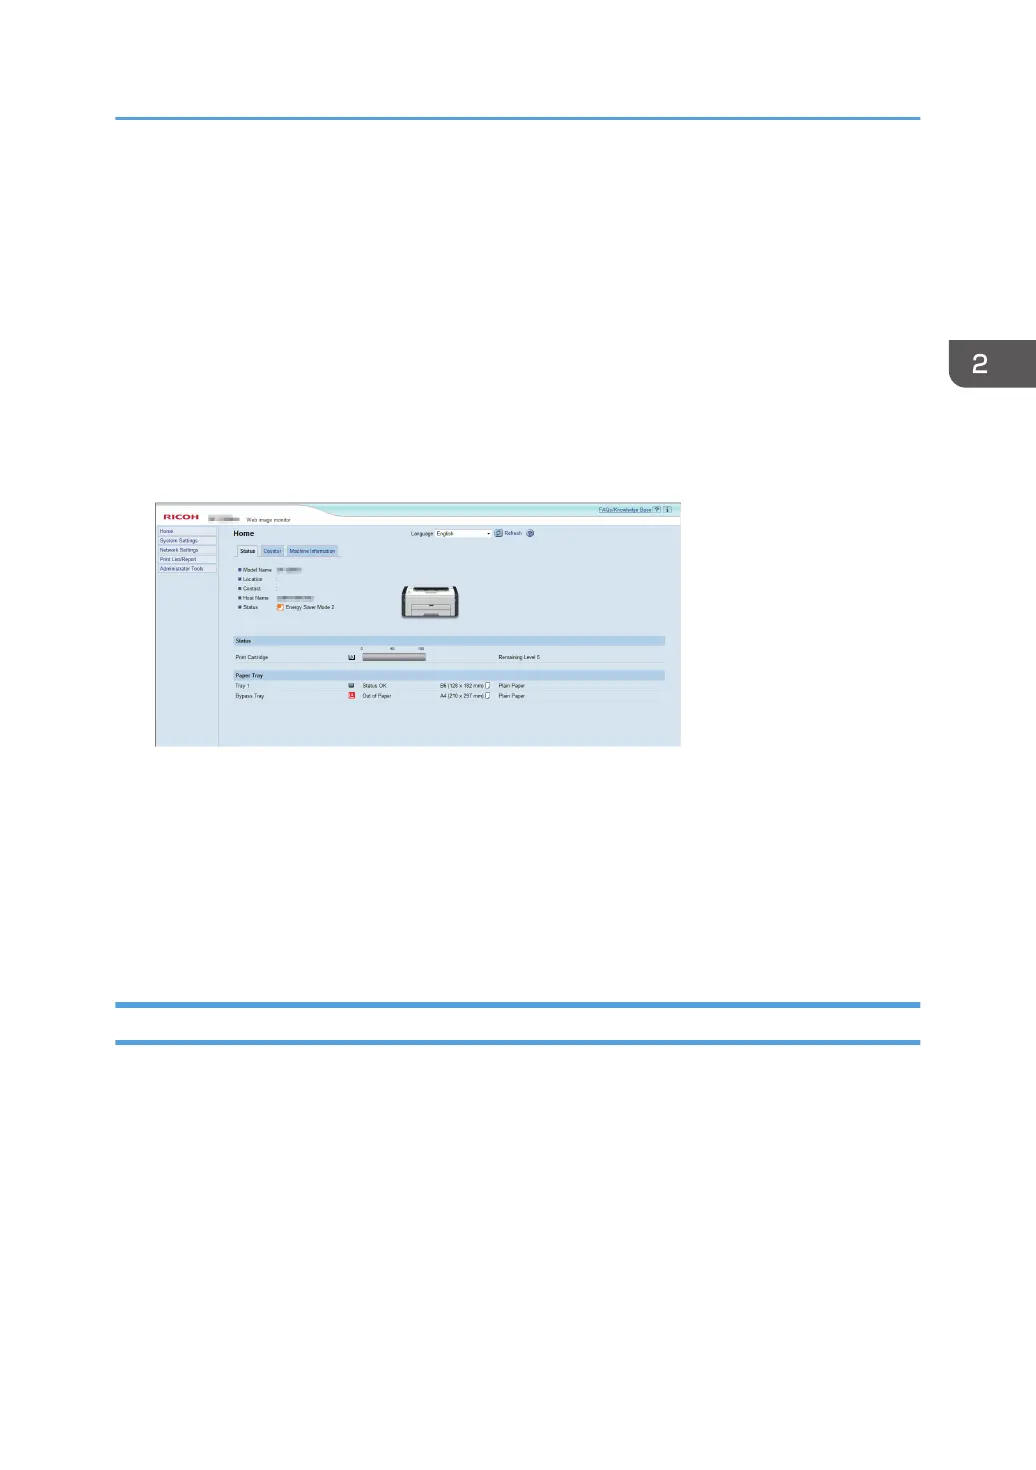
1. Start the web browser and access the machine by entering its IP address.
The top page of Web Image Monitor appears.
2. Click [System Settings].
3. Click [Tray Paper Settings].
4. Select the paper type and paper size for the tray you want to use.
5. Enter the administrator password if required.
6. Click [OK].
7. Close the web browser.
Specifying a Custom Paper Size
1. Start the web browser and access the machine by entering the IP address.
2. Click [System Settings].
3. Click [Tray Paper Settings].
4. Select [Custom Size] in the [Paper Size] list.
5. Select [mm] or [inch] and specify the width and length.
6. Enter the administrator password if required.
7. Click [OK].
8. Close the web browser.
Specifying Paper Type and Paper Size Using Web Image Monitor
27

 Loading...