No. Step Section to see for this
8 Pressurize the HortiJet
Open the manual valves on the inlet and
outlet for the HortiJet Pro.
Open the shut-off valves for the PRV1
and the PSV.
Adjust the valves.
"Pressurizing the HortiJet"
on page37.
9 Using the dosing channels for the first time
Test the dosing channels by irrigating
briefly using the fertigation recipe.
Place the suction hoses in the correct
fertilizer tank/acid tank.
Make sure that the liquid levels in all
dosing channels are the same and
operating at the capacity specified.
"Using the dosing channels
for the first time" on
page40.
10 Test the HortiJet by irrigating for a short time. "Testing the HortiJet" on
page41.
Use the Bijlage: "Checklist for step-by-step installation procedure" on page52
to check that all installation steps have been completed.
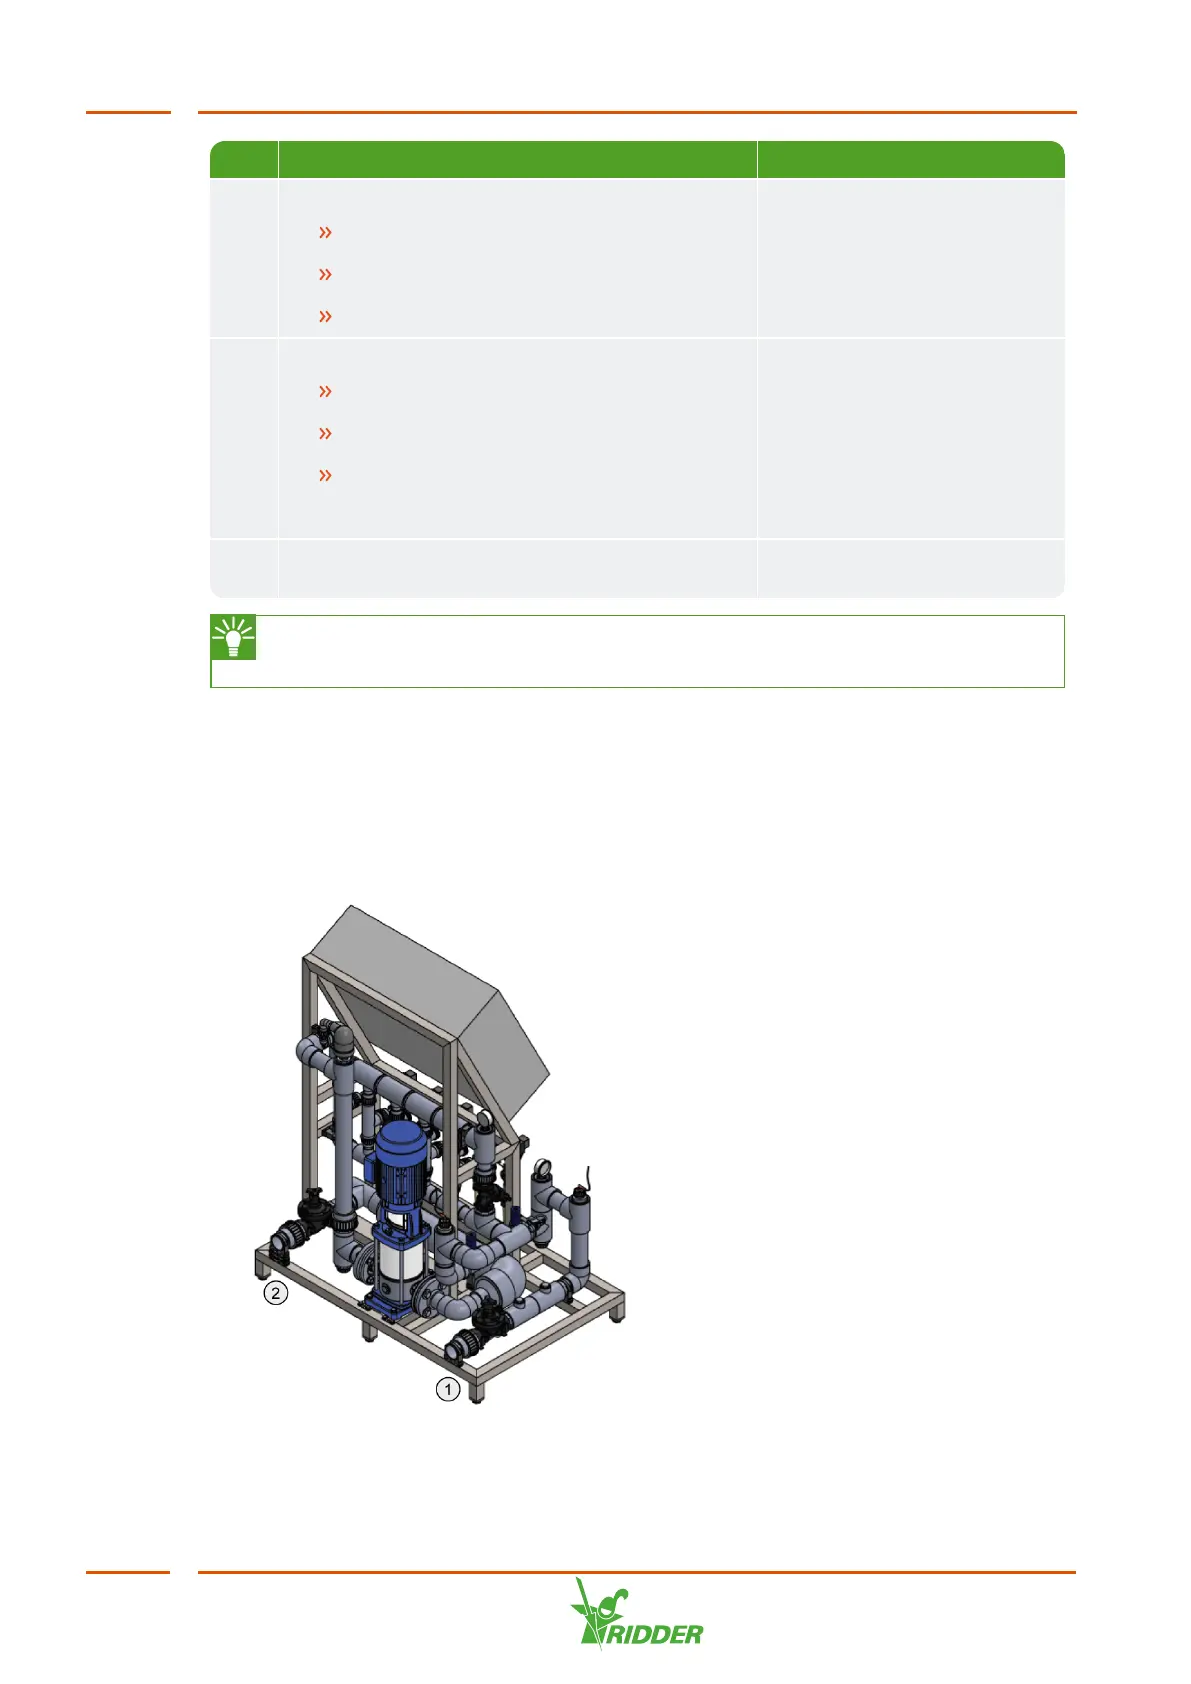
4.3 Connecting water supply (hydronic installation)
The HortiJet Pro is fitted directly to the branches that connect to the mains supply pipe
for the irrigation water. Some of the irrigation water flows directly through the
HortiJet Pro, so that the fertilizers can be added.
Figure 4-3: Positions of the inlet and outlet on the HortiJet.
HortiJet Pro
26
 Loading...