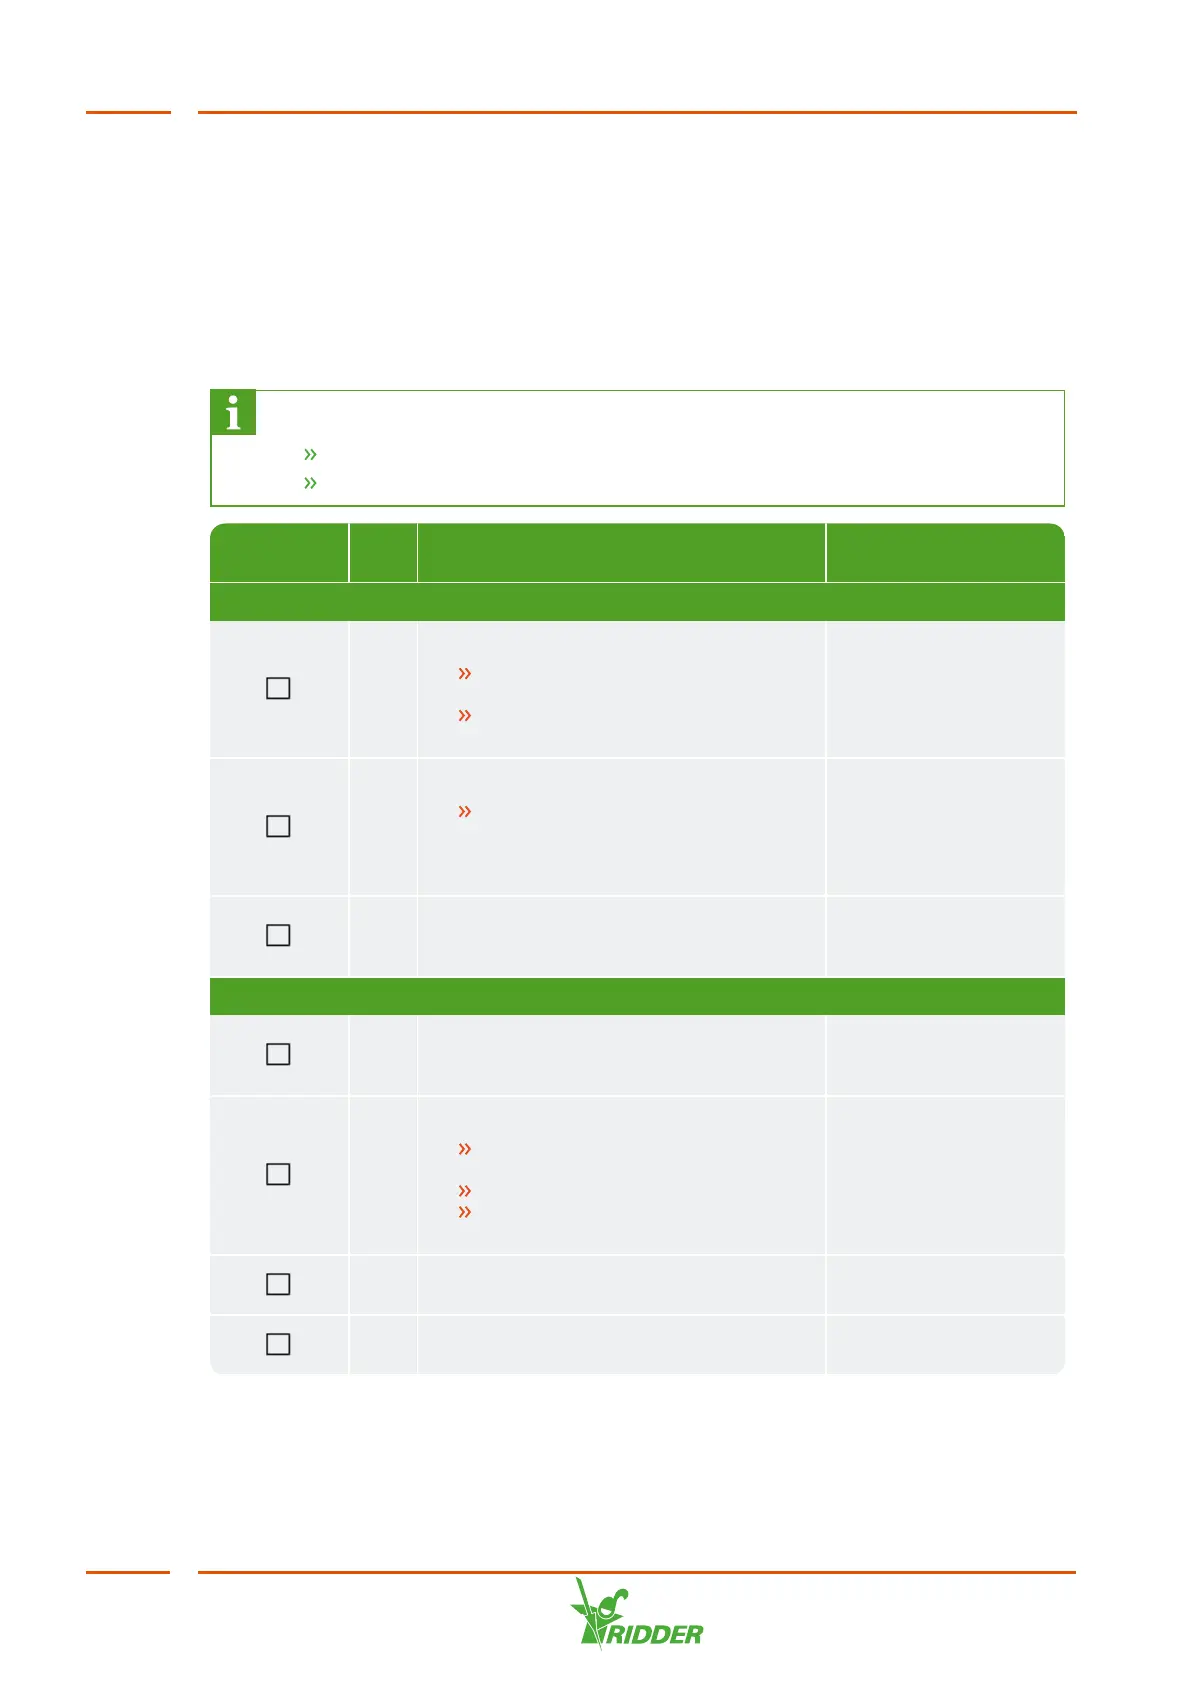
Completed No. Step
Section to see for
this
Installation
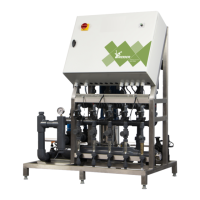
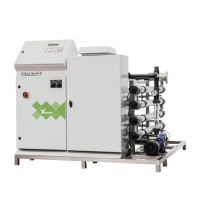
1 Water installation
Connect the HortiJet to the two
branches from the main pipe.
Connect the fertilizer supply
hoses to the dosing channels.
"Connecting water
supply (hydronic
installation)" on
page26.
2 Electrical installation
Connect the power supply,
network cable, main irrigation
pump and external meters and
valves.
"Connecting electrical
components" on
page27.
3 Where applicable: connect the extra
dosing channels, sensors and/or I/O
modules.
"Installing other
components" on
page28.
Commissioning
4 Use the latest version of the software
for the CX Assistant, HortiMaX CX500
and Synopta.
"Updating software"
on page30.
5 Software configuration
Create a configuration with the
CX Assistant.
Check the configuration.
Upload the configuration to the
IPC.
"Software
configuration" on
page31.
6 Check the settings (for the controls
HortiMaX CX500) in Synopta.
"Software settings"
on page36.
7 Calibrate the EC and pH sensors. "Calibrating the
sensors" on page37.