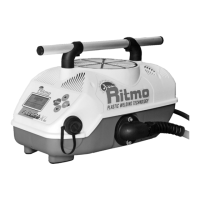
It allows to setup some specific
parameters through 4-digit
numbers (codes).
Use ▲ and ▼ buttons to change
the digit value and OK ►button to
move to the next digit.
Codes available to the user are on
page 19.
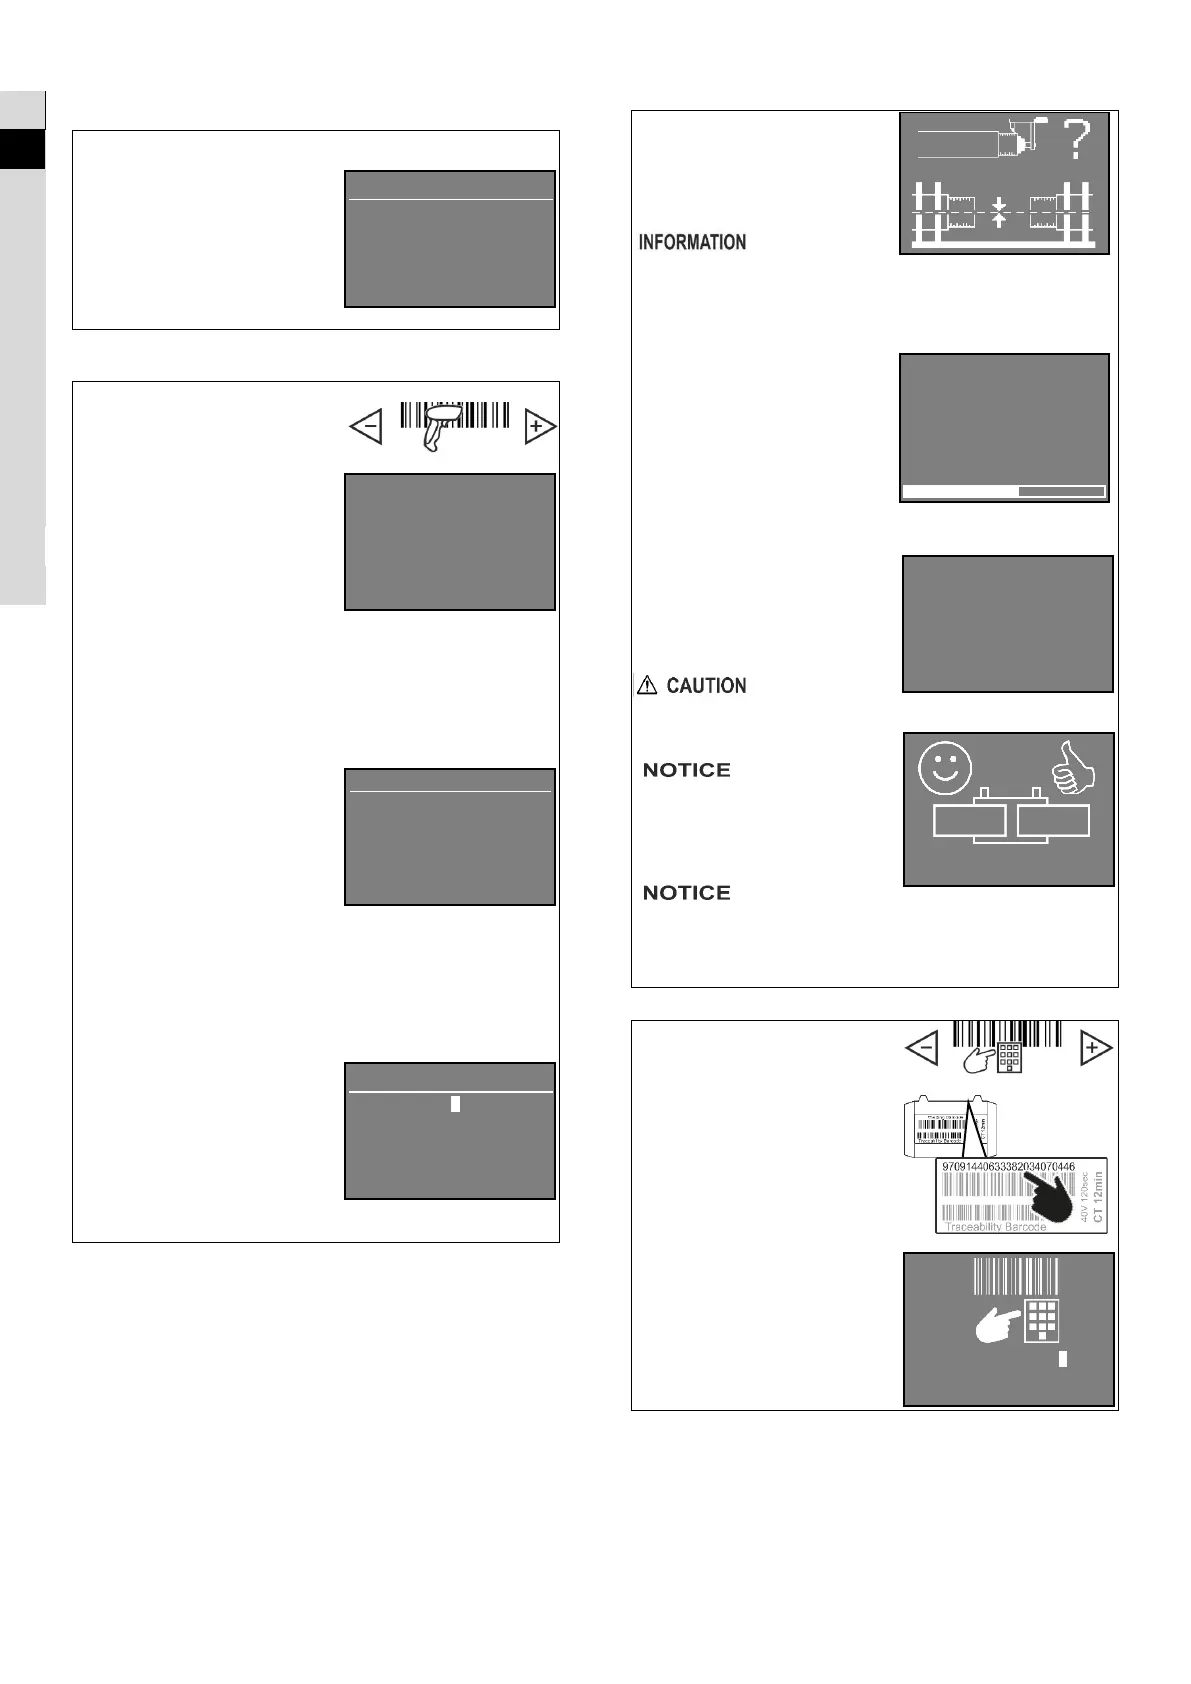
WELDING THROUGHT BAR CODE READING
Connect the BARCODE reader
and select the “READ BARCODE”
1. Read the Welding barcode
Keep the trigger pressed and make
sure the LASER beam points out the
welding bar code.
Displayed parameters:
Junction type e.g. I CPL PI
Voltage & Time e.g. 39.5V 100s
Diameter e.g. 32 mm
Cooling Time CT e.g. 10 min
Note: In case of barcode scanner
failure you can still set the welding
parameters manually (below).
Press OK ► to proceed.
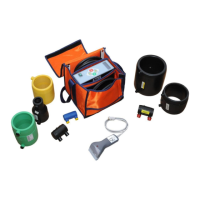
2. Read the Traceability barcode
If Traceability option is enabled,
the Elektra will prompt to read
traceability barcodes.
Note: the traceability barcodes are
up to 3, i.e. 1 coupler and 2 pipes.
In order to skip a traceability
barcode, press the OK ► button.
Keep the trigger pressed and make
sure the LASER beam points out the
traceability bar code.
The main bar code data will be
presented as in the example on the
right side.
Press OK ► to proceed.
3. Add a Note
If Note option is enabled, the
Elektra will prompt to type in some
note text.
Use ▲ and ▼ buttons to change
the digit value and OK ►button to
move to the next digit.
Hold OK ►button to store or move
to the last digit and press OK ►
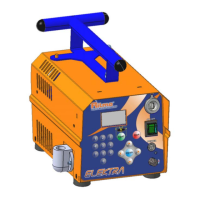
4. Scraping and Aligning
The pictures on the right side
shows up as a reminder of the
pipes’ scraping and alignment
required before welding (on
page 16).
poor scraping and
alignment may compromise the
quality of the welded joint even
though the welding process was
carried out correctly.
Press OK ► to start the welding.
5. Welding
The heating phase starts.
The display will show the
countdown till the welding
process is accomplished.
6. Cooling
After completion of the heating
phase, the display shows the
cooling status.
When the cooling countdown is
over, the Elektra beeps.
The leads can be disconnected
and the Elektra switched off.
don’t move or
strain the joint during the cooling
phase. Wait till the cooling time
has elapsed.
the Elektra does
not perform a leak test on the
welded joint. The Elektra only
shows that all the welding phases
have been correctly
accomplished.
Ritmo S.p.A
disclaims all liability for defective
welded joints made without
regard to proper preparation of
the pipes end to be welded.
WELDING THROUGHT MANUAL INPUT OF BAR CODE
Select the “BARCODE MANUAL”
mode and
press OK ►.
1. Type the welding barcode
digits
Use ▲ and ▼ buttons to change
the digit value and OK ►button to
move to the next digit.
2. Follow the steps of
WELDING THROUGHT BAR CODE
READING
TEXT TO STORE
_ _ _ _ _ _ _ _ _ _
_ _ _ _ _ _ _ _ _ _
32 mm SDR: 11
32mm
PE100 MFR not spec.
39.5V 100s
32mm
[CT] 10 min
9 7 0 9 1 4 4 0
0 0 0 0 0 0 0 0
0 0 0 0 0 0 0 0