GX-3R Operator’s Manual Chapter 5: User Mode and Calibration • 49
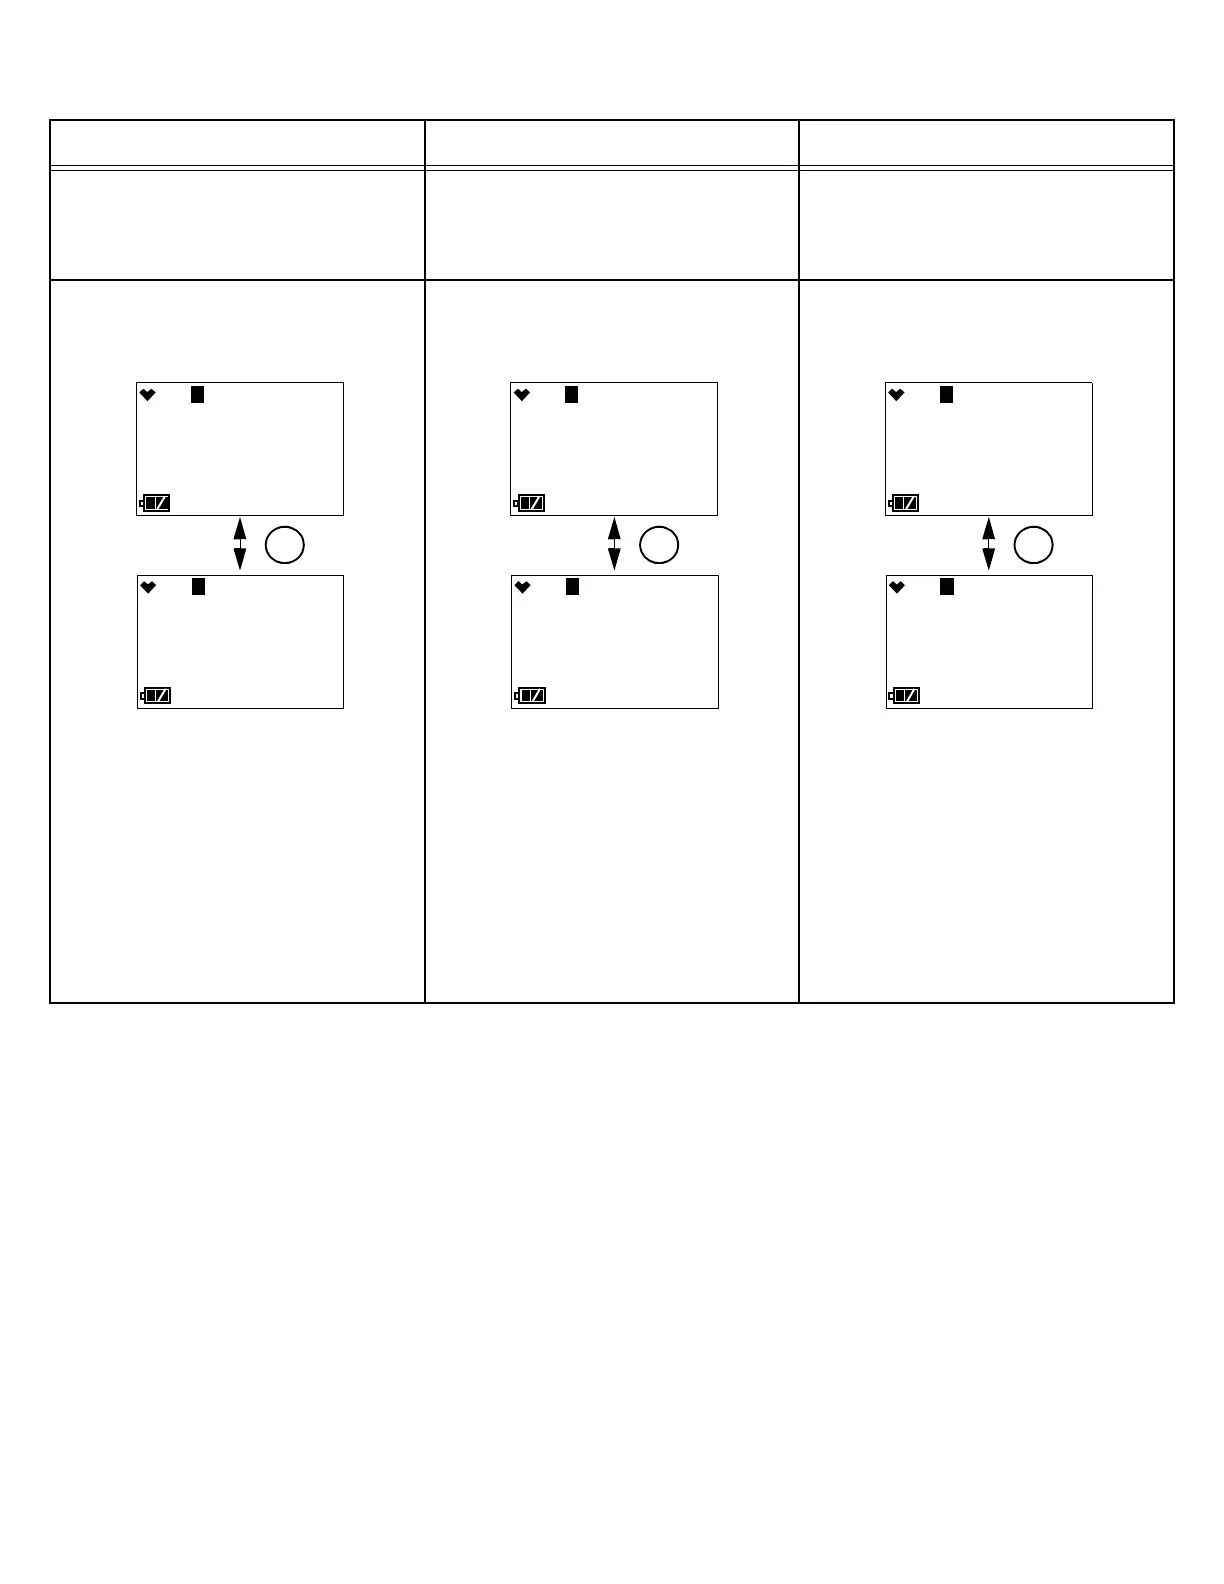
Option A from Flow Chart Option B from Flow Chart Option C from Flow Chart
•Bump test passed
• Multiple cylinders assigned
•Bump test passed
• One cylinder assigned
• Auto Start After Successful Bump set to
ON (factory setting)
• Bump test passed
• One cylinder assigned
• Auto Start After Successful Bump set to
OFF (factory setting is ON)
1. The instrument indicates that all
channels passed the bump test. Use AIR
to scroll between the bump test results
and the bump test gas readings.
2. Close the regulator.
3. Press and release POWER MODE to
move to the BUMP CYL X screen for
the next cylinder.
4. Unscrew the regulator from the first
cylinder and screw it into the next
cylinder.
5. Repeat Step 10 through Step 13.
6. After the last cylinder is bump tested,
press and release POWER MODE to go
to the START item in the BUMP menu.
7. Remove the calibration cup.
8. Press and release POWER MODE to
enter Measuring Mode.
1. The instrument indicates that all
channels passed the bump test. Use AIR
to scroll between the bump test results
and the bump test gas readings.
2. Close the regulator.
3. Unscrew the regulator.
4. Remove the calibration cup.
5. Press and release POWER MODE to
enter Measuring Mode.
1. The instrument indicates that all
channels passed the bump test. Use AIR
to scroll between the bump test results
and the bump test gas readings.
2. Close the regulator.
3. Unscrew the regulator.
4. Remove the calibration cup.
5. Press and release POWER MODE to
return to the START item in the BUMP
menu.
6. Press and release POWER MODE to
enter Measuring Mode.
BUMP/CAL
M 7:49
P
CO ppm
P P
CH4 %LEL O2 %
AIR
BUMP/
M 7:49
47
CO ppm
47 11.9
CH4 %LEL O2 %
BUMP/CAL
M 7:49
P P
CO ppm H2S ppm
P P
CH4 %LEL O2 %
AIR
BUMP/
M 7:49
47 22.0
CO ppm H2S ppm
47 11.9
CH4 %LEL O2 %
BUMP/CAL
M 7:49
P P
CO ppm H2S ppm
P P
CH4 %LEL O2 %
AIR
BUMP/
M 7:49
47 22.0
CO ppm H2S ppm
47 11.9
CH4 %LEL O2 %

 Loading...