Roche Diagnostics
Urisys 1100® · ≥5.7 · Operator's Manual · 9.0
26 5. Installation
2
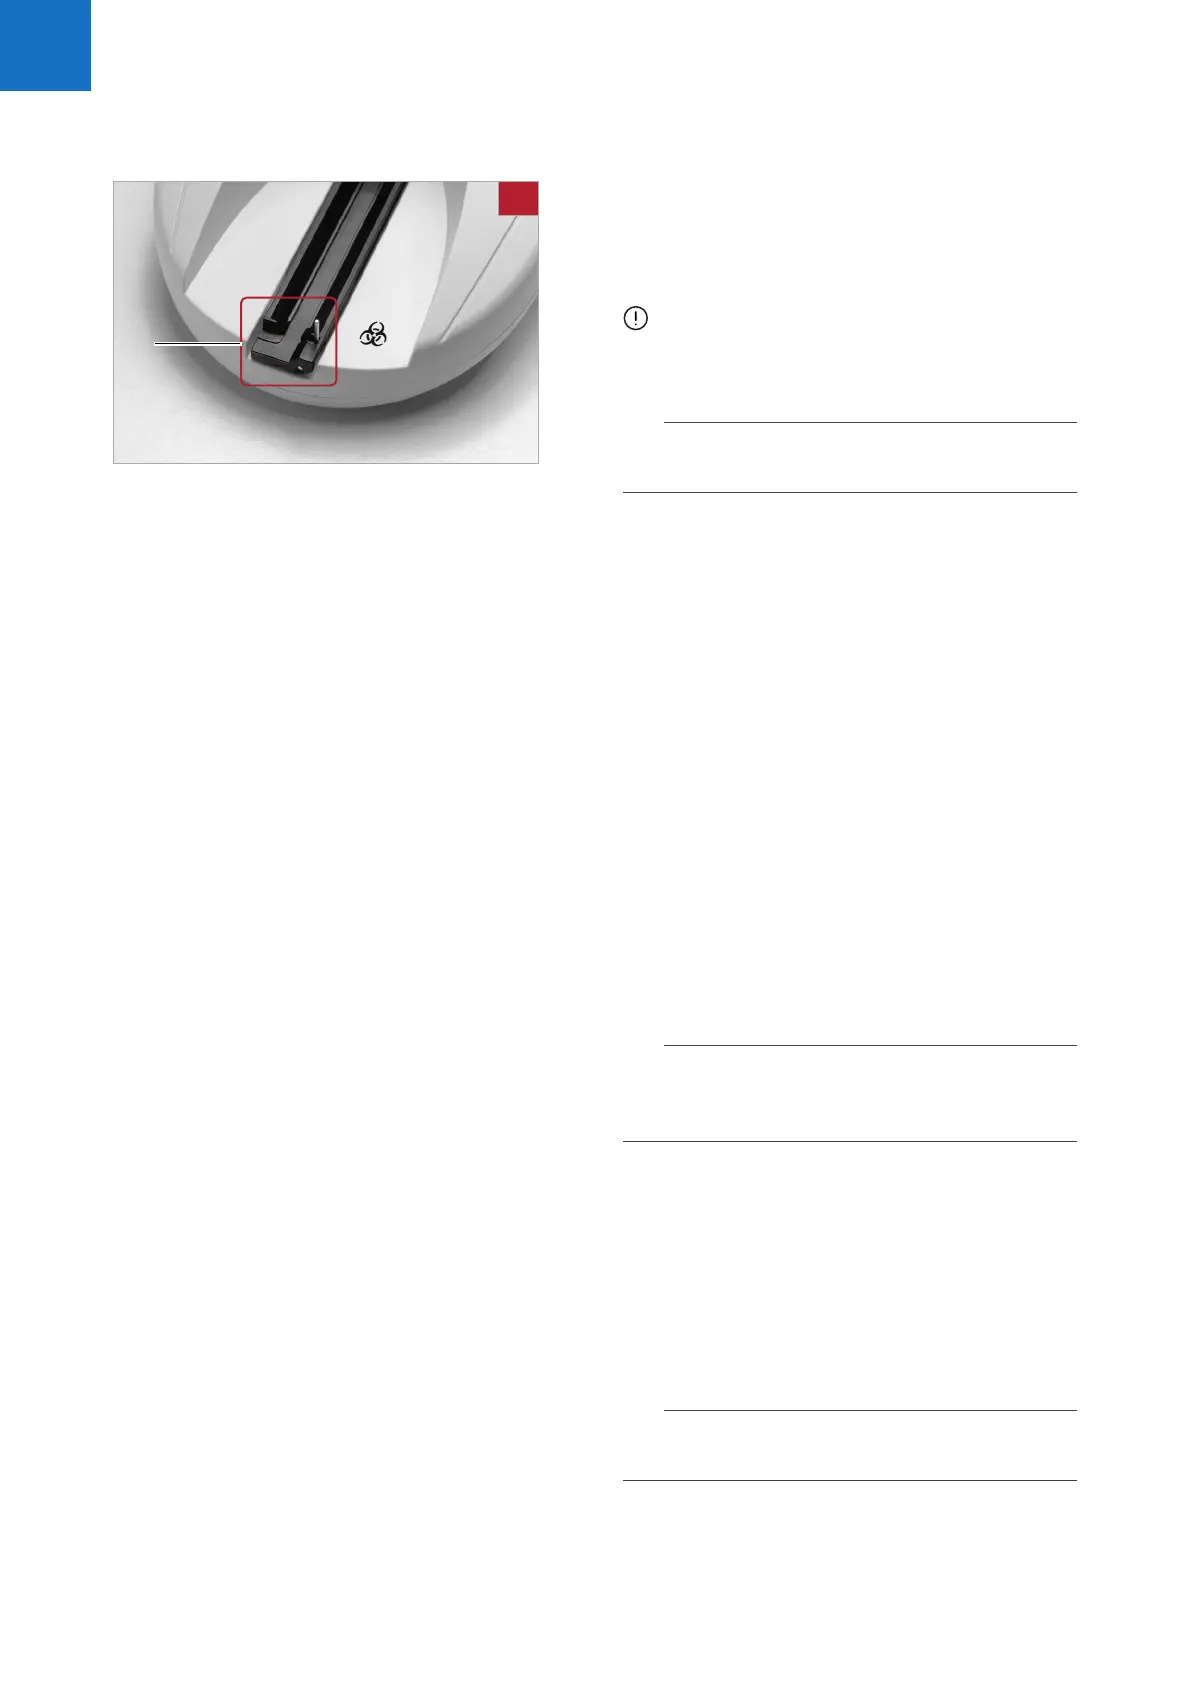
On completion of the self check, the test strip tray is
transported to the start position and the retaining bar
(A) opens. SELF CHECK OK! is printed together with
a date and timestamp.
3
ATTENTION: If the message E9 WRONG TRAY!
is displayed after the Urisys 1100
®
system is switched
on, check the information in the section Error
messages and troubleshooting.
q For more information, see:
u 10. Error messages and troubleshooting (46)
4
When the self test is finished a sound is heard from
the printer. The display will show INSERT STRIP!. If
the paper has already been inserted, the printout
SELF CHECK OK! is executed with date and time; this
happens whenever the analyzer is switched on. If an
error occurs, consult the Operator’s Manual or contact
your local Roche Diagnostics service representative.
5
Upon first use of the analyzer, the message REPEAT
CALIBRATION! appears after a successful self check.
Press the No key to attain Ready-to-Measure status.
I This also happens if the analyzer is not used for
more than seven days. To bring the analyzer to
Ready-to-Measure mode, insert the paper and
execute the calibration.
6
To set the language of your choice, press the key
sequence “MENU > Setup1 > Setup2 > Setup3
> Language > Other.
q For more information see:
u 4.2 Menu structure (Flowchart) (15)
4.3 Menu functions (17)
7
The Urisys 1100
®
system leaves the factory with the
default settings for Printer, Measure and Interface
modes, Units, Language, Date/time format and
Operator ID.
I If your laboratory works differently, individual
preferences can be entered via the menus.
8
Calibrate the analyzer with Control-Test
®
M.
q For more information see:
u 6. Calibration (29)
2
A

 Loading...


